G
gibbsdanaAug 6, 2025
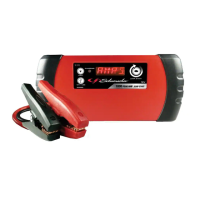
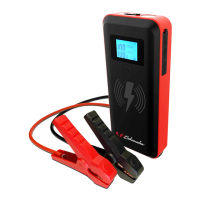
What to do if Schumacher Electric SL1396 Remote Starter turns on but won't jump start my vehicle?
- BbmullenAug 6, 2025
If your Schumacher Electric Remote Starter turns on but fails to jump start your vehicle, check the connections and ensure the jump starter has a charge level of at least 40%. Avoid attempting more than three consecutive jump starts. If the vehicle remains unresponsive, it is recommended to consult a qualified service technician.