-
7 –
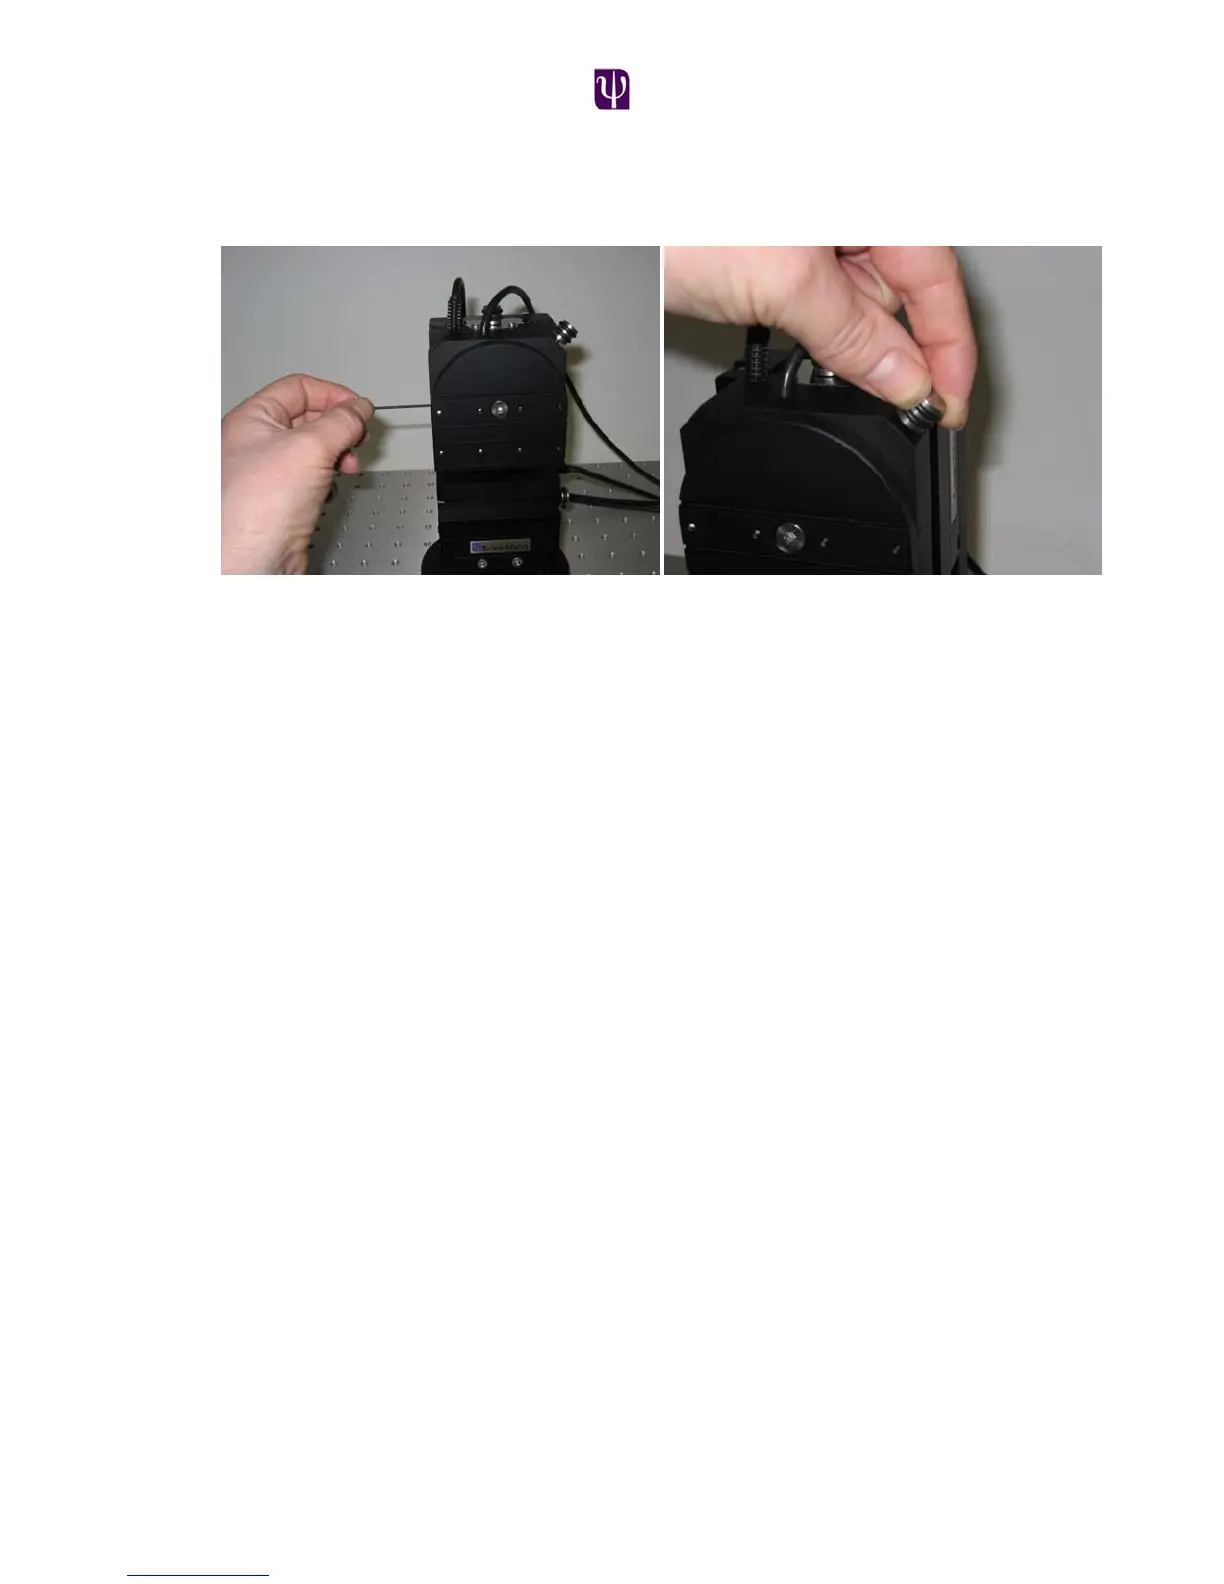
To set the stops for the vertical rotation stage; first ensure that the 2 set screws that
fix the rotary stop ring are loose and that the thumb screw lock is loose thus
enabling the front plate to rotate 360º.
Rotate the front plate 1 full rotation (this has the effect of pushing the stop around
with it). Once past one full revolution, continue rotating until the desired angle is
reached. Now tighten at least one of the set screws to fix the rotational stop.
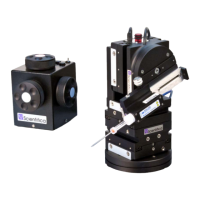
Attaching the headstage
The dovetail slide assembly is mounted to the front of the vertical rotation plate.
This can be mounted using any pair of the mounting holes on the vertical rotation
plate to suit the application. The sliding carriage is locked in the required position
on the dovetail slide using the thumb screw. The sliding carriage is designed to
accommodate a range of dovetail based headstages including the Axon. The
dovetail headstages are secured by tightening the dovetail clamp using a 3mm
allen key. In addition there are two M3 mounting holes on the underside of the
sliding carriage that can be used to attach a sub-mounting plate to attach a
wider range of headstages.