Do you have a question about the Scosche MZ2351B and is the answer not in the manual?
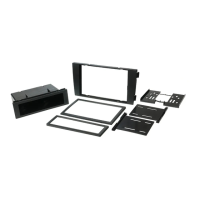
Lists required tools and contents of the installation kit, including panel removal tool and mounting hardware.
Provides preliminary information, including cautions about disconnecting the battery, using a voltmeter, and avoiding airbag wiring.
Place the kit panel into the dash opening.
Slide the metal support sleeve into the radio opening and fasten with locking tabs.
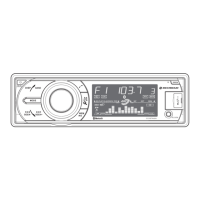
Connect all wiring harnesses and slide the Double DIN stereo in until it locks.
Snap-in the double DIN trim ring.
Use a panel removal tool to carefully pop out and remove the side trim panels of the center console.
Use a T20 Torx driver to remove screws from the console sides and armrest storage.
Use a screwdriver or pick tool to unsnap and remove rectangular front trim pieces from cup holders.
Use a PRT to carefully unsnap the shifter trim.
Lift the center console wood trim out, unplug, and remove it.
Extract Torx screws from each outer side of the cup holders.
Carefully slide out the OEM radio from the dash cavity.
Provides toll-free technical help line for assistance or replacement parts.
States Scosche Industries is not responsible for discrepancies or damage during installation.
| DIN Size | Double DIN |
|---|---|
| Color | Black |
| Material | Plastic |
| Brand | Scosche |
| Model | MZ2351B |
| Category | Car Receiver |