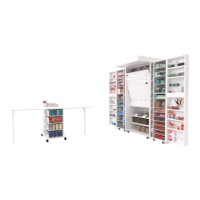
33
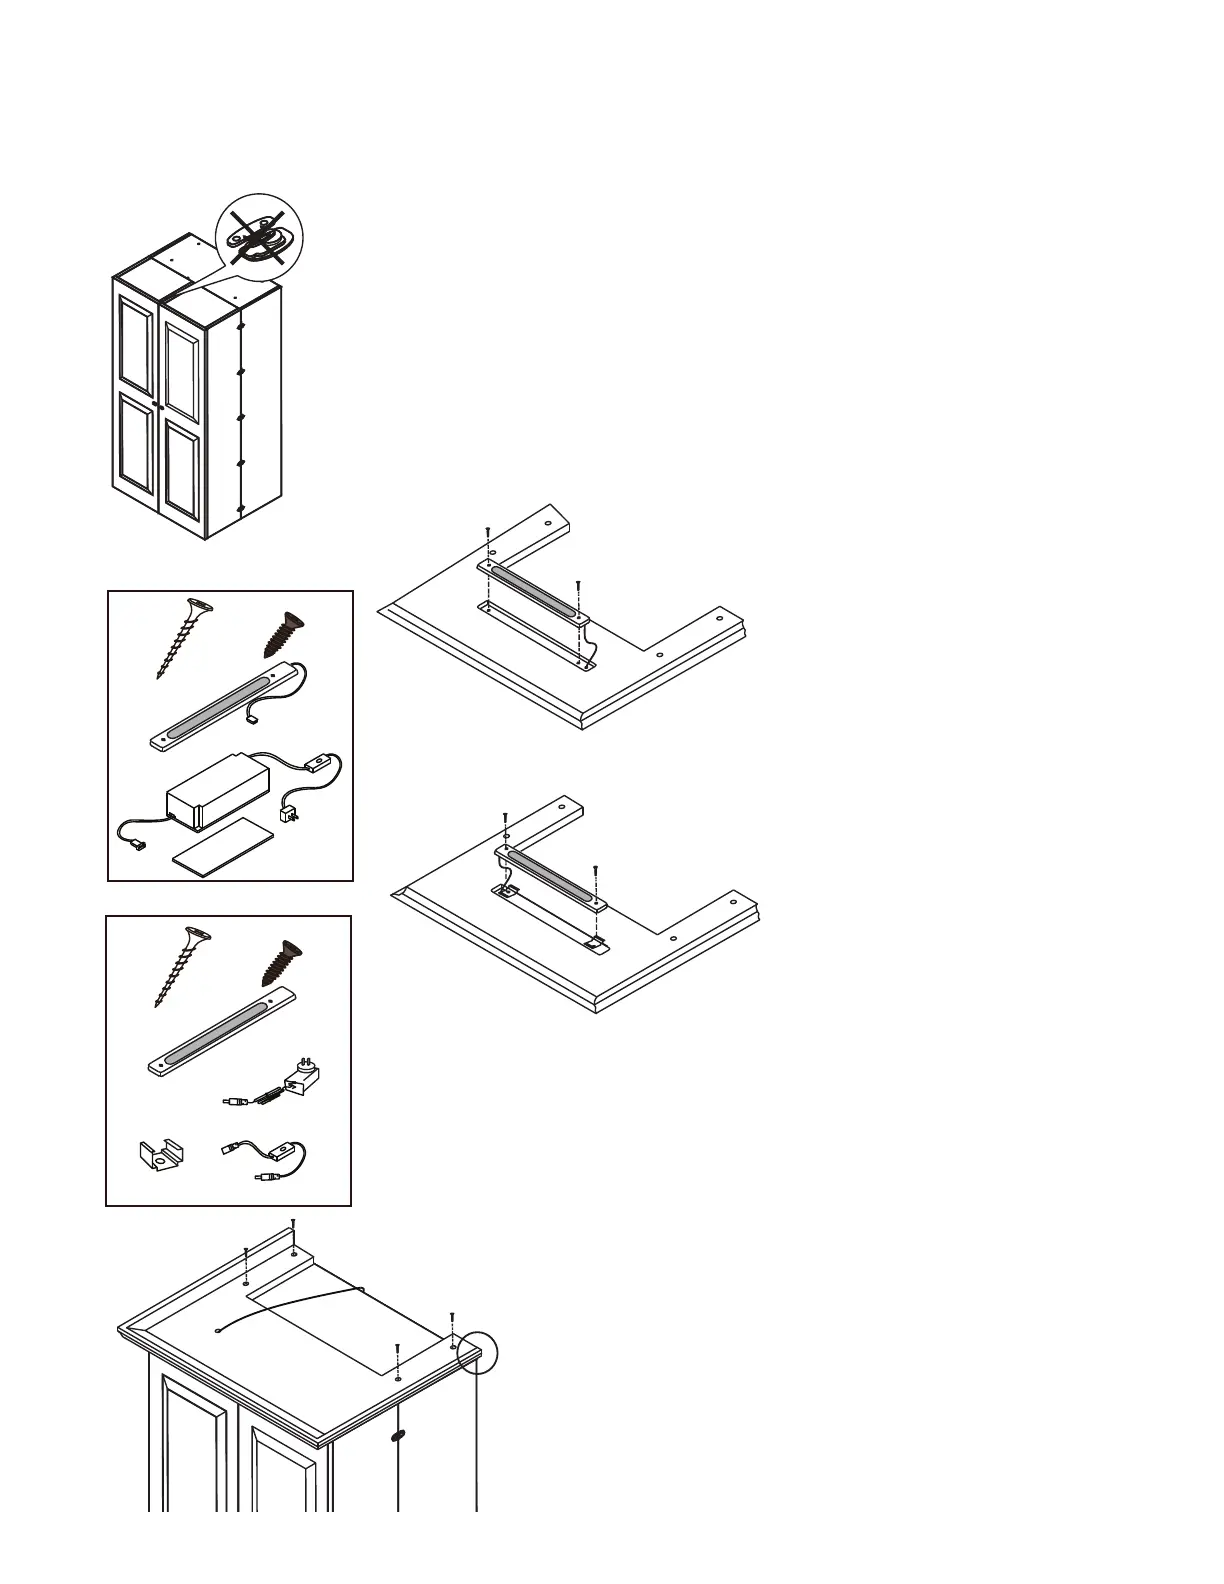
1. Remove all locks from the top
- Crown accessory replaces optional sash lock.
To Install:
2. Make sure the top doors are level with the Center Box.
If they are not level, and the doors are above the Center Box,
you may need to adjust some of the hinges on the doors to
lower the doors. This will ensure the Crown will not be
scraped when opening or closing the Ultimate SewingBox.
3. Remove 2 rubber plugs from light. Attach the
light into the crown with 2 screws provided. Make
sure you leave plenty of room for the cord to go
through the opening. Also be careful not to screw
into the cord when attaching.
4. Set the Crown on top of the Center Box matching the
back ends as shown in the left picture. (Use two people:
one to hold crown in place and one to screw in the 4 - 1
5. The Crown has 4 pilot holes on the top side for attaching
it to your furniture piece. Screw into top using self tapping screws
(No need for pilot holes. Your furniture item may have pilot holes pre-drilled in the Lid).
(A) Light Kit
1
x
1
x
4
x
Custom Fit
LED Light
Transformer
2
x
14mm Screw
Large Adhesive Strip
1 1/2” Screw
(A)
3. Attach 2 brackets to crown using
2 small screws. Make sure you leave
plenty of room for the cord to go through
the opening. Also be careful not to screw
into the cord when attaching. Clip in the
light bar.
(B)
(B) Light Kit
1
x
4
x
Custom Fit
LED Light
On/Off Switch
2
x
14mm Screw
1 1/2” Screw
1
x
2
x
Bracket
Plug & Cord
1
x
 Loading...