11
Sea Eagle Boats Inc. 19 N. Columbia Street, Ste1, Port Jefferson, NY 11777 • 1-800-748-8066 • Staff@SeaEagle.com
EZLite™ Kayaks | TROUBLE SHOOTING
EZLite™ Kayaks| REPAIRS
Even though Sea Eagles are very rugged and tough, you may
still experience the occasional puncture. Fortunately most
repairs are fairly easy and only take a few minutes. For
extensive repairs, please contact us directly to provide you
with further assistance. The best way to do this is to e-mail us a
digital photo of the area in question along with your hull
identification number to staff@seaeagle.com.
You can also call us directly at 1-800-748-8066 ex. 314 and
ask to speak with Technical Support for further assistance or a
quote for having your boat mailed to our facilities for our
professional repair services.
Sea Eagle repair fees start at $75.00 and does not include
return shipping charges. Please note that Sea Eagle does not
service any other brand other than our own. All items sent to
our repair facilities must have prior authorization in the form of
a Return Authorization Number.
Repair Kit
All Sea Eagles come
standard with a repair
kit which includes PVC
patches and PVC glue.
Repair kits also include a
valve tool.
PVC Based Glue
To patch your Sea Eagle,
use an adhesive for PVC
boats.
Plumber’s cement, epoxy,
Flex Seal, waterpoofing
sprays and Gorilla Glue do
not work.
Pinholes
Deflate the boat and
thoroughly clean and dry
the area that is to be
repaired.
For small punctures less
than 1/8” apply a small
drop of glue and allow 24
hours to cure.
EZLite™ Kayaks| REPAIRS
For immediate use allow 30
minutes to dry and then
inflate the compartment
only 3/4 full and if
necessary make a more
permanent repair later.
Patching
The most common
repairs are a puncture or
small cut. A penny size
patch is sufficient for
repairs of this type.
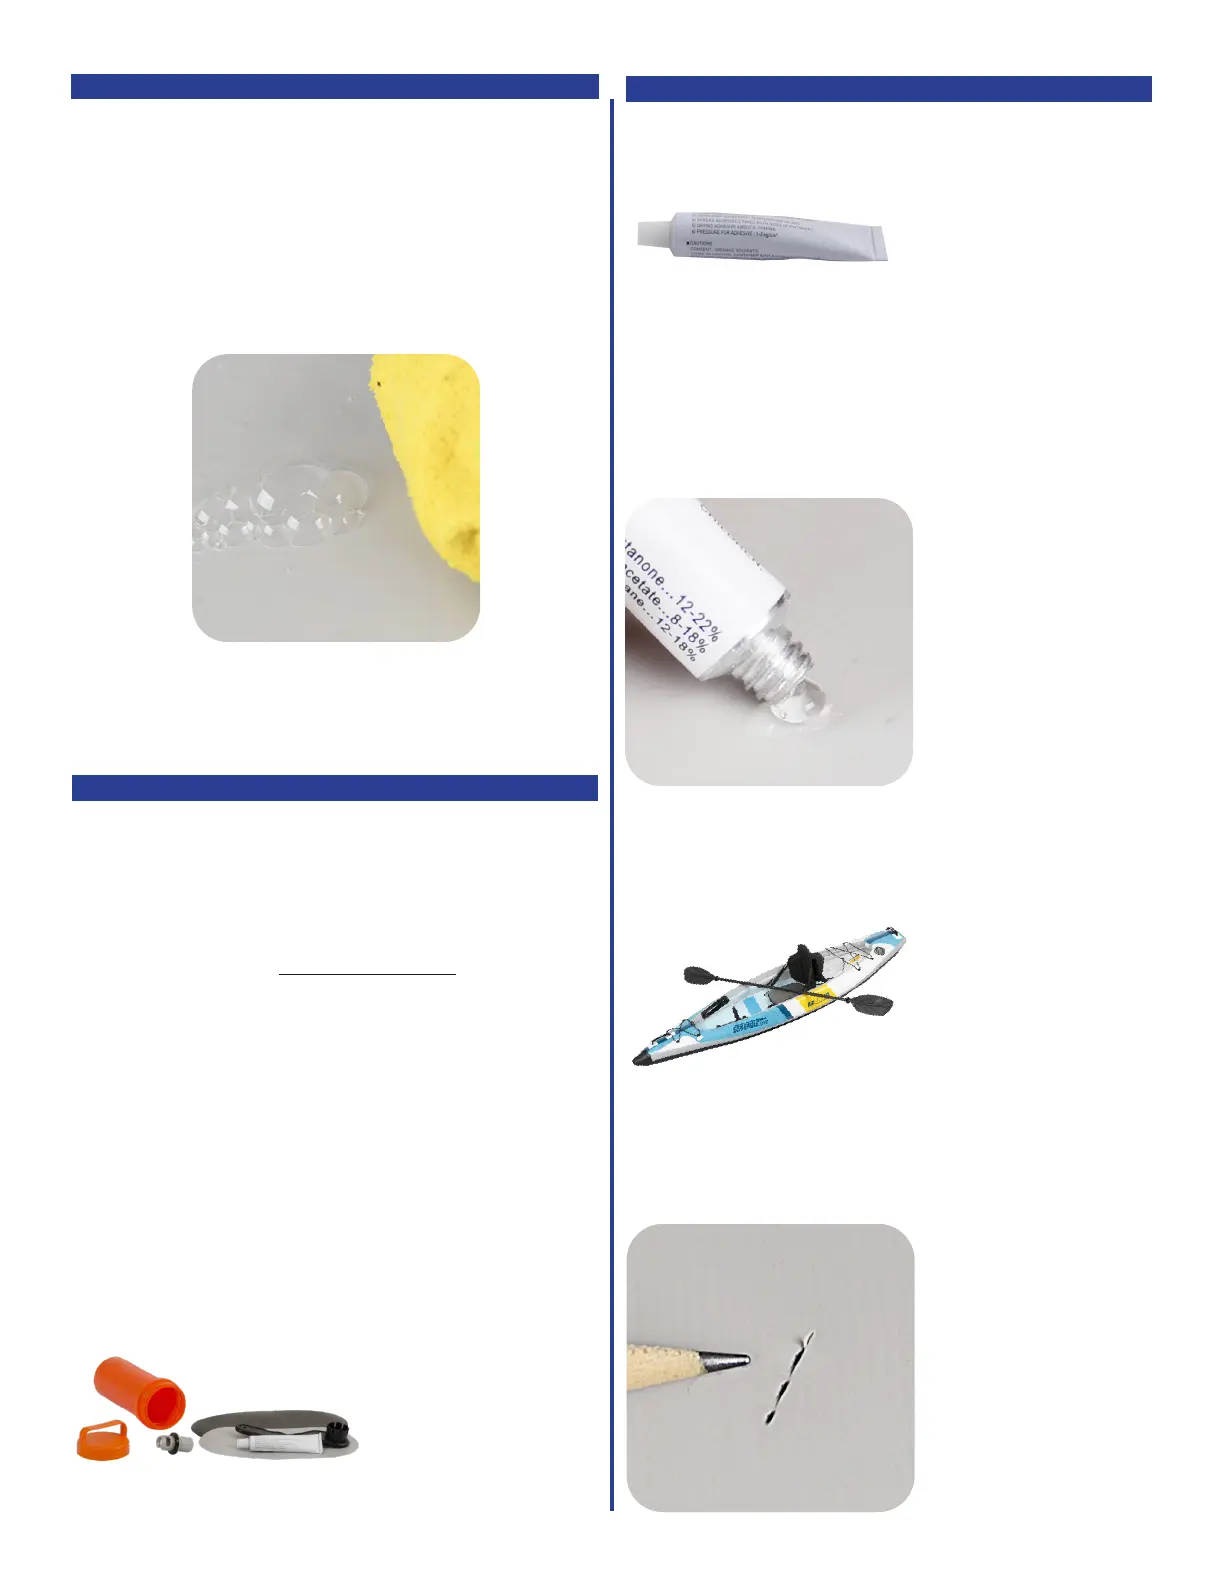
Step #4. SOAPY WATER TEST
You’ll need a bucket and liquid dish washing soap. Fill the
bucket with clear water, and add a good squirt of soap (couple
of tablespoons) to the water. Inflate the leaking chamber to full
pressure. Spread lots of soapy water on the leaking chamber
with a hand towel or large sponge. Don’t assume the leak is
coming from the valve or seams. The leak may produce
bubbles, make hissing or sputtering noises, or spray water.
Spray bottles are not effective at locating many leaks.
 Loading...