GSS1515.V2, GSS1515G.V2 Issue: 2(I) - 13/04/17
Original Language Version
© Jack Sealey Limited
GardenShed
1.5 x 1.5 x 2.1m
31
31
20B
20C
B
950mm
20B
20C
6A
6A
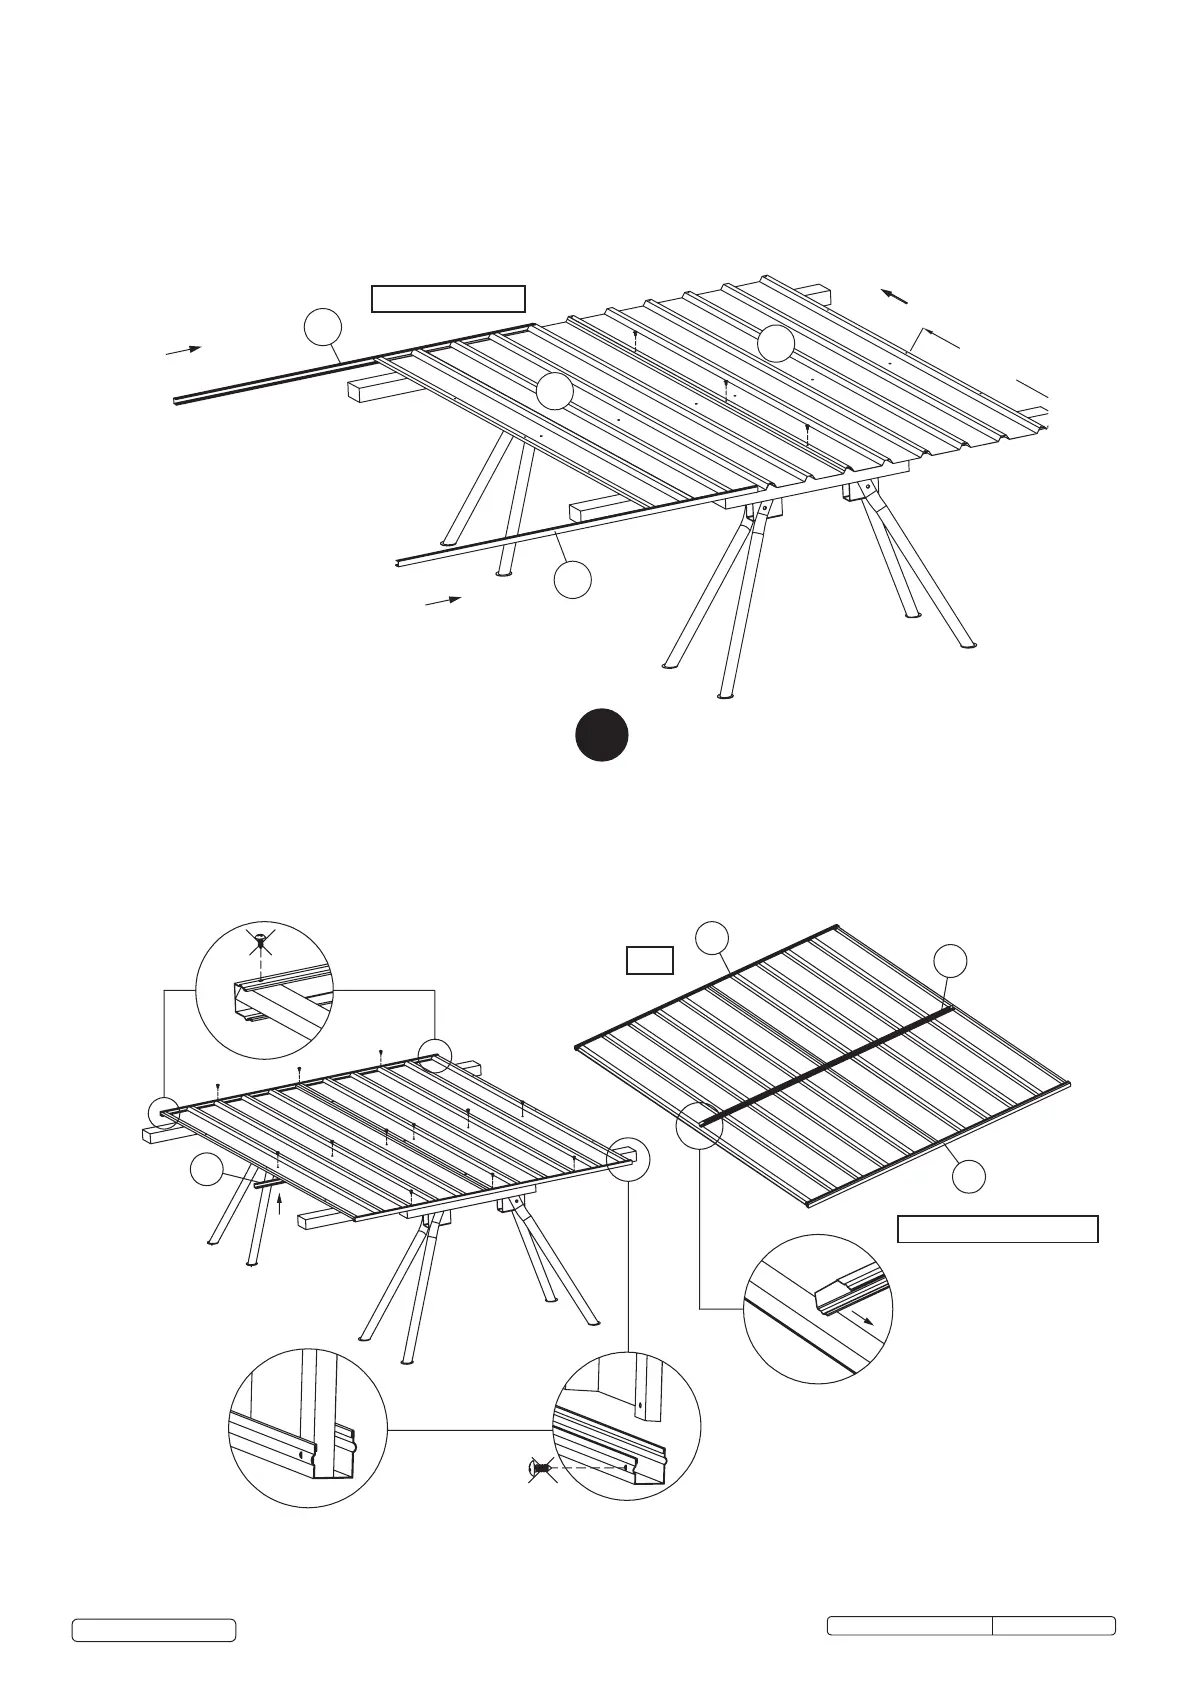
Step 2:
Assemble the rear wall panels (continued)
No
w fit part 31 (mid wall channel) to the sheeting and position it with the self-tapping screws provided. Please note the groove should
face downwards. Position the top and bottom channels with self-tapping screws as well. NOTE: All screws marked with a cross should
not be fixed at this stage.
Tip: If panel and screw holes do not line up, try pulling panel to match up holes.
TOP
B
ROOF TOP EDGE
RIDGES FACING DOWN



 To Next Page