Do you have a question about the Secret Lab Magnus and is the answer not in the manual?
Disconnect monitor cables and remove handles from VESA mount before dismounting.
Slowly turn the Tension Adjustment Screw counterclockwise to lower monitor tension.
Support monitor, press against VESA mount, and twist lock knob 180° to unlock.
Gently pivot monitor away from VESA mount to unhook and release the arm.
Verify all package contents are received before starting arm assembly.
Slide clamp along desk edge, flush against it, and tighten top screw.
Insert Bottom Arm into Clamp Mount and Upper Arm into Bottom Arm, then secure with thumb screws.
Attach VESA Plate to monitor using VESA screws, using standoffs if needed.
Use packaging box or stable base to support monitor during mounting.
Hook the bottom of the VESA mount to the bottom slots on the VESA Plate first.
Pivot monitor back, align locks, press down, and tighten lock screws and knobs.
Tighten Tension Adjustment Screw clockwise until monitor stays elevated without sinking.
Fully extend the arm to allow easy cable routing and rotation.
Connect cables from power source/computer through the Cable Channel to the monitor.
Slot loose cables into Magnetic Cable Sheaths and attach to the arm base.
Insert handles into VESA mount slots until they click, angling away from screen.
Tighten pre-installed hex screws on the handles to secure them to the VESA mount.
Read manual carefully, keep small parts away from children, do not overtighten screws.
Avoid corrosive environments, alterations void warranty, no unsupervised use by children.
Do not exceed load capacity, ensure mounting surface is safe, beware of magnets in cable sheaths.
Clean with a damp cloth and mild soap solution; dry immediately with a clean cloth.
Avoid rough use, impacts, drops, sharp objects, and abrasive cleaners.
Avoid direct sunlight and heat sources to prevent fading and cracking.
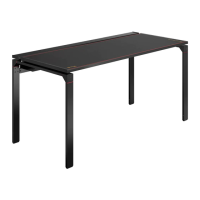
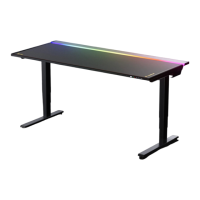
| Type | Desk |
|---|---|
| Weight Capacity | 100 kg |
| Magnetic Accessories | Yes |
| Color | Black |
| Material | Steel |
| Cable Management | Yes |
| Adjustability | No |