6
IMPORTANT
During the rst few minutes of initial use, you may notice smoke and/or a slight odor. This is normal and should quickly disappear. It will
not recur after appliance has been used a few more times.
For your safety, always read and follow the Use and Care Manual before attempting to use any electric appliance.
BEFORE USING:
1. Carefully unpack the bubble wafe maker. Remove all packaging materials, including those which may be inside the product.
2. Wipe exterior surfaces with a soft, damp cloth to remove dust particles collected during packing and handling. Dry thoroughly. Do
not use abrasive cleaners. Clean the interior with a warm, soapy cloth. Rinse with a clean, damp cloth and dry thoroughly. NEVER
IMMERSE THE BUBBLE WAFFLE MAKER, CORD OR PLUG IN WATER OR ANY OTHER LIQUID.
Solid surface countertops can be easily scratched, cracked, scorched, or damaged, especially when exposed to heat. To prevent possible
damage, consider using a trivet under this appliance.
OPERATING INSTRUCTIONS
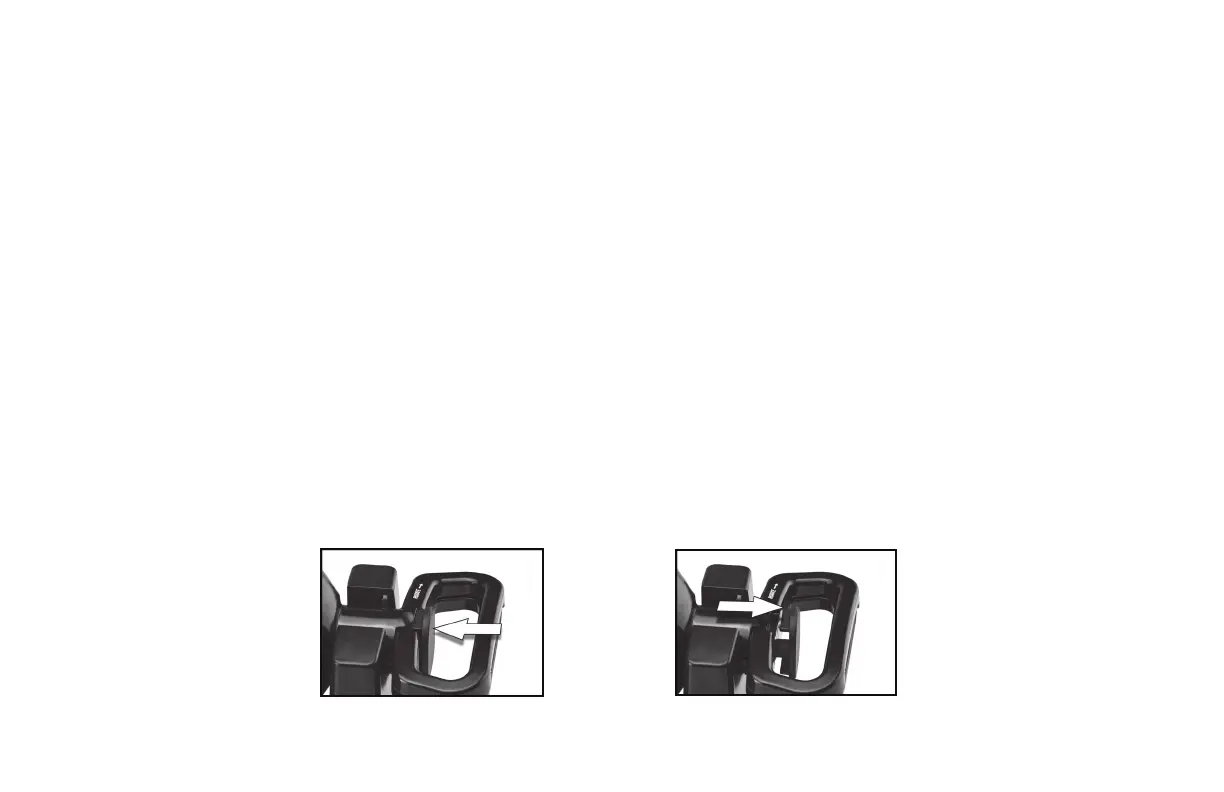
1. Place the bubble wafe maker on a at, level, heat-resistant surface. Close the lid and lock the latch on the handle.
2. Plug the power cord into a 120V AC electrical outlet. This appliance should always be operated on a separate 120V ~ 60 Hz wall
outlet to ensure that the electrical circuit is not overloaded.
3. Once the bubble wafe maker has been plugged in, the power light will illuminate and the appliance will begin heating up. Allow the
bubble wafe maker to preheat for approximately two minutes until the power light turns off. CAUTION: Do not touch the bubble
wafe plates or any metal surfaces. Surfaces are extremely hot.
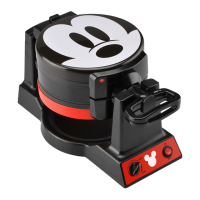
4. Unlock the latch by pulling it towards you and lift the lid by the handle to the fully opened position. Apply a coating of cooking spray
or oil on both the upper and lower bubble wafe plates. NOTE: Latch must be in unlocked position to open lid.
Latch in Locked Position Latch in Unlocked Position