Selmo Electronic
Via Pacinotti, 24 - 35030 Rubano www.selmo.it(PD) Italy- Tel 049.8976761, Fax 049.8976085 -
Selmo Electronic
Via Pacinotti, 24 - 35030 Rubano www.selmo.it
EN
Rev.01 - Aug. 2018Pg. 8
Selmo
Comfort technology division
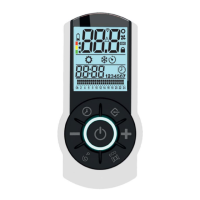
“Galaxy Pro”
Remote control for chronotermostat
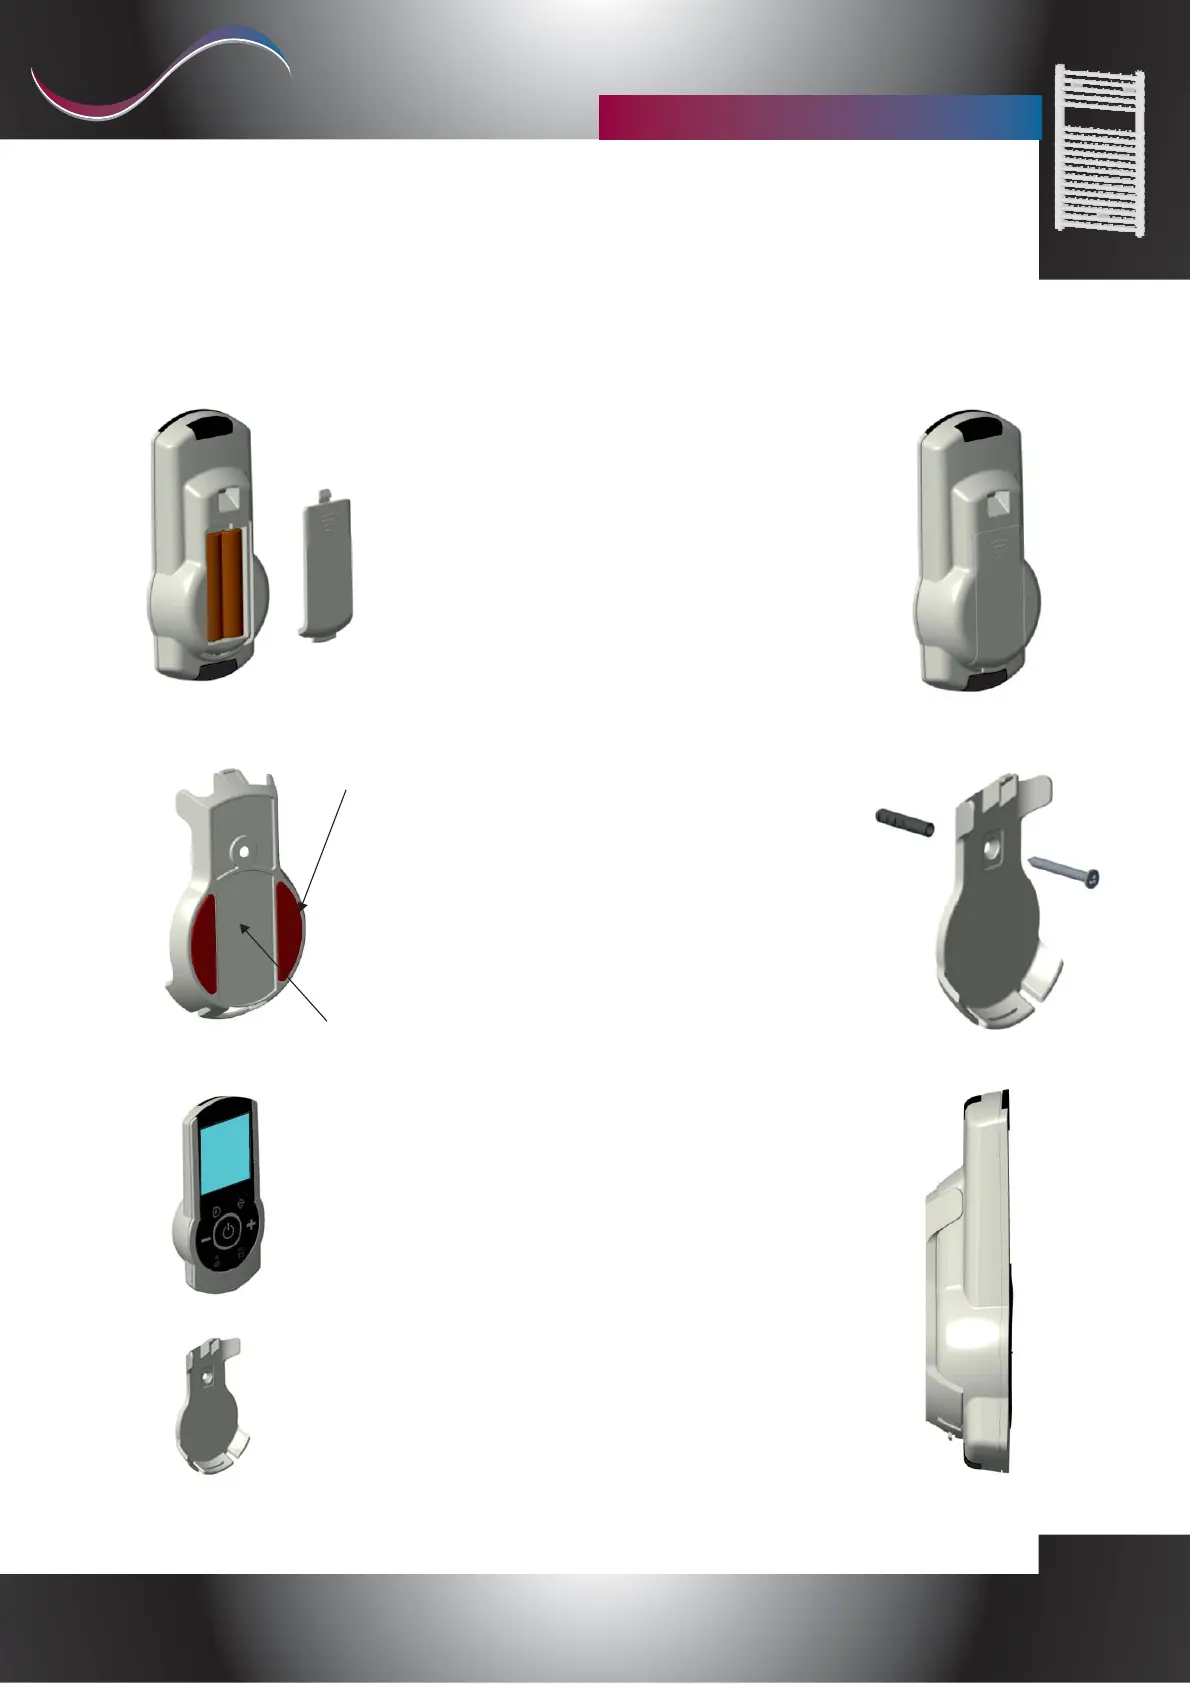
To insert the batteries, pull out the plastic flap of the dedicated
compartment, making a little pressure over the cleats and sliding the
flap down.
Then insert 2x1.5V AAA batteries paying attention to the direction,
indicated inside the body, close the door by inserting it from the
bottom and pull it up until you can hear the joint.
For the wall mounting of the remote control it is possible to use the
two-sided adhesive strips in the remote control holder. You can add,
on glue area a small amount of silicone glue supplied in the package
to allow a better fixing.
There is also a screw and a dowel to fix the support with a wall hole
Dowel dimensions: Diameter 5mm, Length 25mm.
To place the remote control in the support, insert it from top to
bottom, matching the tooth of the support with the corresponding
hole in the remote control.
In the image on the right is shown the correct insertion of the
remote control in the support.
Adhesive strip
Glue Area
Battery and wall support mounting
 Loading...