Foreign Objects: Coins, hairpins, or
other metal objects which have fallen
inside the set.
Connecting an External Speaker:
Wiring accessories to a set that do not
have an isolation transformer.
The list could go on and on. The key
thing is that there is a shock hazard any
time a piece of metal comes in contact
with a hot chassis.
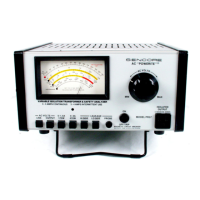
The PR57 Leakage Test: It’s Fast and
Simple
The PR57 simplifies the safety leakage
test, because all circuits are internally
referenced to the isolated output of the
PR57. First, the PR57 allows the leakage
test to be made while the unit under test
is still connected to the isolated output.
Other procedures require a direct
connection to the AC line. The test should
be done with the set plugged into the
PR57. This reduces the chance of getting
a shock while performing the test and
also means that you do not have to
remember to move the AC line cord to a
non-isolated outlet.
The PR57 leakage test does not require
earth ground reference because all of the
current paths are referenced back to the
secondary of the isolation transformer.
This allows you to make the test
anywhere, including in a home that is not
wired with grounded outlets.
To perform the Leakage Test with the
PR57:
1. Plug the PR57 into a properly
grounded three wire AC outlet.
2. Push the AC VOLTS OUTPUT
pushbutton and adjust the VOLTS
control for a reading of 117 volts on
the PR57 meter. This establishes a
117 volt reference for uniform test
results.
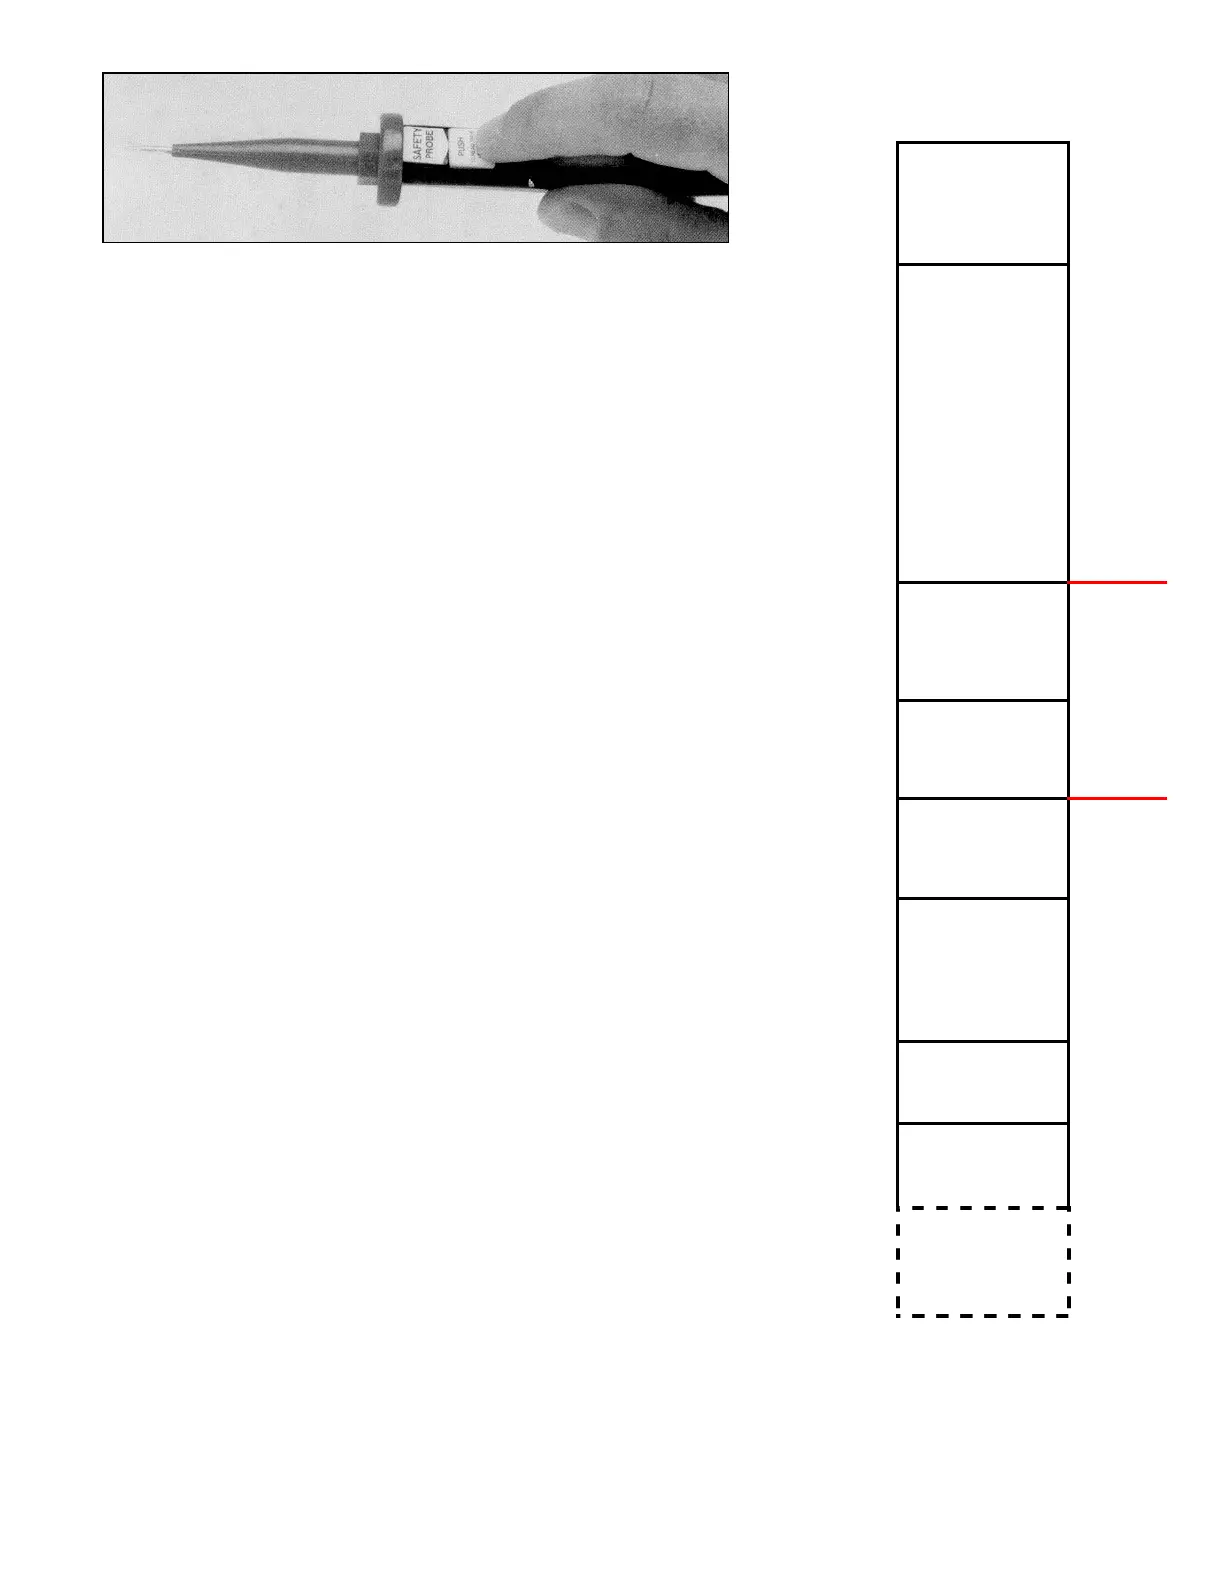
3. Press the HI SIDE leakage button
and plug the Safety Leakage Probe
into the PROBE jack on the front
panel of the PR57.
4. Touch the probe tip to every user-
accessible piece of exposed metal,
including screw heads, antennas,
antenna terminals, knobs, all control
shafts with knobs removed, handles
or anything that even appears to be
metallic.
5. Read the leakage on the µA
LEAKAGE meter scale of the PR57.
To read the true leakage current,
push the button on the probe while
probing the test point.
6. Push the LO SIDE LEAKAGE push-
button and repeat the leakage test to
the same points tested in step 4.
The Safety Leakage Probe has a switch
which places a current-limiting resistor in
series with the test circuit. The resistor is
bypassed when the button on the probe
is depressed.
The resistor limits the amount of current
to prevent the meter from pegging when a
test point with high leakage is contacted.
This condition occurs when the point
being tested is connected directly to
either side of the AC line.
Any test point that reads close to full
scale (800 µA) with the button in the “out”
position is connected directly to one side
of the AC line. If, for example, the meter
reads full scale when the LO SIDE button
is depressed, there is a direct connection
to the common side of the AC line. This is
the side of the polarized line cord plug
with the larger connector.
Leakage readings which are less than full
scale indicate that there is a leakage path
(but not a dead short) to the point being
tested. Simply press the button on the
Safety Leakage Probe to read the actual
leakage current present.
Severe burns, not
fatal unless vital
organs burned.
Heart stops during
shock, may restart if
current is removed
before death occurs.
Heart Fibrillation,
in 1.4 seconds;
usually fatal.
Breathing stops;
often fatal.
Highest
Danger
Zone
Cannot let go.
Current may increase
to fatal level.
Painful sensation.
Mild sensation.
Imperceivable
10A..
9…
8…
7…
6…
5…
4…
3…
2…
1A…
900mA..
800……
700……
600……
500……
400……
300……
200……
100mA…
90……
80……
70……
60……
50……
40……
30……
20……
10mA
9…
8…
7…
6…
5…
4…
3…
2…
1mA
900µA
800….
700….
600….
500
400
300
200
100µA
UL Limit for
consumer
products
UL Limit for
Hospital
Equipment not
connected
directly to body.
Fig. 3: The pushbutton of the Safety Leakage Probe is depressed when
the actual value of leakage current is to be read on the PR57’s meter.
Fig. 4: The effects of electrical
shock on a human being.
 Loading...