Page 6
1. Locate the RP131 near the Wireless Access Point
while doing the configuration.
2. Make sure the Wireless Access Point is on and
working properly.
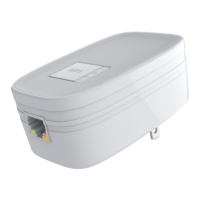
3. Plug the RP131 into the AC power slot, then the
Power LED will remain on.
4. Plug the IP camera into the AC power slot
5. Connect a standard LAN cable from the RP131 to IP
camera
6. Push the WPS button on the Wireless Access Point
and make sure the Wireless Access Point is in WPS
mode. (The LED on the AP will blink and active for 2
minutes.)
7. Push and hold the WPS button on the RP131 for more
than 3 seconds. The WPS LED on the device will start
blinking for 2 minutes. The RP131 will automatically
associate to the Wireless Access Point with the
strongest signal and make connections.)
8. The connection of the RP131 and Wireless Access
Point is successfully established after the Wireless
LED remains on
The RP131 (Wireless PoE Adapter) is now ready for use.
 Loading...