Do you have a question about the SEVERIN KA 4815 and is the answer not in the manual?
Connect the appliance only to an earthed socket in accordance with regulations. Check voltage compatibility.
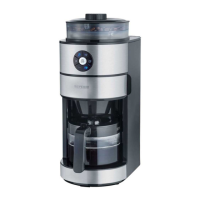
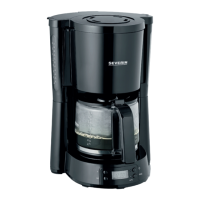
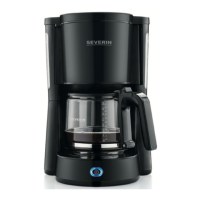
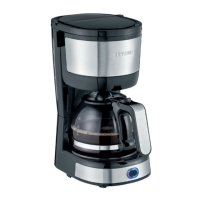
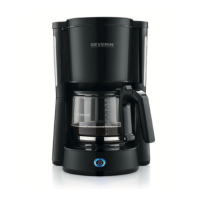
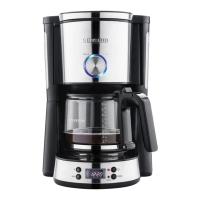
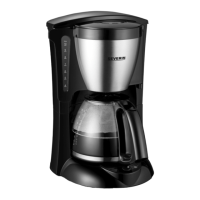
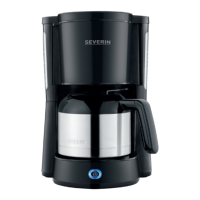
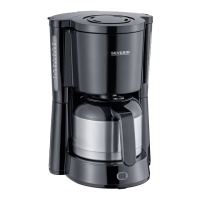
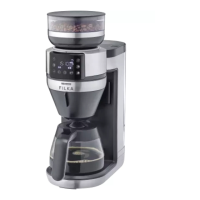
Identify the key parts of the coffee maker, including the water container lid, filter holder, and hot-plate.
Essential safety advice regarding hazards, repairs, cleaning, and avoiding electric shock.
Caution on hot-plate, intended domestic use, and guidelines for use by children or persons with reduced capabilities.
Prohibits children from playing with the appliance or performing maintenance unsupervised. Keep cord away from children.
Ensures level placement, avoids contact with hot surfaces, and advises on safe removal of parts when hot.
The appliance automatically switches off about 35 minutes after the brewing cycle is complete to save energy.
Run two to three filtration cycles with cold water only, without ground coffee, before initial use or after descaling.
Use the measuring scale on the container and carafe. Do not exceed the maximum water amount.
Instructions for filling the water container and inserting the paper filter into the swing-out filter holder.
Details on adding ground coffee, preparing the carafe, starting brewing, removing the carafe, and switching off the appliance.
Clean the appliance with a damp cloth and mild detergent. Do not immerse in liquid or use abrasives.
Instructions for cleaning the filter insert, coffee grounds disposal, and washing the carafe and filter insert.
Descaling is necessary due to water quality and frequency of use to maintain function and prevent leaks.
Use a vinegar solution to descale, followed by rinsing cycles with clean water. Ensure ventilation.
Do not pour descaling solutions down enamel sinks to avoid damage.
Dispose of appliances separately from household waste. They contain recyclable materials and protect the environment.
Guaranteed against defects for two years. Requires proper use and authorized service for claims.
Guarantee does not cover wear and tear, breakables, or misuse. Statutory rights are unaffected.
Instructions on how to pack and return the product for warranty service, including proof of purchase.
| Product type | Drip coffee maker |
|---|---|
| Built-in grinder | No |
| Capacity in cups | 10 cups |
| Number of spouts | 1 |
| Coffee input type | Ground coffee |
| Coffee maker type | Semi-auto |
| Appliance placement | Countertop |
| Water tank capacity | 1.25 L |
| Dishwasher-proof parts | Yes |
| Reservoir for brewed coffee | Jug |
| Lid type | Flip-top lid |
| Control type | Buttons |
| Product color | Black |
| Reservoir for brewed coffee material | Glass |
| Depth | 235 mm |
|---|---|
| Width | 300 mm |
| Height | 338 mm |
| Weight | 1900 g |