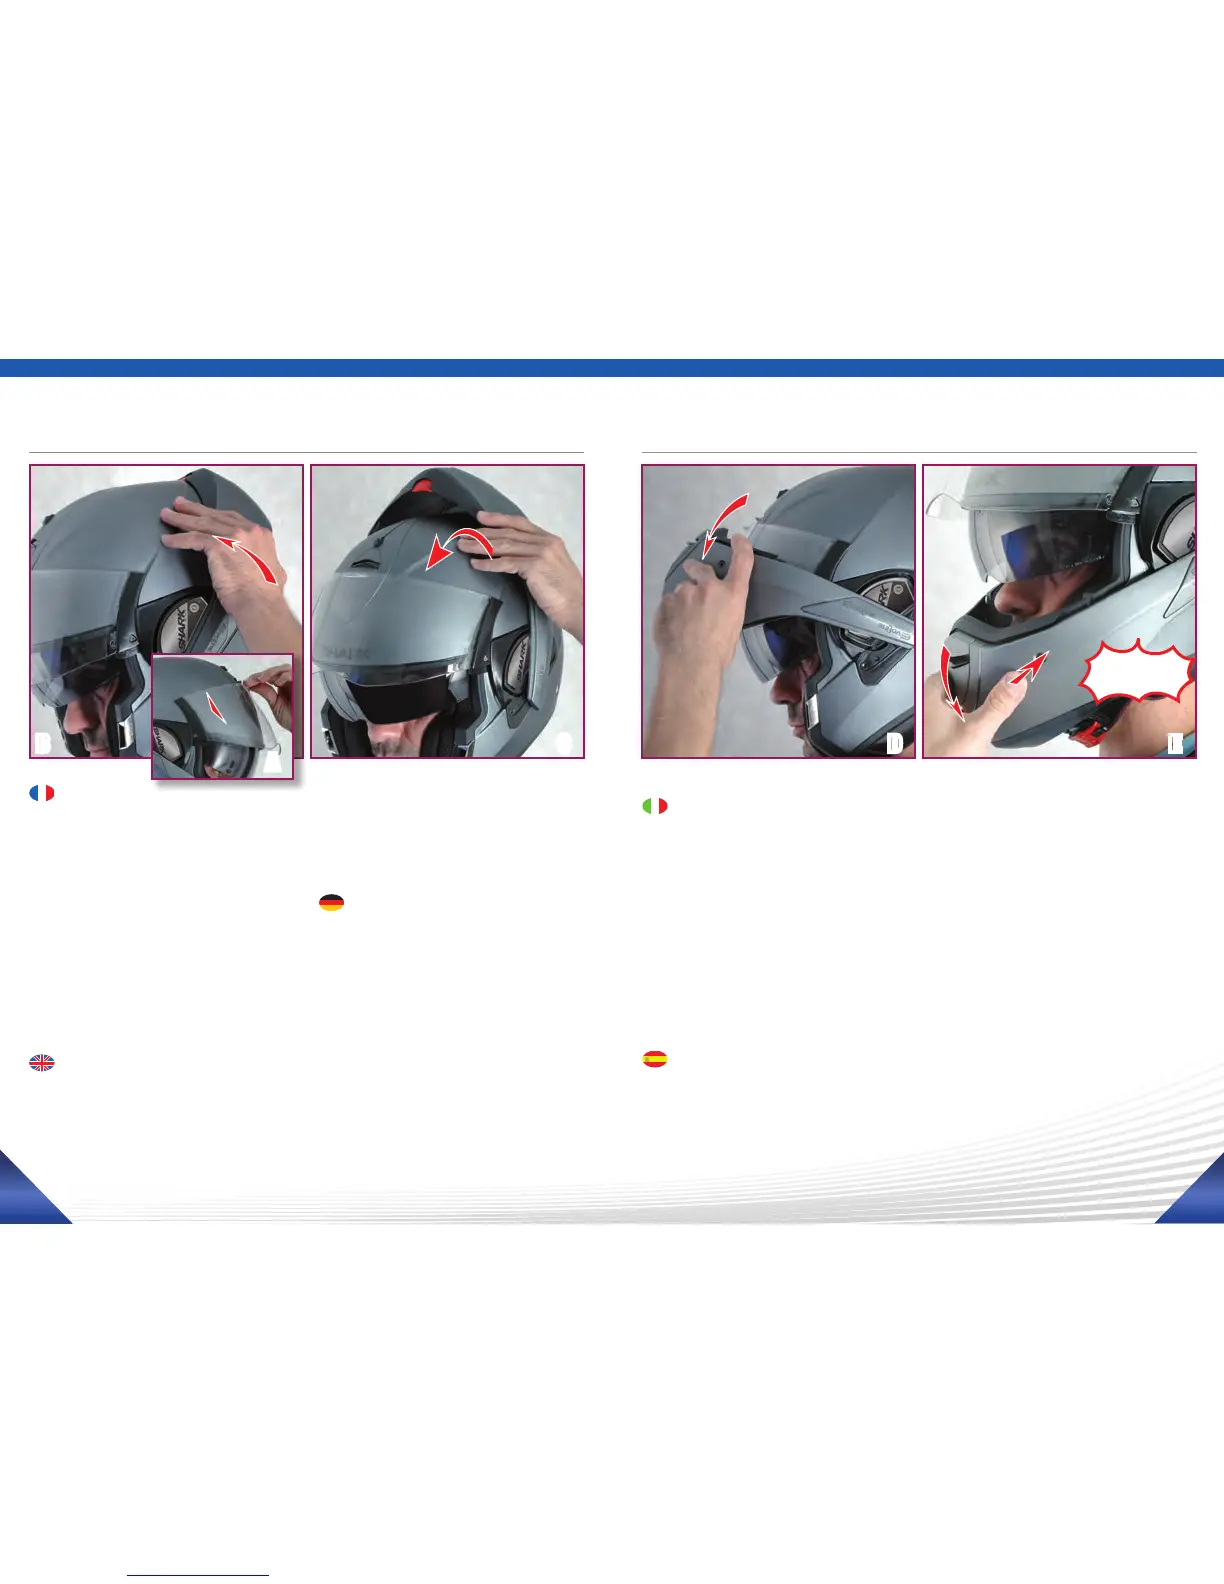
EasyManuals Logo

Shark Evoline 3 Series Manual

Shark Evoline 3 Series
31 pages
To Next Page IconTo Next Page
To Previous Page IconTo Previous Page
Page #10 background imageLoading...
Page #10 background image
1918
B C
A

     


    

     
 
 
     
     
      -
    



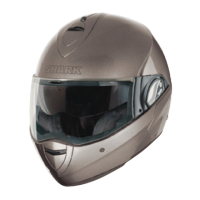
This transformation is equally easy. If your
visor is in the lower position, lift your visor
(Fig A) by pushing its central catch upwards.
Then, take hold of the chin bar on the left side
(Fig B) with the thumb and forefinger and tilt it
forward (Fig C-D). Caution: DO NOT PUSH THE
RED BUTTON ON CHIN BAR when operating; it
might damage the surface of the helmet. Once
the chin section is in the low position, push it
slightly backward until it locks with a “click”
(Fig E).

   
     
      




     
   
     
     
     

       


Anche in questo caso le operazioni da ese-
guire sono semplici. Se la visiera è in posizione
abassata, sollevare la visiere (Fig A) agendo sul
punto di presa centrale. Prendete poi la men-
toniera sul lato sinistro (Fig.B) tra il pollice e
l’indice e fatela rotare verso la parte frontale
(Fig. C-D). ATTENZIONE : realizzando questa
operazione NON PREMERE IL BOTTONE ROSSO
della mentoniera in quanto potreste danneg-
giare la superficie del casco. Dopo aver abbas-
sato il sottogola, ripremerlo leggermente verso
la parte posteriore fino a udire dei « clic » di
chiusura (Fig E).

    


     
 

     

-
-

-


D E
clic!





Other manuals for Shark Evoline 3 Series

Questions and Answers:

Question and Answer IconNeed help?

Do you have a question about the Shark Evoline 3 Series and is the answer not in the manual?

Shark Evoline 3 Series Specifications

General IconGeneral
Helmet TypeModular
CertificationECE 22.05
Sun VisorIntegrated
InteriorRemovable and washable
WeightApprox. 1700g (size M)
Additional Features"SHARKTOOTH" ready

Related product manuals