AH/AU-X108E
AY/AE-X108E
AH/AU-X138E
AY/AE-X138E
39
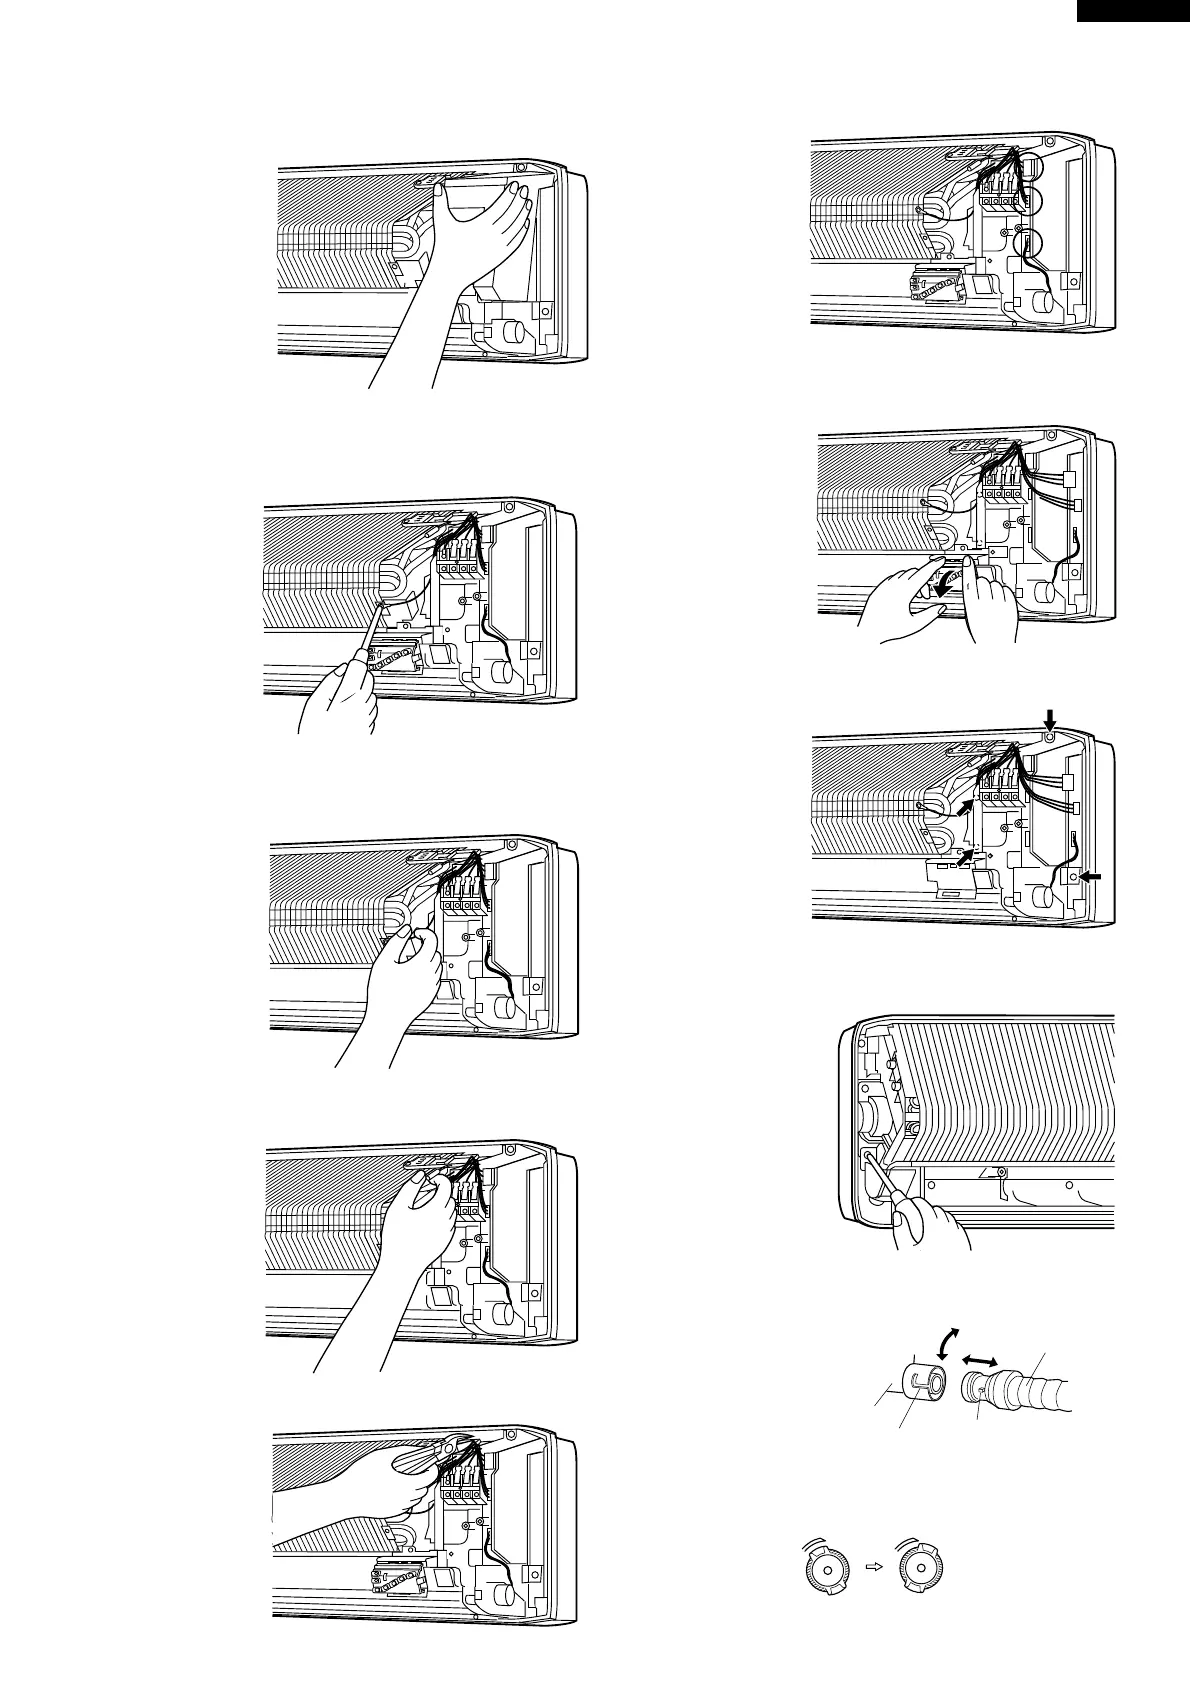
9. Remove the control box cover.
Holding its bottom, pull and disengage the upper hook
toward the bottom.
10. Remove the ground wire. (One screw)
Note: During reassembly, take care for the direction
of the lead wire.
11. Remove the protect cover for the dew.
Note: During reassembly, verify that the dew on the
pipe is recovered to the drain pan.
13. Cut the tie band of the lead wire.
12. Remove the thermostat of the evaporator.
(Pull it out after peeling off the thermoseal.)
14. Remove two connectors of the fan motor and one of
louver motor.
15. Remove the indicator assembly.
(Push the upper two hook of the LED holder , and the
indicator will be ready for removal.)
16. Remove four fastening screws of the control box, and
remove the control box.
17. Remove the fastening screws of the drain pan. (One
screw on the left side.)
18. Turn the cap area of the drain hose counterclockwise,
and remove it from the drain pan.
Drain pan
Drain Hose
Groove
Projection
During installation, turn the drain hose to the state of
the “engagement position”.
After reinstallation, verify that it is securely fastened.
To disconned To reconnect