9
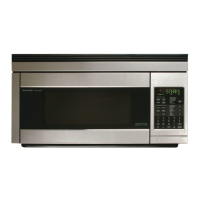
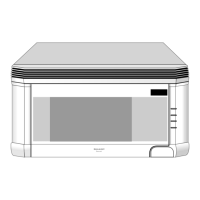
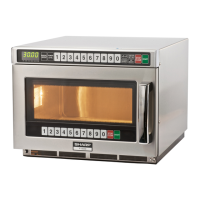
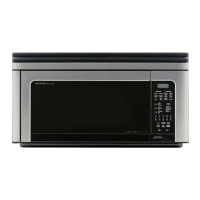
R-1490
R-1491
R-1492
TEST PROCEDURES
PROCEDURE
LETTER
COMPONENT TEST
M KEY UNIT TEST
1. Disconnect the power supply cord, and then remove outer case.
2. Open the door and block it open.
3. Discharge high voltage capacitor.
4. If the display fails to clear when the STOP/CLEAR pad is depressed, first verify the flat ribbon cable
is making good contact, verify that the door sensing switch (stop switch) operates properly; that is the
contacts are closed when the door is closed and open when the door is open. If the door sensing
switch (stop switch) is good, disconnect the flat ribbon cable that connects the key unit to the control
unit and make sure the door sensing switch is closed (either close the door or short the door sensing
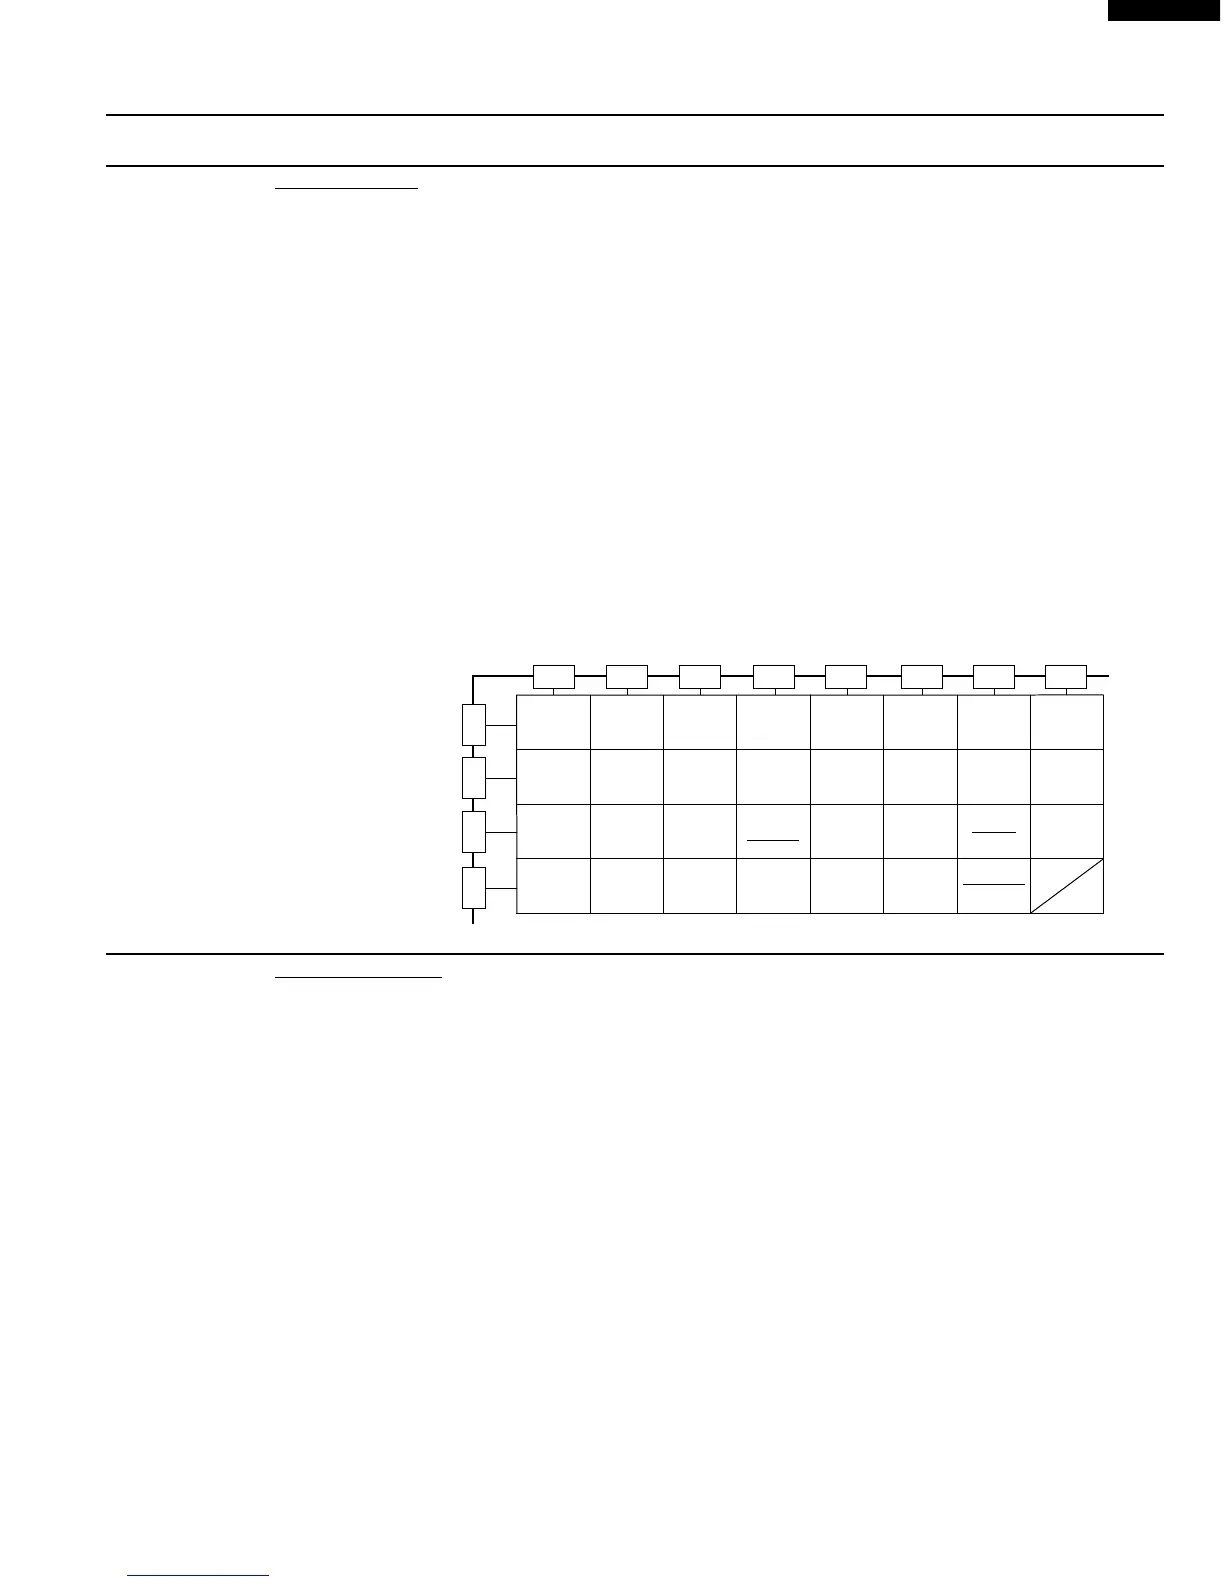
switch connecter). Use the Key unit matrix indicated on the control panel schematic and place a
jumper wire between the pins that correspond to the STOP/CLEAR pad making momentary contact.
If the control unit responds by clearing with a beep the key unit is faulty and must be replaced. If the
control unit does not respond, it is faulty and must be replaced. If a specific pad does not respond,
the above method may be used (after clearing the control unit) to determine if the control unit or key
pad is at fault.
5. Reconnect all leads removed from components during testing.
6. Re-install the outer case (cabinet).
7. Reconnect the power supply cord after the outer case is installed.
8. Run the oven and check all functions.
17
8
9
0
26
3
4
5
Fresh
vegetables
Fozen
vegetables
Baked
Potato
Custom
Help
Ground
meat
RicePopcorn
Reheat
Compu
Cook
Compu
Defrost
Fish /
seafood
Frozen
entrees
Power
Level
Turn
Table
On / Off
Work
Light
Night
Light
Fan
Hi / Lo
Stop
Clear
Start
Touch On
Minute
Plus
Kitchen
Timer
Clock
G 1 G 2 G 3 G 4 G 5 G 6 G 7 G 8
G 9G10G11G12
Q AH SENSOR TEST
Checking the initial sensor cooking condition
WARNING : The oven should be fully assembled before following procedure.
(1) The oven should be plugged in at least two minutes before sensor cooking.
(2) Room temperature should not exceed 95˚F (35˚C).
(3) The unit should not be installed in any area where heat and steam are generated. The unit should
not be installed, for example, next to a conventional surface unit. Refer to the “INSTALLATION
INSTRUCTIONS” of the operation manual.
(4) Exhaust vents are provided on the back of the unit for proper cooling and air flow in the cavity. To
permit adequate ventilation, be sure to install so as not to block these vents. There should be some
space for air circulation.
(5) Be sure the exterior of the cooking container and the interior of the oven are dry. Wipe off any moisture
with a dry cloth or paper towel.
(6) The Sensor works with food at normal storage temperature. For example, chicken pieces would be
at refrigerator temperature and canned soup at room temperature.
(7) Avoid using aerosol sprays or cleaning solvents near the oven while using Sensor settings. The
sensor will detect the vapour given of by the spray and turn off before food is properly cooked.
(8) If the sensor has not detected the vapour of the food, ERROR will appear and the oven will shut off.
Water load cooking test
WARNING : The oven should be fully assembled before following procedure.
Make sure the oven has been plugged in at least two minutes before checking sensor cook operation.
The cabinet should be installed and screws tightened.