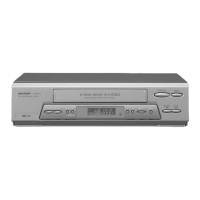
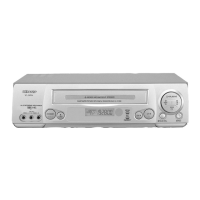
VC-M H80
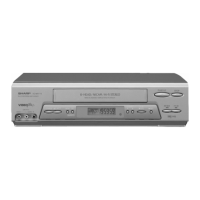
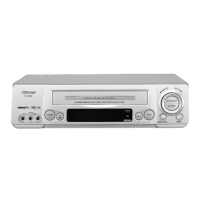
VC-MH90
ADJUSTMENT OF NTSC SYSTEM HEAD
SWITCHING POINT
Measuring
instrument
Dual-trace oscilloscope and
colour
TV monitor
I
Mode
I
Playback
I
Cassette
I
Alignment tape (VROATSV)
I
Test point
TP2202 (H. SW. P.) to CH-1
VIDEO OUT jack to CH-2
(CH-1
trigger slope switch at
(
+),
internal trigger at CH-1
side.)
Specification
16.5
+
0.5H
(lines)
I
1
1. Remove the front panel and play the alignment
Measuring
tape. (VROATSV)
instrument
(Playback picture on the monitor screen.)
2. Make for a moment short-circuit between TEST
jumpers 3 and 4 located on the timer PWB.
Be sure that all the fluorescent display tubes
light up into the TEST mode. (See Note below
@)
3. Press the PLAY button, in the automatic adjust-
ment mode.
Mode
Cassette
Control
4. Be sure that
I’)”
appears in the fluorescent
display tubes flashing into the operating.
5. Stop the
“b”
appears in the flashing of
fluorescent displayed tubes at adjusted.
6. Press the “STOP” button oder in the return to
normal mode.
Specification
7. Make this checking of waveform on the
oscilloscope screen be as shown in Figure
5-3.
#just
after the head switching point have been
adjusted.
If it is out of specified value, press the “FF” or
“REW” button in the make sure the specifica-
tion.
Notes:
1. Have the unit to receive a good TV broadcast or
feed a video signal to the VIDEO IN jack. (See
note
8
below)
2. Set the tape speed in SP mode by using the
remote controller and record the signal on tape.
3. Rewind and play the tape where signal was
recorded in above step.
0
Set-up of TEST mode.
4. Press the “SLOW” button on the remote control,
and playback the recorded portion in the slow
mode.
When
the adjustment of HEAD
SWITCH!NG
POINT, AUTO TRACKING function is invalid.
@When the cassette housing control ass’y is
removed, setup of mechanism operating mode.
1)
Replug
the AC power cord a few minutes later.
2) Make a short-circuit between test jumpers 3 and
4 located on the timer PWB to center the
tracking.
3) AC power cord is plugged in.
4) You can make mechanism operating mode.
Replug
the AC power cord a few minutes later.
5. Make for a moment short-circuit between TEST
jumpers 3 and 4 located on the timer PWB.
Make sure that all the fluorescent display tubes
light up into the TEST mode.
6. Look at the monitor screen and adjust the
(+)
or
(-)
TRACKING buttons so that the there is noise
disappears from the screen.
7. Press the “PLAY” button to return to normal
mode.
8. Play the tape a few seconds then press the
“SLOW” button again and make sure there is no
noise in the screen.
CH-1
:lV/div
5Opldiv
CH-2:ZVldiv
5Opldiv
CH-1
A
6.5
+
0.5H
(lines)
____)!
V-sync.
Figure
5-3.
ADJUSTMENT OF NTSC SYSTEM
SP/LP
SLOW TRACKING PRESET
Colour TV monitor
Playback
Self-recorded tape
(SP/EP
mode)
(See Note below)
Tracking control buttons
(
+
)
or
(For the EP mode put adjustment at the same
adjustment way as SP mode.)
Notes:
@Self-recorded tape means a cassette whose
program was recorded by the unit being
adjusted.
Q
The TV program will not be recorded if RCA plug
is pluged in the AUDIO/VIDEO input terminals.
37
 Loading...