9
8.2.2 Setting the welding parameters and braze
1. Turn on the power supply connector on the rear of the device.
2. The switch method of welding (5) to position MIG / MAG welding.
3. The rotary knob (7) to the appropriate welding voltage.
4. knob (6) Set the wire feed speed.
5. knob (8) adjust the inductance (see point 6).
8.2.3 arc Initiation
1. Bring the holder parts to be welded, so that the distance between the nozzle and the welded parts was approx. 10 mm.
2. Press the button on the torch and start welding. Releasing the button will complete the welding process.
9. Before calling service,
In the event of malfunction of the unit, before sending welding for service, check the list of basic failures and try to remove them yourself.
Repair work may only be carried out after removing the plug from the wall socket.
Attention! The device is not sealed, and the user can remove the cover of the welding device in order to remove minor breakdowns.
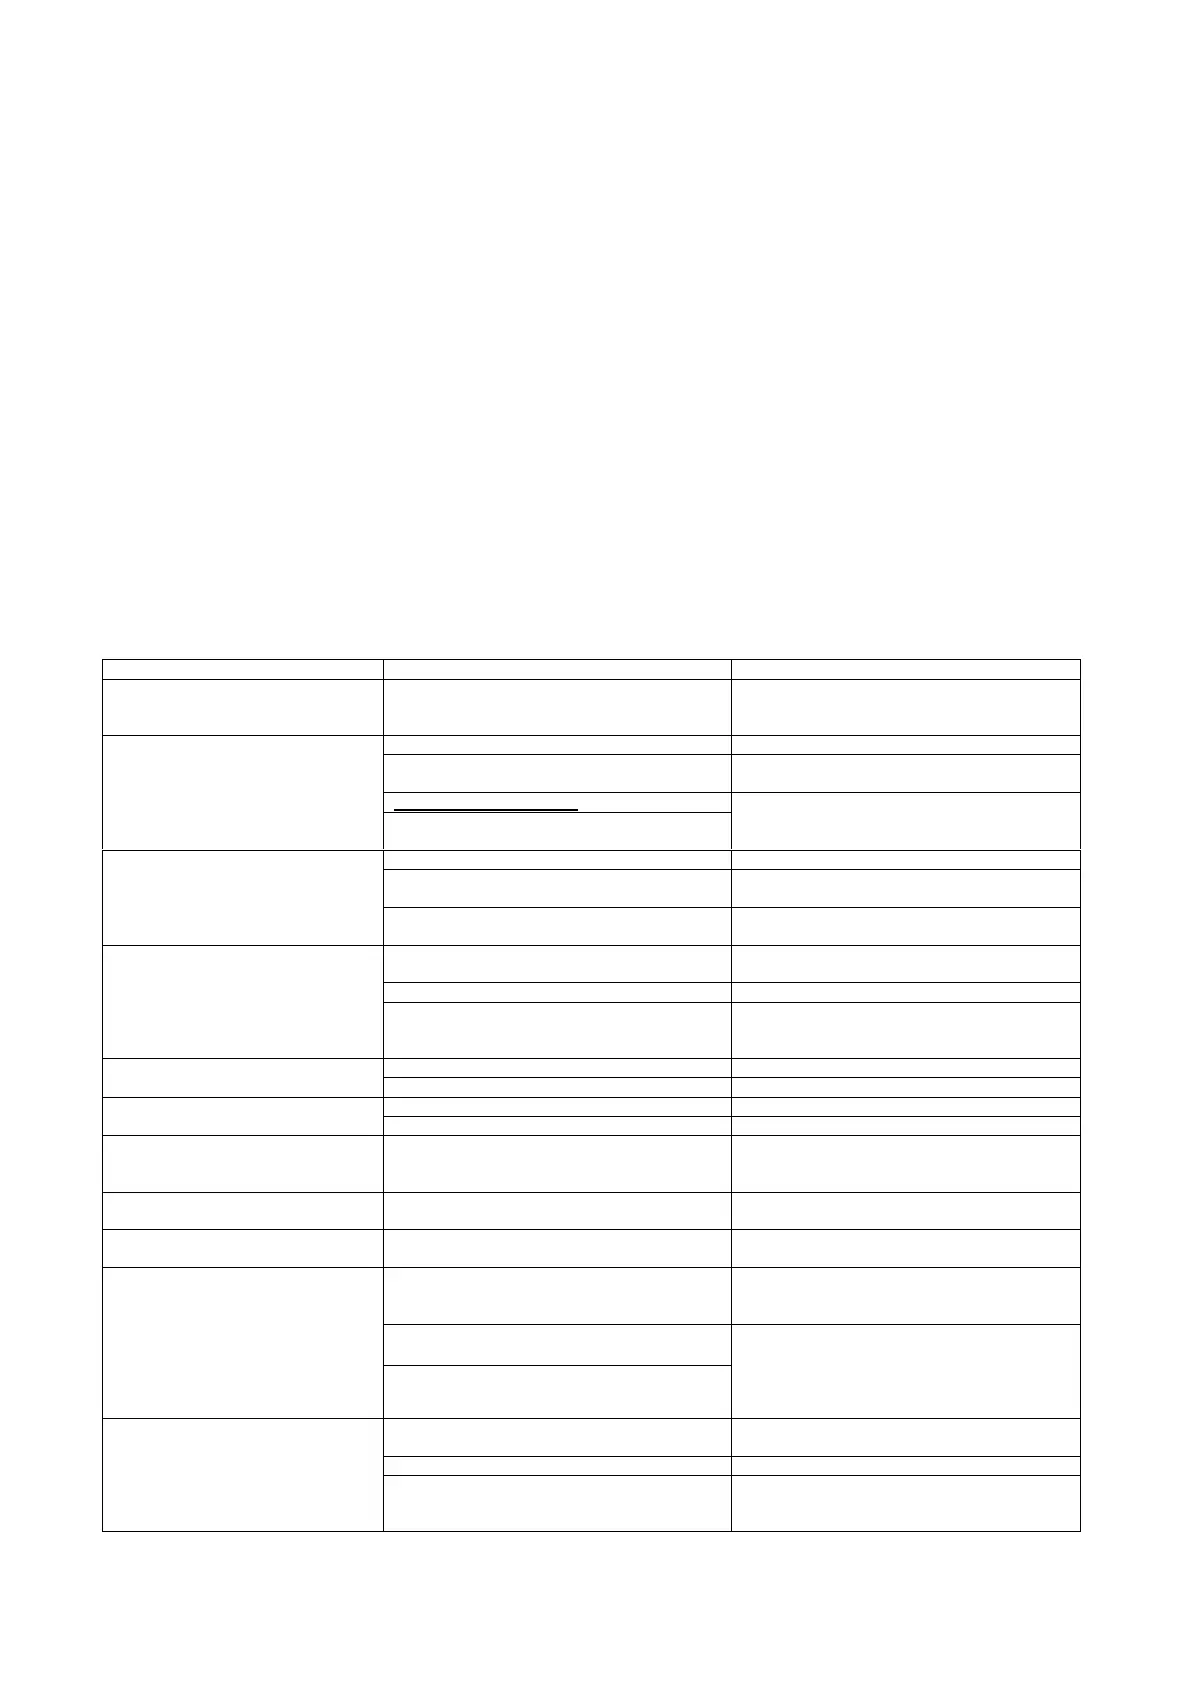
symptoms Cause Procedure
No power, signal failure or faulty
operation of the unit
No connection or loose plug inside the device
Remove the cover, check and correct the connection of
all electrical plugs inside the device
No feed of the electrode wire (feeder
motor is running)
Weak pressure rollers Set the correct pressure
Not the diameter of the groove of the guide
roller
Wear an appropriate guide roll
Contaminated guide wire holder Clean the guide wire electrode Locked wire electrode at the end of the current Contaminated guide wire holder Clean the guide wire electrode Locked wire electrode at the end of the current
Replace contact tip
Irregular wire feed electrode
Current damaged tip Replace contact tip
The groove the feeding roller is dirty or
damaged
Clean the roll groove or replace the roll
Spool with wire rubs against the walls of the lid welder
Attach the wire spool correctly
Not to bow strikes
Lack of proper contact wire clamp mass
To improve mass contact terminal
Faulty switch in the handle MIG replace switch
Improper connection to the unit MIG
Check the condition of the electrical connections of the
handle, check that the pins in the socket are not broken
or jam
Arc too long and irregular
Welding voltage too high Reduce the welding voltage
Wire feed speed too low Increase the speed of wire feed
Arc too short
Welding voltage too low Increase welding voltage
Wire feed speed too high Reduce the wire feed speed
After the power indicator light switching power
supply is not lit
No power supply
Check the fuses on the network connection
LED is overheating The device has been overheated.
Wait a few minutes until the LED goes out and
continue welding.
The fan is not working
The fan was blocked folded cover
Straighten fan cover
Unsatisfactory quality of the weld in MIG
Inadequate or poor quality materials or
consumables,
Replace consumables. Change the welding wire or the
gas cylinder for materials suitable or higher quality
Shielding gas flows from the wrong intensity.
Check the gas hose, improve the connection hose with
fittings and quick status check Cylinder regulator, adjust
the inductance.
Inductance wrong setting.
Unsatisfactory quality of the weld MMA
electrode sticks to the work piece
Wrong polarity of welding cables
Connect the correct welding wires
Humid electrode. replace electrode
Welder is supplied from the generator or by a long
extension cord diameter is too small cable
Connect directly to the mains
 Loading...