35
Replacement and assembly of the indicator unit
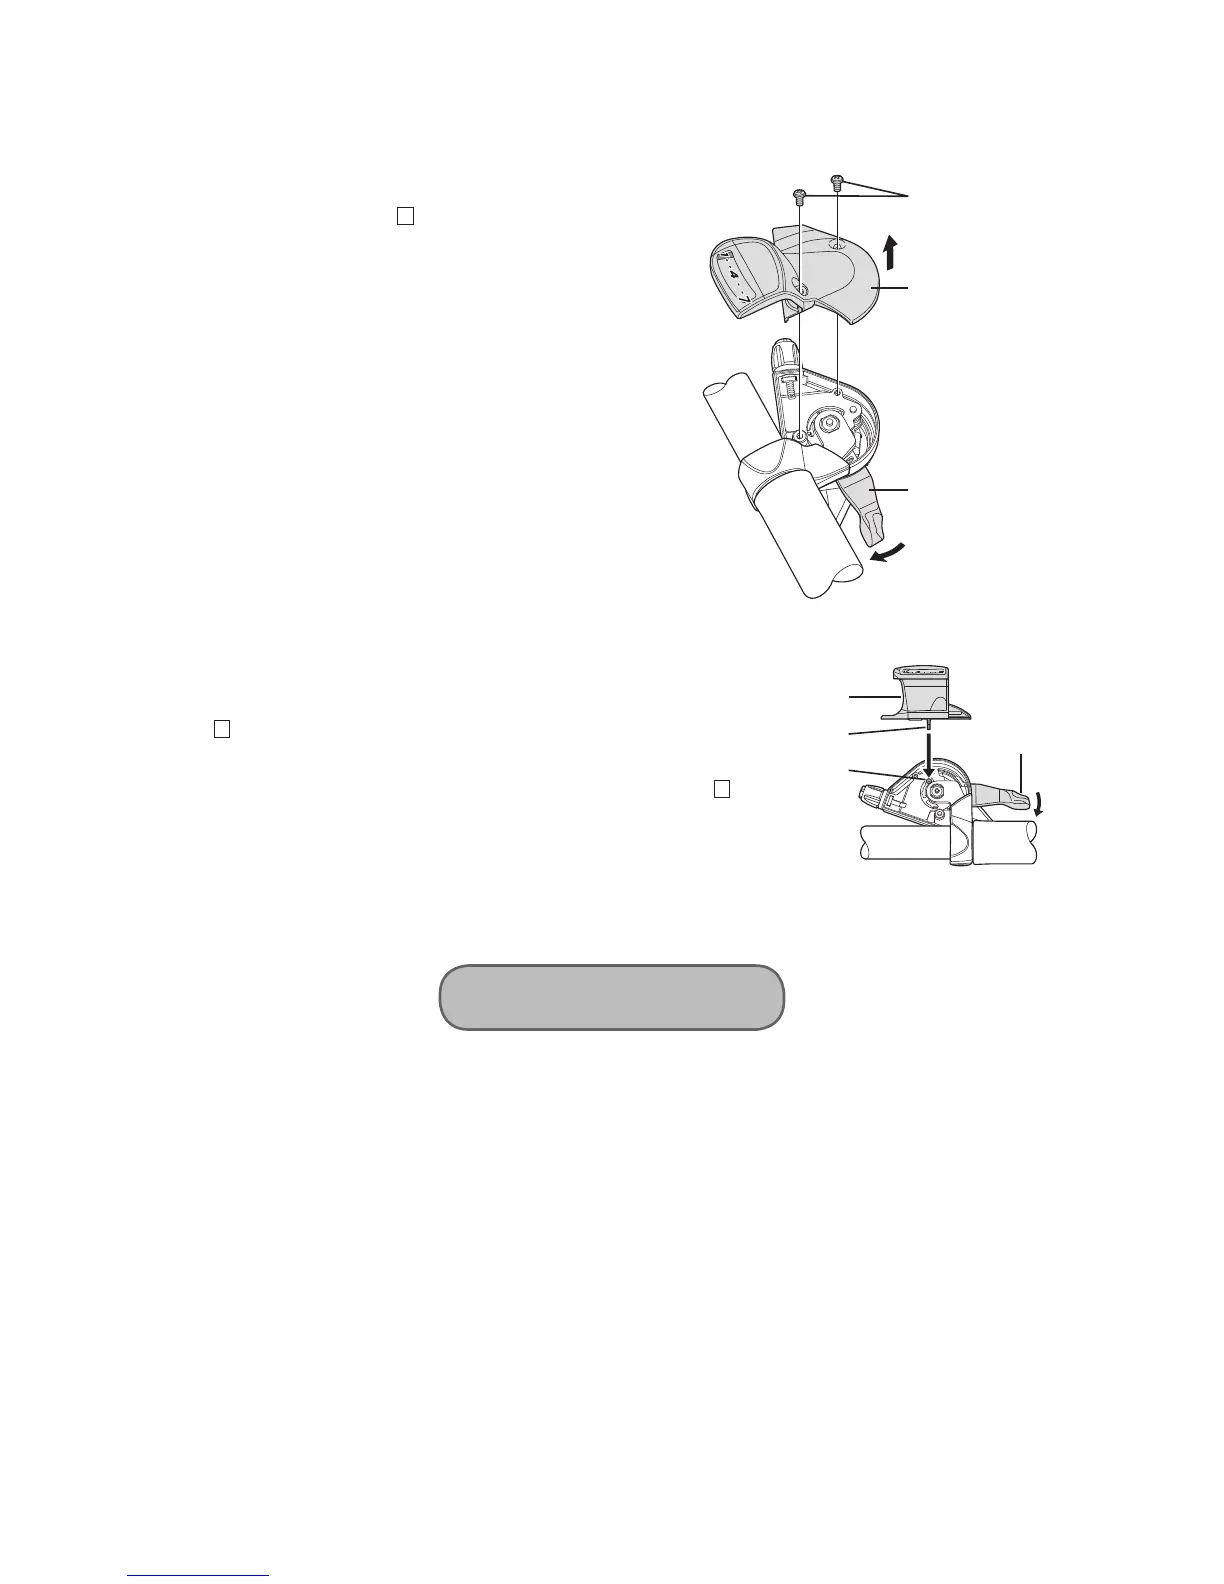
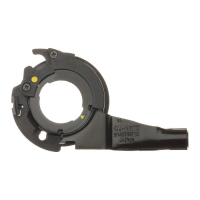
Disassembly and assembly should only be carried out when removing and replacing the indicator unit.
< Removal >
1.
Operate lever B to set it to
1
.
2.
Loosen and remove the two cover fixing screws which are
securing the indicator unit.
3.
Remove the indicator unit as shown in the illustration.
Lever B
Indicator unit
Cover fixing screws
< Installation >
4.
Check that the needle of the indicator is on the left side
(
1
position), and then install the indicator unit so that it is
facing straight upward. Insert the pin of the change plate that
is protruding from the bottom of the indicator unit into the
hole in the winder unit at this time.
Lever B
Hole in winder unit
(
1
position)
Pin of change plate
Indicator unit
5.
Secure the indicator unit with the two cover fixing screws.
6.
Operate lever A and lever B, and check their operation. If they do not operate correctly, reinstall the indicator unit while
taking particular note of step 4. above.
Do not disassemble the indicator unit or the shifting lever unit. Disassembling them may result in malfunctions.




 To Next Page