555970 MARK V – MOUNTED OVERARM PIN ROUTER
26
Screw-down fixtures are the easiest type of
fixture to use and generally take less time to
make than clamp-in fixtures. As shown in
our example, they can be used to duplicate
such things as award or tole painting
plaques, round or oval picture frames and
similar items.
If you’re making a large quantity of dupli-
cate products, assembly and disassembly
time can be reduced by using needlepoint
utility screws to eliminate starter holes, and
a power screwdriver or variable speed re-
versible hand drill with a screwdriver bit to
drive them into position.
This approach may not work and pilot holes
could be required if the screws are near the
edges of your workpieces. And remember. ..
making several identical fixtures also will
speed up large quantity production time.
NOTE
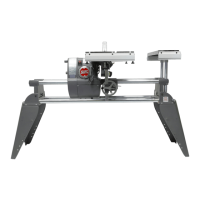
In our plaque example, by adding an addi-
tional groove to the fixture (see broken
lines in Figure 17) and making the overall
size of the fixture larger, you can actually
form three projects from a single piece of
stock .
(1) A square picture frame with a plaque-
shaped opening.
(2) A plaque-shaped picture frame with a
plaque-shaped opening.
(3) A smaller plaque for tole painting or
decoupage.
Step 1: Screw the appropriate sized guide
pin into the center hole of the Router Table
Insert and align it with the same sized router
bit, as explained previously.
Step 2: Drop the fixture groove over the
Table Pin, turn on your router motor, and
set your final depth-of-cut so the bit just
barely breaks through the surface of the par-
ticleboard side of your fixture. Turn off your
router motor.
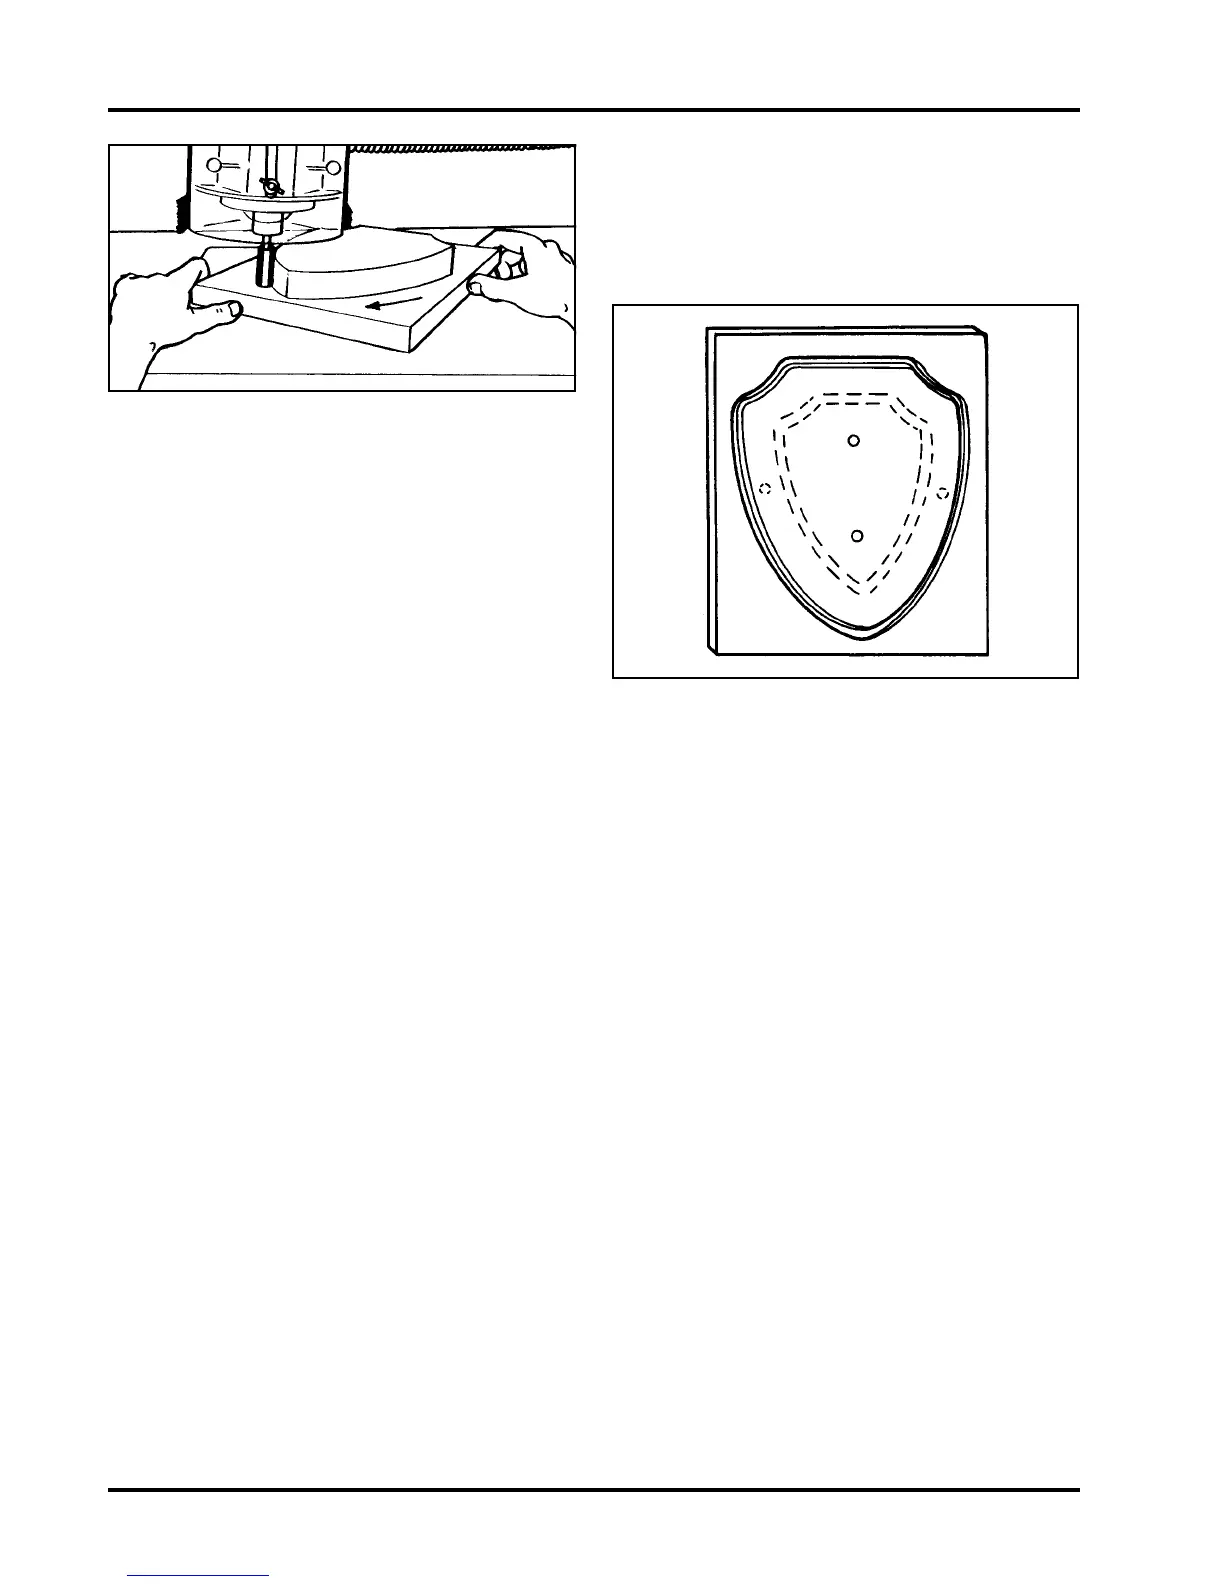
Step 3: Attach your workpiece to the fixture
Step 4: Drop the fixture groove over the
Table Pin, turn on your router motor, plunge
your rotating bit into the workpiece about
1/4" and start moving your fixture (with
workpiece attached) in a counter-clockwise
motion until you’ve completed your initial
cut in the first groove.
Step 5: Repeat the process for each groove
in your fixture.
Figure 16. Routing with a screw-down
fixture.
Figure 17. Getting multiple projects from
a single workpiece.