EasyManuals Logo

Shot-Scope PRO LX+ User Manual

Shot-Scope PRO LX+
32 pages
To Next Page IconTo Next Page
To Previous Page IconTo Previous Page
Page #13 background imageLoading...
Page #13 background image
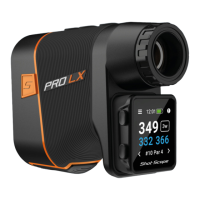
Step 2: Installing tags
Your Shot Scope comes with 16 tags, each labelled with an
initial to identify the club. It is best practice to match the
appropriate tags with the corresponding club. For example,
the D tag would screw into your driver.
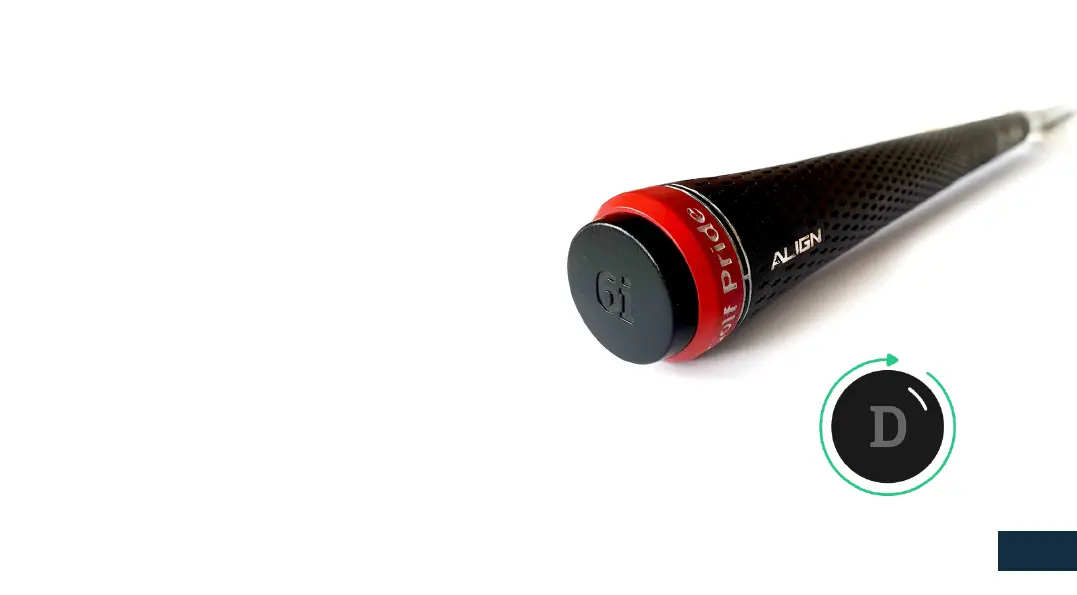
Tags must be inserted securely into the grip of the club you
wish to track. Do this by rotating the tag clockwise whilst
applying a slight downward force.
There are 2 ‘spare’ tags marked X1 and X2, these should be
used for clubs such as a 7 wood or an extra driver.
Only the P tag can be used with a putter.
Existing Shot Scope User: The tags from your previous
Shot Scope product will work with the handheld, however we
recommend swapping the old tags for the new ones provided.
09

Questions and Answers:

Question and Answer IconNeed help?

Do you have a question about the Shot-Scope PRO LX+ and is the answer not in the manual?

Shot-Scope PRO LX+ Specifications

General IconGeneral
Range900 yards
Accuracy+/- 1 yard
Magnification7x
GPSYes
Slope AdjustmentYes
Water ResistanceYes
Battery TypeCR2
Pinpoint TechnologyYes
CategoryLaser Rangefinder
TypeLaser Rangefinder
Objective Lens Diameter22mm
Weight8.5 ounces
Dimensions121mm x 88mm x 65mm

Related product manuals