Note:
• This equipment is intended to be used in professional audio applications.
• EMC conformance is based on the use of supplied and recommended
cable types. The use of other cable types may degrade EMC perfor-
mance.
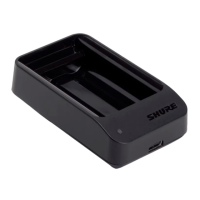
• Use this battery charger only with the Shure charging modules and battery
packs for which it is designed. Use with other than the specified modules
and battery packs may increase the risk of fire or explosion.
• Changes or modifications not expressly approved by Shure Incorporated
could void your authority to operate this equipment.
WARNING
• Battery packs may explode or release toxic materials. Risk of fire or
burns. Do not open, crush, modify, disassemble, heat above 140°F
(60°C), or incinerate.
• Follow instructions from manufacturer
• Only use Shure charger to recharge Shure rechargeable batteries
• WARNING: Danger of explosion if battery incorrectly replaced. Replace
only with same or equivalent type.
• Never put batteries in mouth. If swallowed, contact your physician or local
poison control center
• Do not short circuit; may cause burns or catch fire
• Do not charge or use battery packs other than Shure rechargeable bat-
teries
• Dispose of battery packs properly. Check with local vendor for proper
disposal of used battery packs.
• Batteries (battery pack or batteries installed) shall not be exposed to
excessive heat such as sunshine, fire or the like
WARNING: Danger of explosion if incorrect battery replaced. Operate only
with AA batteries.
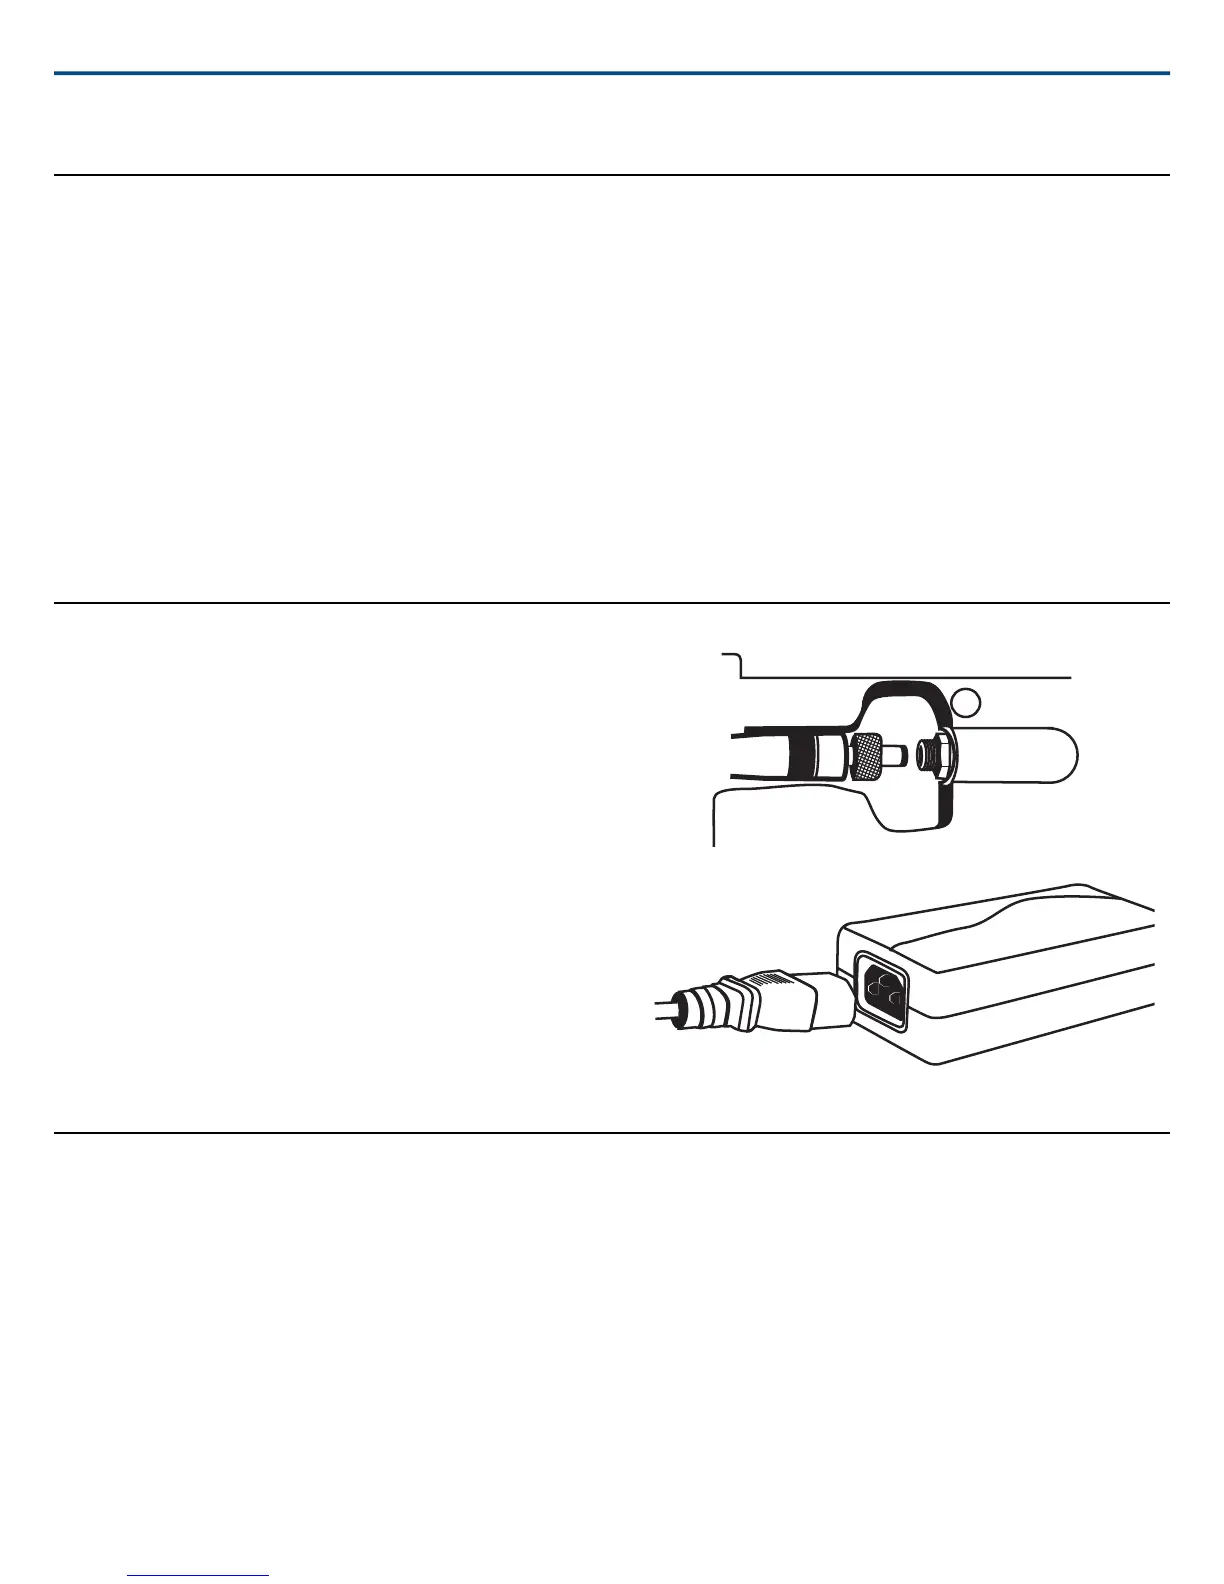
Power
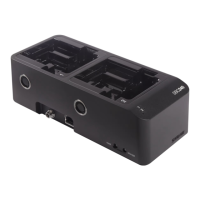
1. Connect DC power cable to input jack on bottom of charger. Finger
tighten lock nut for a secure connection.
2. Route the cable along the desired channel and press into place to secure.
3. Connect power cable to AC Adapter.
WARNING:
• Do not use pliers or any other tools to tighten lock nut. DC power cable
must be attached before charger unit is installed.
• Do not plug in power supply unit until DC connection and charger are in
place.
• After securing the charger, plug the power cable into a properly grounded
outlet.
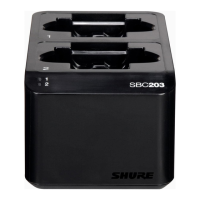
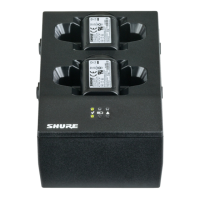
The SBC200 has no power switch. When plugged in, the charger is ready.
The LEDs illuminate after batteries are inserted.
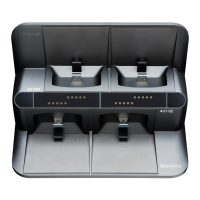
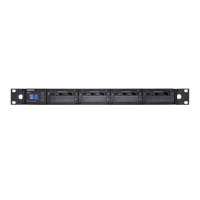
Adding a Charger
To save space and reduce clutter, up to 4 chargers can share 1 power supply.
1. Unplug charger from the power source.
2. Insert set screws into the power pass-through connector.
3. Align units and tighten screws using the supplied allen wrench.
Important: Do not overtighten.
4. Repeat above steps to add additional chargers.
5. Connect DC power cable to any input jack on the bottom of the charger.
Note: One PS60 will supply power to up to four chargers.
Shure IncorporatedSBC200 Battery Charger
2017/11/062/4
 Loading...