LOCATION
To maintain the flattest possible low-frequency re-
sponse and the best rejection of random background
noise, choose a flat surface as large as possible on
which to locate the SM91. The surface can be a floor,
wall, ceiling or table.
A small mounting surface causes a low-frequency
rolloff beginning at the frequency whose wavelength is
comparable to the size of the surface. The rolloff con-
tinues at a rate of about 3 dB per octave until it reaches
a plateau approximately 6 dB lower than the mid- and
high-frequency response. In a similar fashion, a small
mounting surface decreases the rejection of low-fre-
quency background noise.
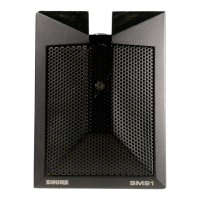
MOUNTING
The SM91 Microphone can be permanently mounted
to a lectern, tabletop, floor, ceiling, or wall using two
No. 6 screws located 50.1 mm (2 in.) apart. The location
of two keyhole slots in the base of the microphone is
marked on the nameplate. Cut through the marked slots
before sliding the base onto the screws.
To avoid ground loops and resultant hum, avoid
grounding the microphone preamplifier housing to
metal building structures.
POWERING THE SM91
The SM91 can be powered by two internal 9-volt
alkaline batteries or by an external simplex supply of 11
to 52 volts dc.
To use batteries, move the Battery On/Off switch to
On. The green LED will indicate at least 8 hours of bat-
tery life remaining by flashing once when the switch is
moved to On. If the LED does not flash, the batteries
should be replaced. A battery-powered SM91 preampli-
fier output can be connected to any balanced-line low-
impedance input.
To use simplex power, connect the preamplifier out-
put to a balanced-line microphone input supplying 11 to
52 Vdc simplex (phantom) power. The batteries may be
left in place while the unit is externally powered. There
will be no battery drain as long as the simplex voltage
exceeds the battery voltage with the battery switch On,
or if the batteryswitch is turned Off.
BATTERY INSTALLATION
To install batteries, remove the four screws in the cor-
ners of the preamplifier case. Lift off the case cover and
gasket exposing the battery compartment. The use of
9-volt alkaline batteries (NEMA 1604A or equivalent) is
highly recommended. Two batteries are required;
always replace batteries in pairs.
Remove the batteries if the unit will not be used for a
long period of time.
INTERCONNECTING CABLE
One 7.6m (25 ft) cable is supplied for connecting the
SM91 Microphone to its Preamplifier. To retain access
to the switches located on the preamplifier, it is
sometimes desirable for the units to be located a
greater distance apart. Up to 15m (50 ft) of additional
cable can be used between the SM91 Microphone and
Preamplifier with no loss in response or output
CLEANING
When the microphone is located in a dusty enviro-
ment, periodic cleaning may be desirable. This can be
easily accomplished by removing the Phillips-head
screw on the grille, and lifting off the grille, the fine
mesh screen, and the foam pad. Clean the fine stainless
steel mesh screen by washing it in soapy water. Dry it
thoroughly, and replace the foam pad, screen, and
grille. Fasten firmly with the Phillips screw.
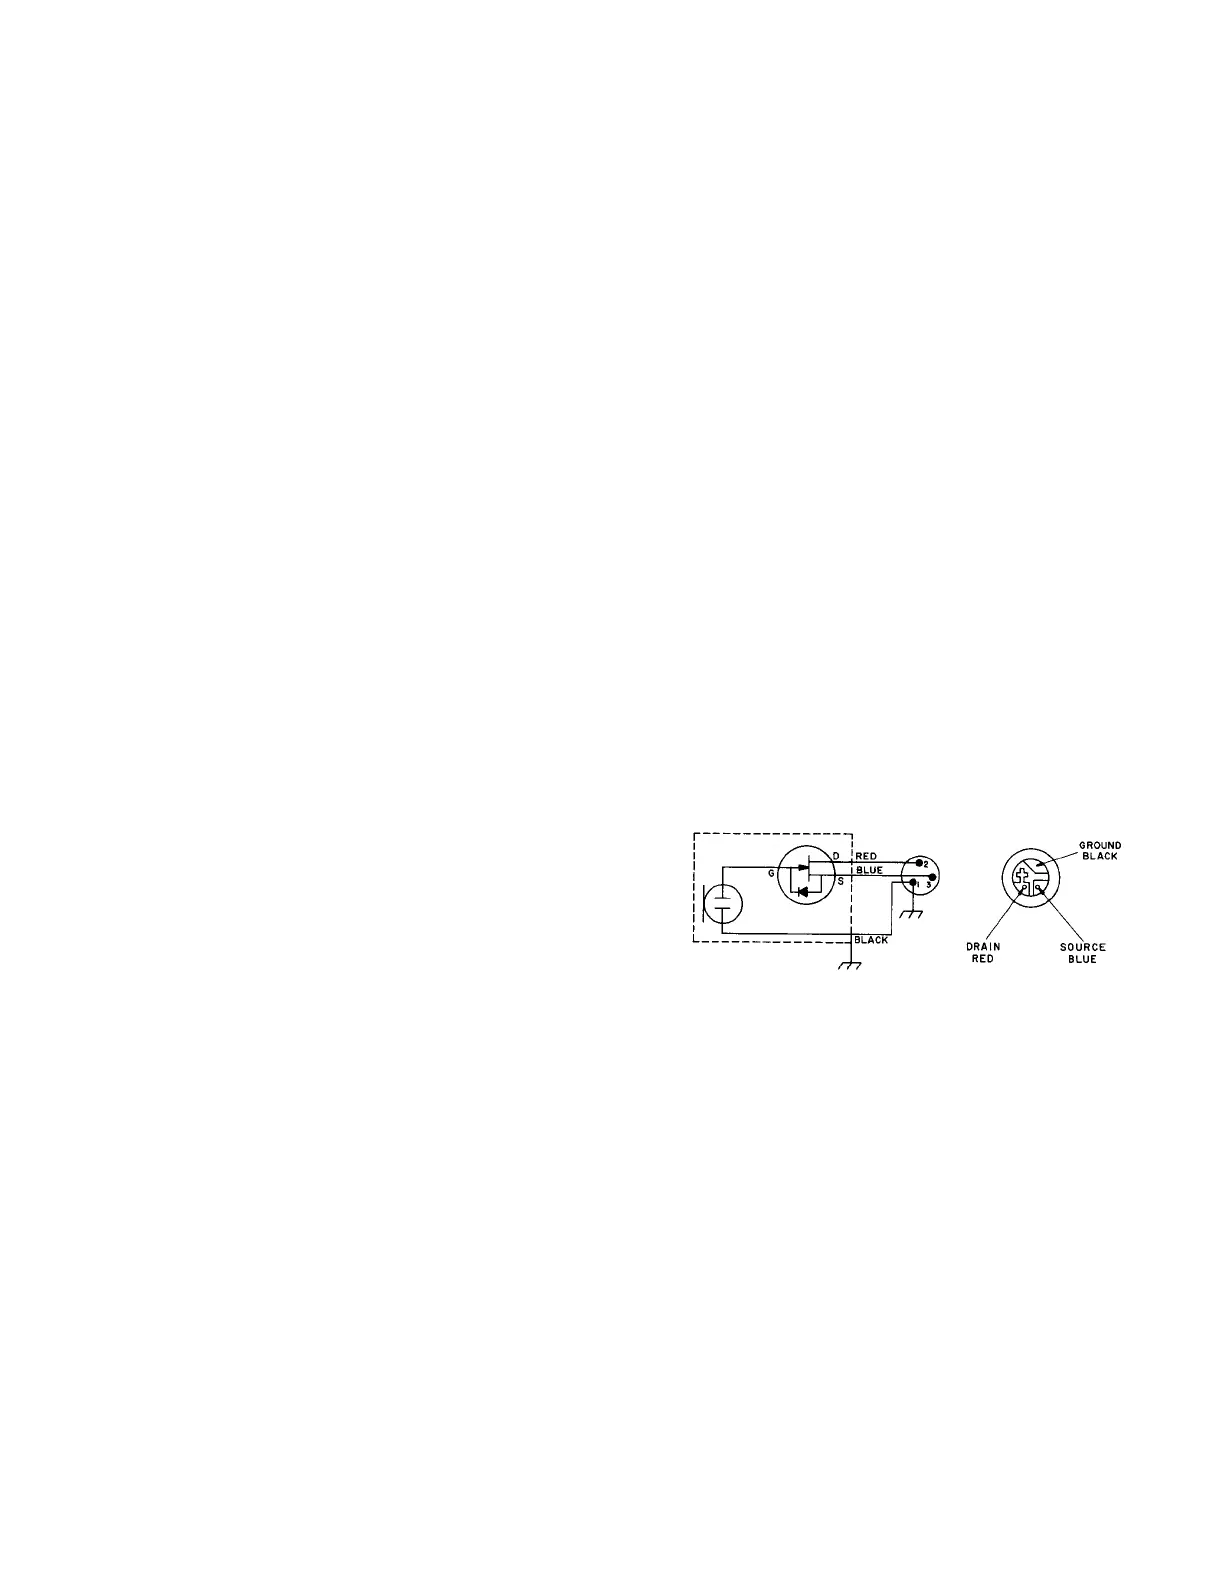
CONDENSER
IMPEDANCE
3-P!N MlNlATURE
CARTRIDGE
CONVERTER
CONNECTOR
CARTRIDGE
ASSEMBLY
MICROPHONE CIRCUIT DIAGRAM
FIGURE 4
-3-
 Loading...