Do you have a question about the Siemens iQ500 SN85TX00CE and is the answer not in the manual?
Connect your appliance to a mobile device via the Home Connect app for remote control.
Overview of water hardness values and how to set the softening system.
Instructions for adding special salt, rinse aid, and detergent to the appliance.
Details on the various wash programmes available for the dishwasher.
Step-by-step guide on how to load and operate the dishwasher.
Procedure for cleaning the coarse and micro filters after each wash.
Instructions for removing and cleaning the upper and lower spray arms.
Steps to clean the wastewater pump, including removing the pump cover.
Identifies common error codes and faults with their causes and solutions.
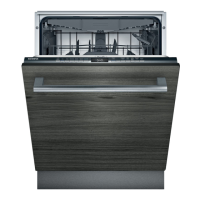
This document provides a comprehensive guide for operating and maintaining a dishwasher, focusing on its functions, usage features, and maintenance procedures.
The dishwasher is designed to clean tableware efficiently using various pre-set programs and adjustable settings. It incorporates a water softening system to optimize cleaning performance based on local water hardness. The appliance also features dedicated dispensers for special salt and rinse aid, crucial for achieving spotless results and preventing limescale buildup. The Home Connect function allows for remote control and setting adjustments via a mobile device, enhancing user convenience.
Setting up Home Connect: To begin using the smart features, users need to install the Home Connect app on their mobile device and follow the in-app instructions. The appliance can then be connected by scanning a QR code provided in the manual. This enables remote control and monitoring of the dishwasher.
Water Softening System: The dishwasher's water softening system is adjustable to match the local water hardness. Users can access the basic settings by pressing the "Setup 3 sec." button for three seconds. The display will show "H:xx" and then "set," allowing users to adjust the water hardness level using the "+" or "-" buttons. Once the desired level is set, pressing "Setup 3 sec." again saves the settings. The manual provides a table correlating water hardness ranges (mmol/l) to specific setting values (H:00 to H:07).
Adding Special Salt: Special salt is essential for the water softening system. To add salt, unscrew and remove the lid of the special salt dispenser. For initial start-up, the dispenser should be filled completely with water before adding the special salt. The salt displaces the water, and detergent should never be added to this dispenser. After adding salt, replace the lid and turn to close. It is recommended to add special salt just before a program starts to prevent damage to the appliance.
Adding Rinse Aid: Rinse aid ensures streak-free drying results. To add rinse aid, press the catch on the lid of the rinse aid dispenser and lift it. Fill the dispenser up to the maximum mark. After filling, close the lid until it clicks into position.
Adding Detergent: Detergent, either powder or tablet, should be added to the dry detergent dispenser. After placing the detergent, close the lid until it clicks into position.
Operating the Appliance:
Programmes: The dishwasher offers a variety of programs, each with specific durations, energy consumption, and water usage. These figures are measured according to European standard EN 60436 and can vary based on selected additional functions or if the rinse aid system is switched off or needs refilling.
Cleaning Filters: Regular filter cleaning is crucial for optimal performance.
Cleaning Spray Arms: Blocked spray arm nozzles can impair cleaning performance.
Cleaning Wastewater Pump: If the wastewater pump is blocked, it needs to be cleaned.
Troubleshooting: The manual includes a comprehensive troubleshooting section addressing common issues and their solutions:
| Door color | Not applicable |
|---|---|
| Cord length | 1.75 m |
| Control type | Touch |
| Product size | Full size (60 cm) |
| Inlet hose length | 1.65 m |
| Custom panel-ready | Yes |
| Outlet hose length | 1.9 m |
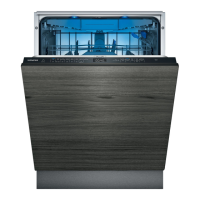
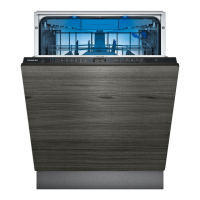
| Appliance placement | Fully built-in |
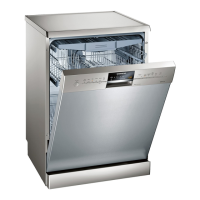
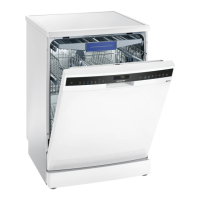
| Control panel color | Black |
| Cutlery basket type | Bosch Vario Basket |
| Cutlery compartment type | Drawer |
| Upper basket adjustable height levels | 3 |
| Feet adjustment | 60 mm |
| Current | 10 A |
| Connected load | 2400 W |
| Power plug type | Type F (CEE 7/4) |
| AC input voltage | 220 - 240 V |
| AC input frequency | 50 - 60 Hz |
| Energy efficiency scale | A to G |
| Power consumption (left-on) | 0.5 W |
| Water consumption per cycle | 9.5 L |
| Cycle time | 295 min |
| Noise level | 44 dB |
| Drying system | Zeolite |
| Delay start (max) | 24 h |
| Dishwashing programs | Auto 45-65°C, Eco 50°C, Favorite, Glass/delicate, Intensive 70°C, Pre-wash, Quick, Silent 50°C |
| Number of place settings | 14 place settings |
| Number of washing programs | 8 |
| Depth | 550 mm |
|---|---|
| Width | 598 mm |
| Height | 815 mm |
| Weight | 43836 g |
| Depth with door open | 1150 mm |
| Installation compartment width | 600 mm |
| Installation compartment height (max) | 875 mm |