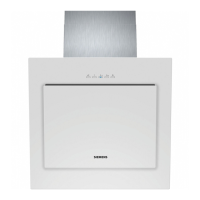
15
15. Insert the grease filter (refer to
Operating Instructions).
Installation
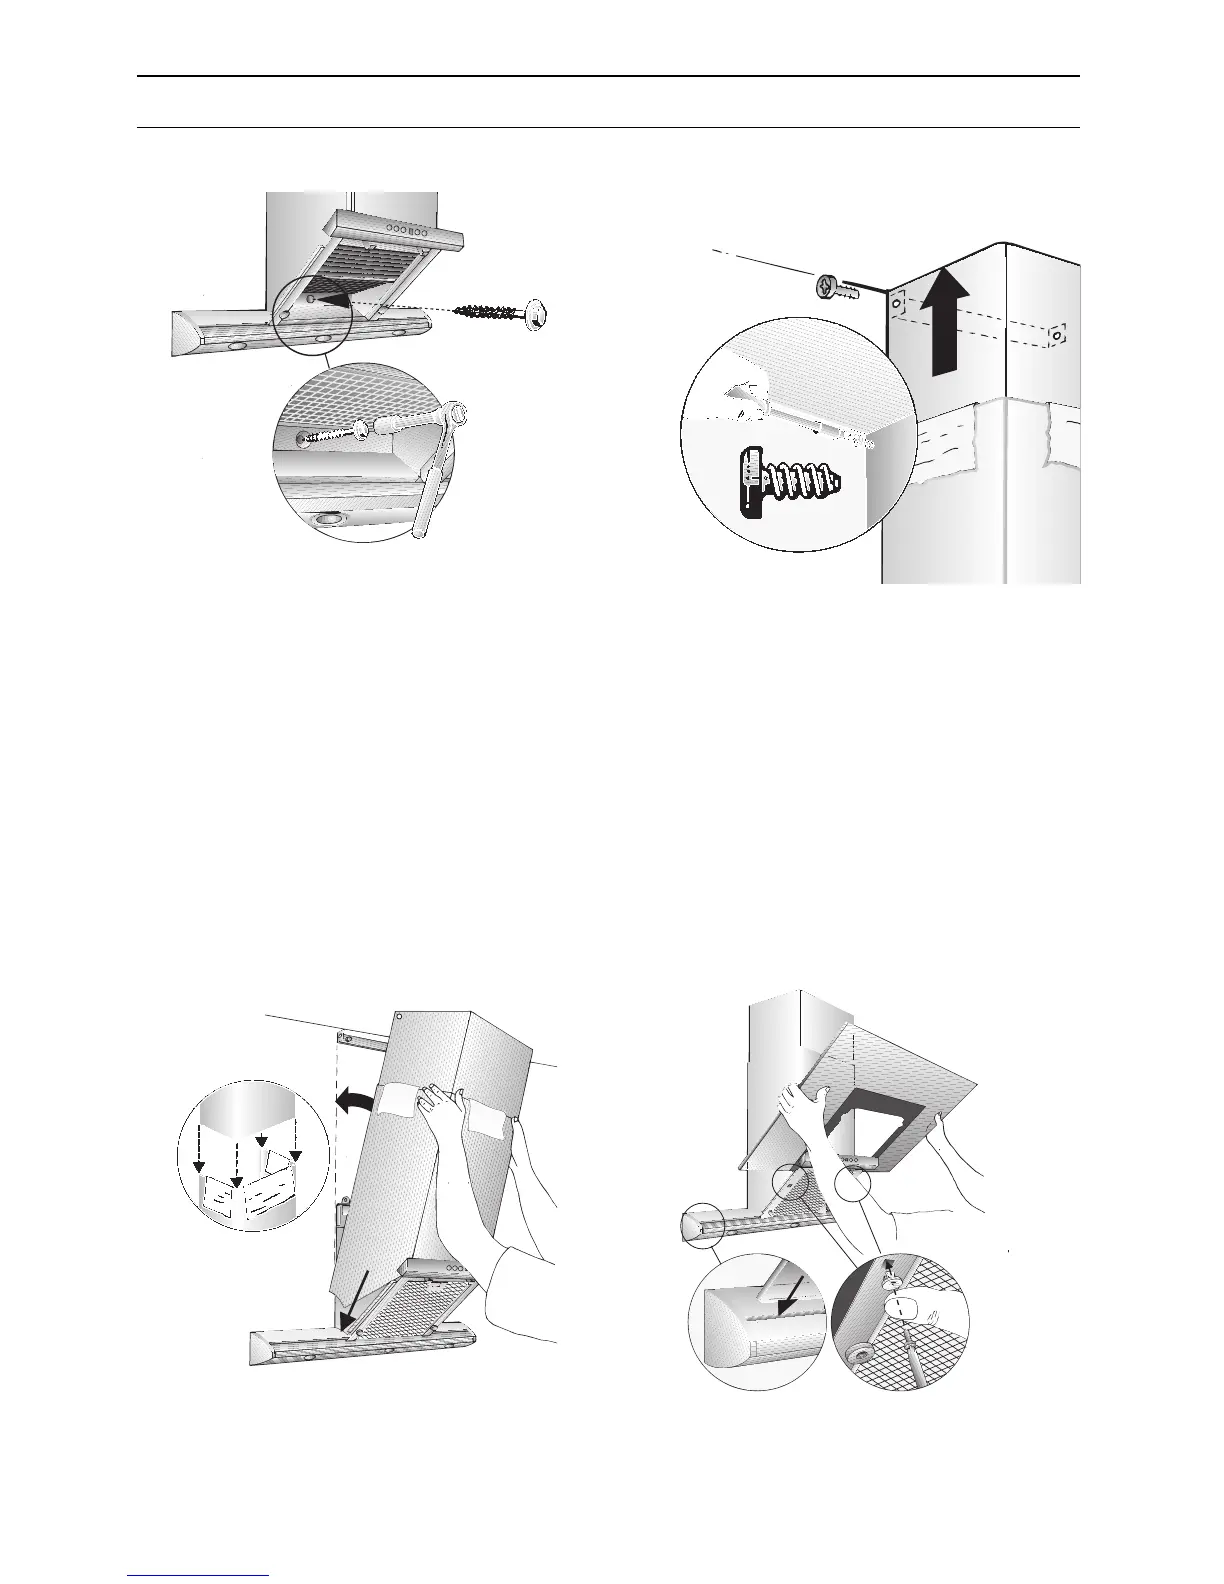
07. Screw in the lower bolt (hex bolt).
08. Connect up the air outlet pipe.
09. Connect the hood to the electricity
supply.
10. Remove the protective film from the
two flue ducts.
Avoid damage to the sensitive
surface.
12. Insert the upper flue duct (slots
downwards) into the lower flue duct.
Protect the cover panels from
scratches, for example by laying the
template used for marking the wall over
the top edge of the lower section.
12. Insert the whole chimney cover panel
inclined and press back.
13. Carefully pull the upper flue duct
upwards and screw the sides to the
fixing bracket with 2 screws.
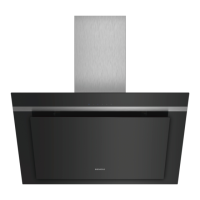
14. Fitting the glass panel:
– Hold the glass panel with both hands
and carefully push it all the way to the
bottom in the side guide rails.
In doing so, do not scratch the
printed area on the glass panel.
–press the two plastic grommets, left
and right into the fastening guide
rails. In order to carry this out, the
glass panel must be pushed all the
way to the bottom.
– fasten both screws, left and right into
the plastic grommets.
 Loading...