Figure 2
Figure 3
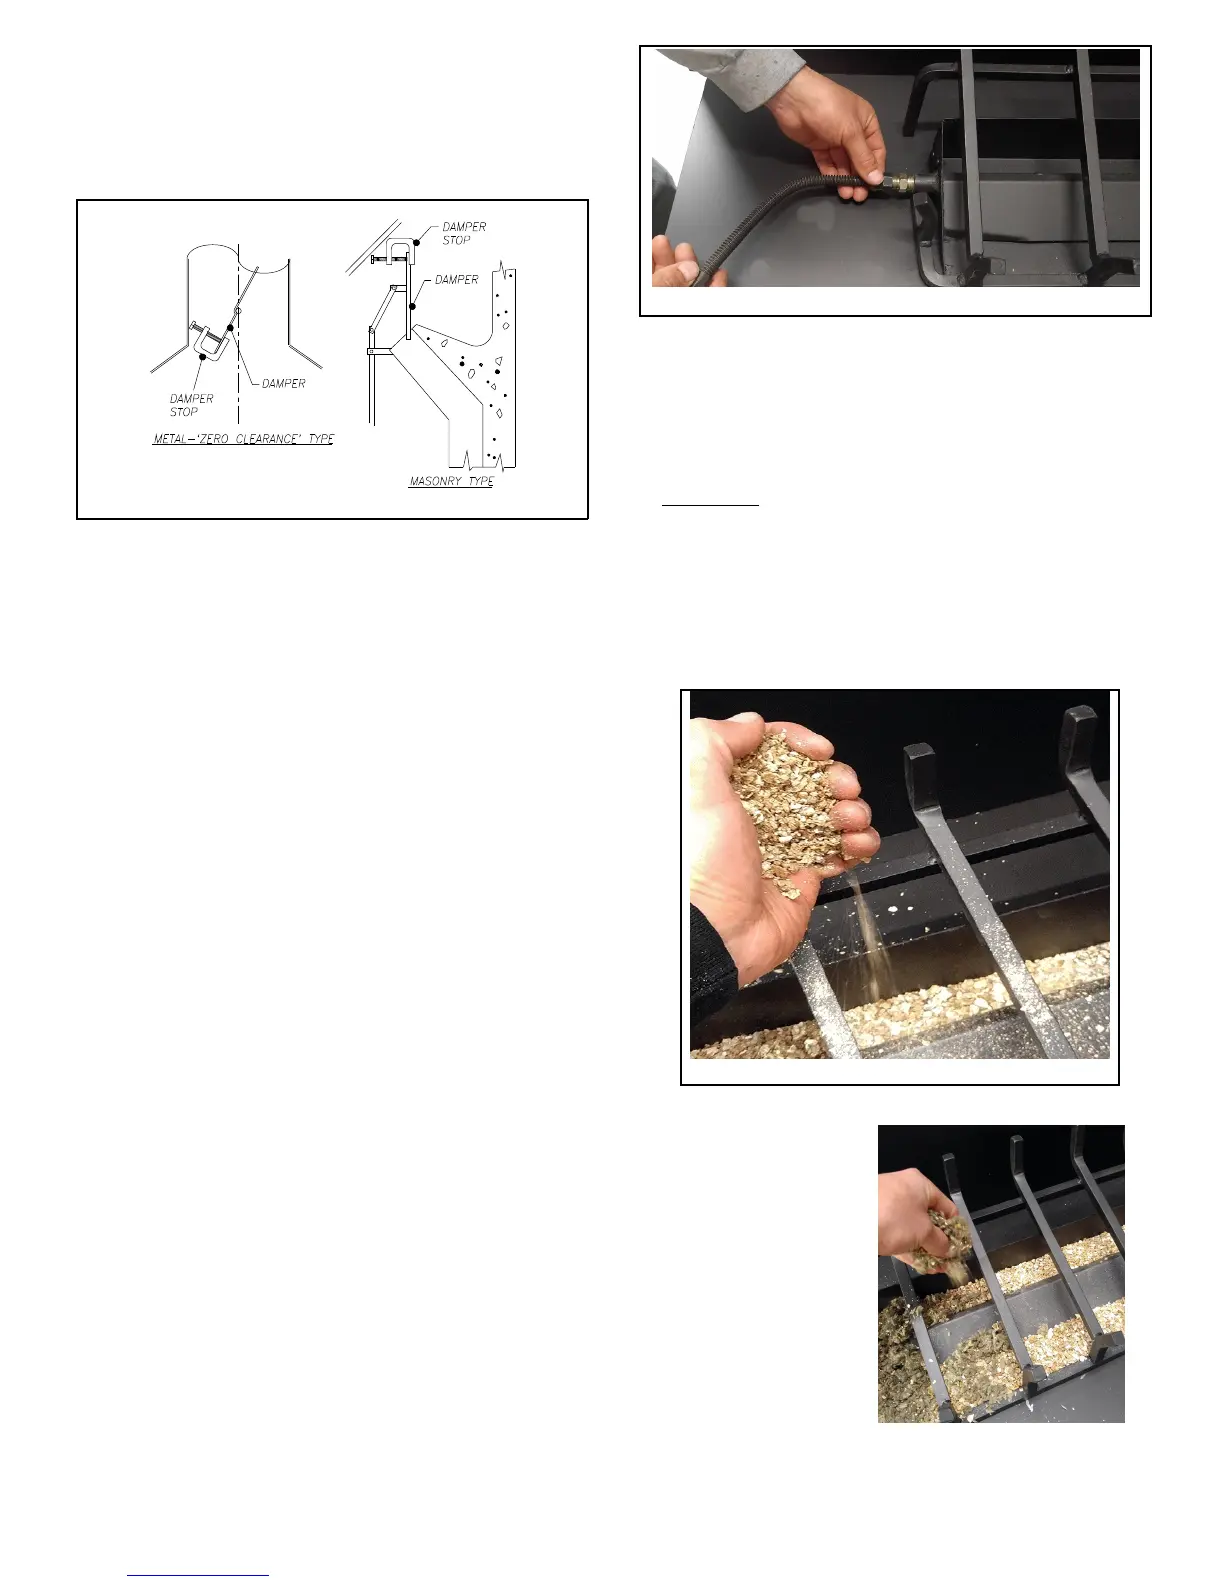
Figure 4
Figure 5
The damper stop is provided so that when properly
installed, the chimney damper maintains the minimum
permanent vent opening at all times.
Install damper stop by positioning it over the edge of the
damper blade and tightening the attachment bolt (Fig. 2).
A manual shut-off valve must be included within (6')
six feet of the appliance's gas supply system. This shut-
off valve is not supplied with the appliance. It may be
preferable and more convenient to install the type of shut-
off valve that can be accessed through a wall with a key
(check local building codes).
1. Remove all ashes or other debris from fireplace. If your
fireplace is equipped with an ash dump, the door must
be sealed with high temperature silicone or furnace
cement.
2. Run a ½" NPT black iron gas line through fireplace and
into hearth area, allowing only enough stem to install
the elbow fitting. Prepare incoming black iron gas line
with Teflon tape or pipe joint compound (check with
local codes as to the use of Teflon tape).
A provision must be made for a 1/4" NPT plugged
tapping for a test gauge connection immediately
upstream of the gas supply connection to the
appliance.
3. Position burner base in the center of the fireplace
hearth. Apply pipe thread sealant on the opposite end
of the burner pan gas supply inlet side and install the
d" pipe plug. Tighten securely. Apply thread sealant on
the incoming gas line and install the d" orifice fitting
tightly. Attach the Black SS gas connector to the orifice
fitting (check local codes), be careful not to kink tubing
when hand forming to fit between burner pan and
incoming gas line (Figure 3). Install a gas fitting to the
incoming gas pipe (not provided in kit as piping
systems vary). Connect the gas connector and tighten
nuts.
Multiple tight bends of the gas connector may cause
a whistling noise through the burner. Adjust
connector as required!
4. After gas line connection is complete, turn on gas
supply and check connections for leaks. This is done
by brushing or spraying each fitting from incoming gas
line to log set with a solution of 50% soap and 50%
water. If bubbles appear, further tightening will be
required.
CAUTION! NEVER CHECK FOR LEAKING GAS
CONNECTIONS WITH AN OPEN FLAME.
5. Cover the front and rear sections of the burner pan with
the burner granules provided (Fig. 4). Allow the
granules to spill out the front of the burner. The
granules disperses the gas flow and works with the
burner design to create an optimum gas burning
pattern.
6. Place small pieces
of the ember
material on top of
the burner. (Fig. 5).
The ember materials
glow when the gas
burns providing a
realistic wood fire
effect.
Ver 04/26/16 3 P/N 140032R3