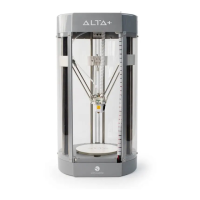
Silhouette Alta® Plus
Print Head Replacement
1. Determine the direction of the print head.
1.1 Attach the print head so that the wire connector is
facing the door.
3. Reattach the cable connectors. (DO NOT PULL THE WIRE.) 4. Replace the screws at the top of the print head.
TIP: REPLACE SCREWS RIGHT TO LEFT.
NOTE: DO NOT TIGHTEN THE SCREWS TO THEIR
TIGHTEST POINTS.
4.1 Move the print head around to confirm the wire is not
wrapped around any of the joints. If it is, detach the print
head and reattach it, this time avoiding tangling the wire.
5. Attach the hose. Be sure the wire and the hose are
not crossed.
Insert the new print head
2. Move the print head to the bottom of the platform. Adjust
the print head position so that it rests in the center, flush
against the print bed.
6. After putting the Alta platform back into place, you’re ready
to start printing with the Alta Plus again.