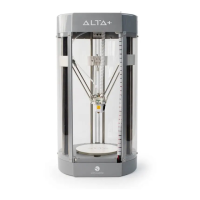
Silhouette Alta®
Print Head Replacement Procedure
Preparation
Alta machine
Used print head
Replacement unit
Tools
Needle-nose pliers
Hex wrench (M3) (included in the Alta box)
Remove the print head
5. Remove the M3 screws with the hex wrench.
6. Remove the connector. Pinch the side of the connector and pull
up (DO NOT PULL THE WIRE).
7. Remove the joint screws (3 pieces).
7.1 Hold the nut piece in place with the needle-nose pliers.
7. 2 Remove the screw with the hex wrench.
8. Remove the print head.
4. Remove the hose.
4.1 Push the collar down.
4.2 Pull the hose.
1. Remove the filament and wait for the print head to cool.
2. Remove the build plate.
3. Move the print head to the bottom of the platform. Adjust the
print head position so that it rests in the center.