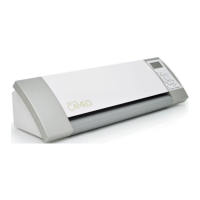
Getting Started with Silhouette CAMEO
Cutting
Click the Send to Silhouette button on the toolbar at the top of the screen, or choose File ->
Send to Silhouette... The Send to Silhouette panel (A) will appear on the right side of the
screen and an illustration of the cutting mat will appear beneath your workspace.
Click the change settings link to access the cut settings panel (B).
Within the Cut Settings panel, you will notice a list of common media types including various weights
of paper, vinyl, and other materials. Choose the appropriate media type from the list. If the media
you are cutting (or a similar media) does not appear in the list, you can choose “Custom” from the list
and manually adjust the speed and thickness for the Silhouette. Generally, thicker materials require a
higher thickness and intricate designs require a slower cutting speed.
Once you have chosen the appropriate cut settings, click the Send to Silhouette button at the bottom
of the right panel.
Click the Cut Page link to begin cutting.
Once the Silhouette is done cutting, the LCD display will read “Unload media”. Press Enter to unload
the cutting mat.
Carefully peel away your cutout design. Peel the leftover paper/media off the cutting mat. Use a
Silhouette scraper tool to scrape excess paper pieces from the mat.
Cut Settings
Cut Page
Change Settings
(A) (B)
Select
Media Type
Cut Settings
button
Send to Silhouette
10

 Loading...