5
GB
WARNING! Risk of material
damage
~ Never place the device on hot surfaces
(e.g. hob plates) or near heat sources or
open fire.
~ Only use the original accessories.
~ Do not use any astringent or abrasive
cleaning agents.
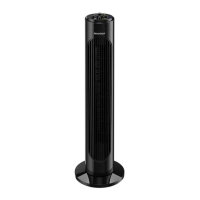
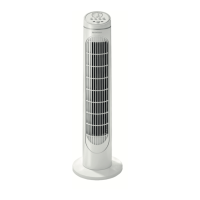
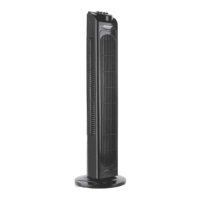
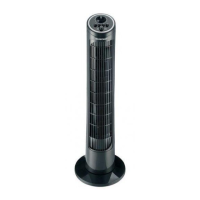
4. Items supplied
1tower fan|1
1 base (consisting of 2 parts)|8
1knob screw|13
2 crosshead screws
1 set of operating instructions
Unpacking
1. Remove all parts from the packaging.
2. Check that all parts are present and in-
tact.
5. Assemble appliance
Before the device can be used, the base|8
must be screwed on:
1. Figure A: put the rear half of the
base|10 and the front half of the
base|11 together. Ensure that the con-
nection audibly clicks into place. Fix
the two halves from below using the
supplied crosshead screws.
NOTES:
• The rear half of the base|10 can be
identified by the recess for the mains
power cable|9.
• Ensure that the mains power cable|12 is
lying in the recess for the mains power ca-
ble|9.
2. Figure B: fully unscrew the knob
screw|13 at the bottom of the fan.
Press the mains power cable|12 into
the recess for the mains power cable|9
in the base|8 and mount the base on
the tower fan|1.
3. Fix the base|8 and the tower fan|1 to-
gether using the supplied knob
screw|13. Place the tower fan|1 on its
base|8 and ensure it is standing in a
stable location.
4. Select a location which complies with
the safety instructions (see “Safety infor-
mation” on page 3).
5. Insert the mains plug|12 into a mains
socket corresponding to the technical
data.
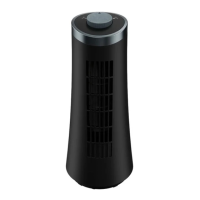
6. Operation
6.1 Start and switch off the
appliance
1. Plug the power plug into a power sup-
ply socket which meets the technical
data requirements.
2. Switch on the power
supply by turning rota-
ry switch|6 to ON.
The appliance is now
operational.
3. Switch off the power
supply by turning rota-
ry switch|6 to OFF.
6.2 Set blower setting
The blower settings are used to select how
fast the appliance circulates air in the room.
The appliance has three blower settings:
- 1, low: press button|7;
- 2, moderate: press button|5;
- 3, high: press button|4.
Press the|2 OFF button to stop the appliance
working.