2
| 2 15
BEFORE YOU START:
Thank you for purchasing this Sim-Lab product! On the following pages, you will find detailed instructions
on assembly. This requires only a set of simple tools and some of your time. Please check the bill of
materials before starting (page 14) and make sure all the parts are delivered.
We have combined the assembly instructions for the single and triple versions of this product into one
manual. If you have purchased the triple version and build from scratch, you can skip some pages which
involve assembly and installation of the Vario VESA mounts and do those last.
This product furthermore combines products we normally offer separately. We encourage you to read the
product manuals for included products if this one doesn’t answer all of your questions. Please refer to the
following if needed:
www.sim-lab.eu/xero-play-pivots-manual
www.sim-lab.eu/vario-vesa-manual
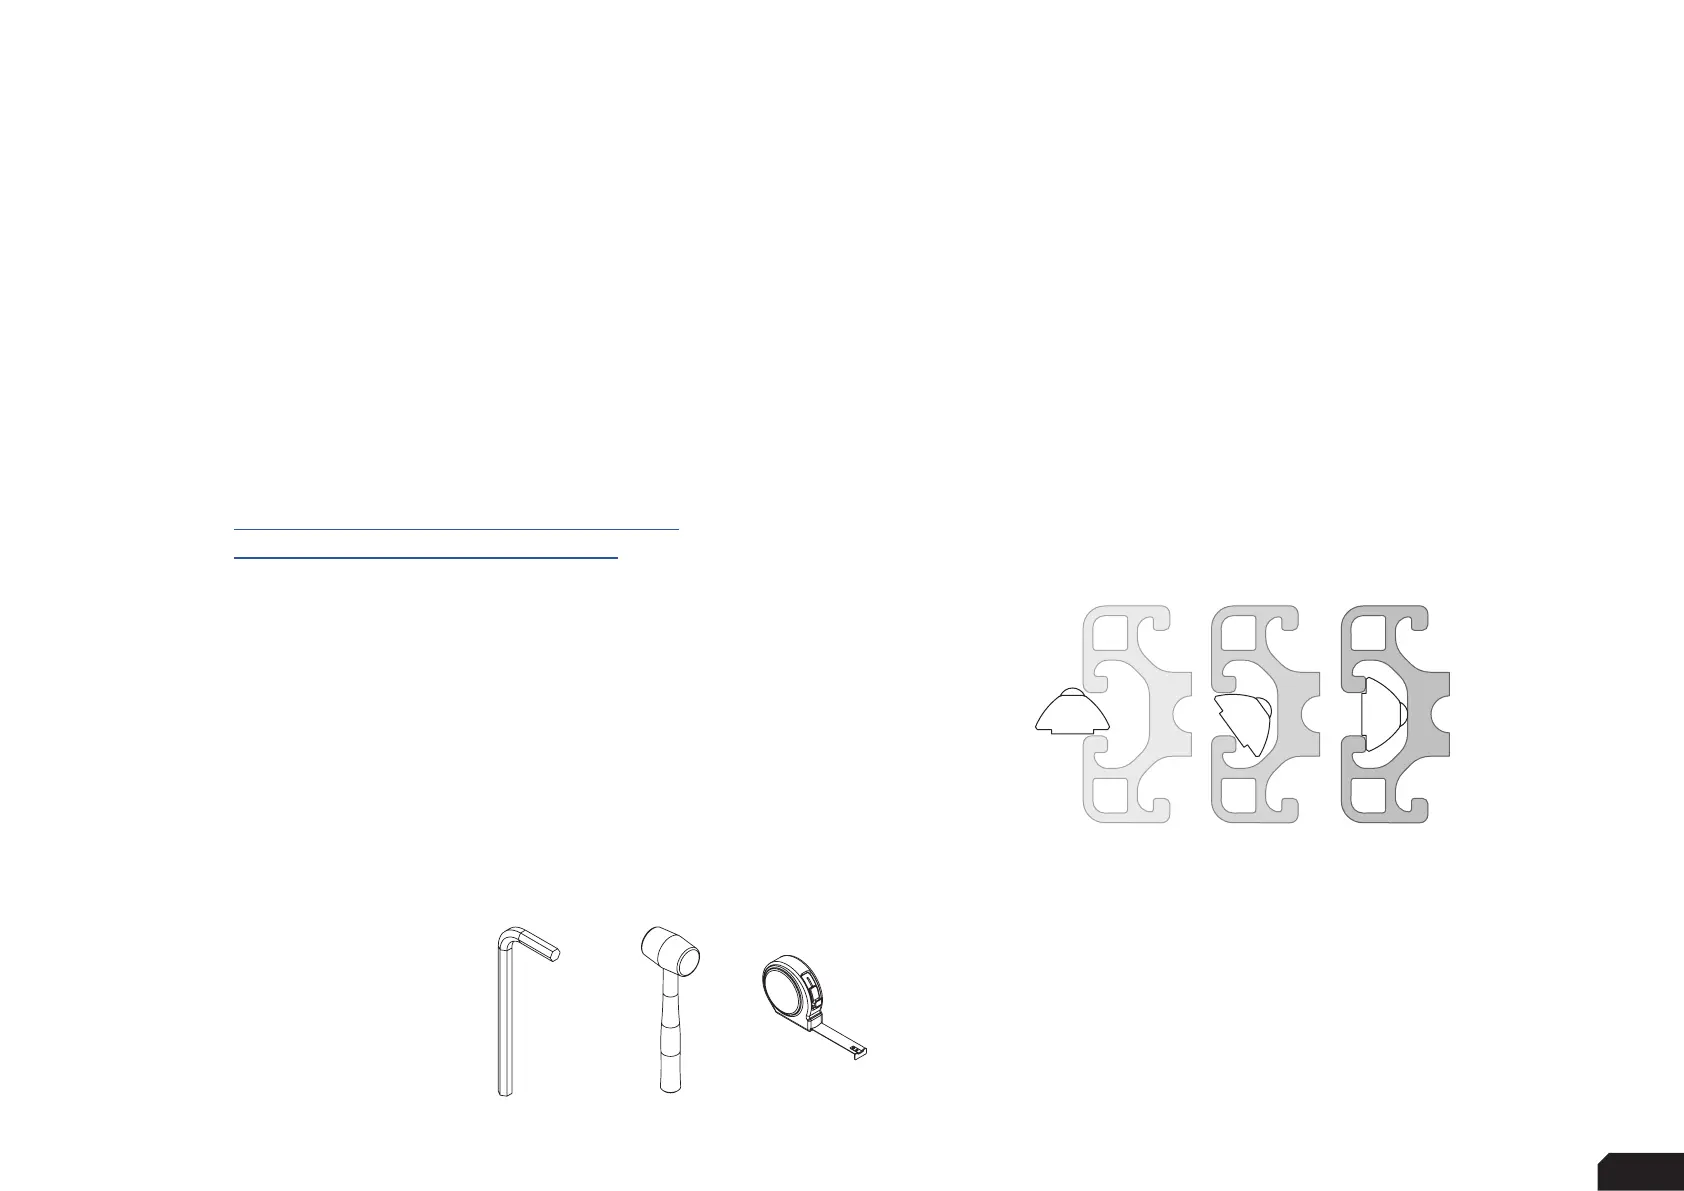
Inserting Slot-Nuts:
You got excited, finished the build, put the caps on, but forgot to install
one element. Do not worry. It happens to everyone. In this diagram, you
can see how to insert a Slot-Nut directly into the slot from the side.
You can also use one of your smaller Hex wrenches to help wiggle
the Slot-Nut in place.
Tools needed:
5/6MM