EasyManua.ls Logo

Simpli Home 3AXCACTTS User Manual

Simpli Home 3AXCACTTS
11 pages
To Next Page IconTo Next Page
Page #1 background imageLoading...
Page #1 background image
REQUIRES 2 PEOPLE
FOR EASE OF ASSEMBLY
REQUIERT 2 PERSONNES
POUR FACILITER
L'ASSEMBLAGE
USER ASSEMBLY GUIDE
GUIDE D’ASSEMBLAGE
ACADIAN / NORMANDY / BRUNSWICK
TALL TV STAND
GRAND MEUBLE - TÉLÉ
ITEM /NUMBER NUMÉRO D’ARTICLE
3AXCACTTS
Like us on
& share your pictures and
comments to be eligible
for exclusive promotions.
Suivez-nous sur
partagez vos photos et vos
commentaires afin d’être admissibles
à des promotions exclusives.
1/11
TM
TM
TM
Question and Answer IconNeed help?

Do you have a question about the Simpli Home 3AXCACTTS and is the answer not in the manual?

Simpli Home 3AXCACTTS Specifications

General IconGeneral
BrandSimpli Home
Model3AXCACTTS
CategoryIndoor Furnishing
LanguageEnglish

Summary

User Assembly Guide Overview

Customer Service and Return Policy

Contact details for support, replacement parts, and product return guidelines.

Product Identification and Components

Infographic Legend

Explanation of symbols and labels used in assembly diagrams.

Parts Description

Detailed list of all physical parts required for assembly.

Hardware Identification

Catalog of all screws, pins, locks, and tools provided for assembly.

Assembly Instructions

Step 1: Drawer Back and Side Assembly

Attaching drawer back panel to drawer sides using Allen screws.

Step 2: Drawer Bottom Insertion

Sliding the drawer bottom into the assembled drawer sides and back.

Step 3: Drawer Front and Cam Lock Assembly

Attaching drawer front, securing sides with cam locks and pins.

Step 4: Drawer Handle Attachment

Fixing the drawer handle to the front of the assembled drawer.

Step 5: Divider and Center Shelf Assembly

Attaching dividers and center shelf using cam lock pins and cam locks.

Step 6: Divider to Bottom Shelf Attachment

Connecting dividers to the bottom shelf using Allen key screws.

Step 7: Sides to Bottom Shelf Assembly

Attaching side panels to the bottom shelf using cam lock pins and cam locks.

Step 8: Top Panel Attachment

Securing the top panel to the side panels and divider using Allen key screws.

Step 9: Back Panel Installation

Attaching back panels to the main cabinet structure using Phillips screws.

Step 10: Door, Plate, and Magnet Attachment

Attaching hinges, plates, magnets, and handles to the cabinet doors.

Step 11: Shelf Support Installation

Placing shelf supports in desired locations within shelf cabinets.

Step 12 & 13: Tipping Restraint Installation

Instructions for installing the furniture tipping restraint for safety.
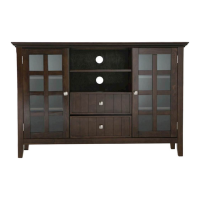
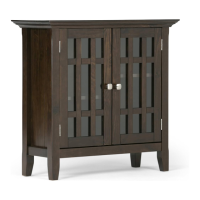
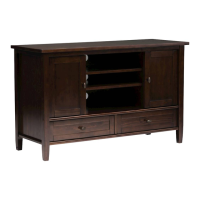
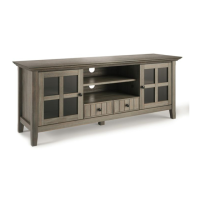
Related product manuals