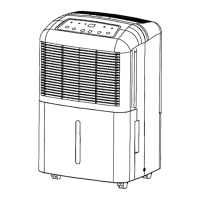
Introduction
Congratulations, and thank you for purchasing our high
quality dehumidifier. When the dehumidifier has been
removed from the carton, it is completely assembled and
ready for use. This product has been manufactured to the
highest standard with safety and efficiency in mind, so please
take a few minutes to understand its components and
operating instructions. The following sections deal with
information on basic electrical safety, selecting the proper
location for optimum performance, the control panel,
components, and care for this product.
Important Electrical Information
This dehumidifier has been designed to work on ordinary
household current. However, to avoid any unnecessary
power interruptions, it is not recommended for use on a
circuit containing other electrical equipment such as air
conditioners, refrigerators or freezers. For your safety and
protection, the power cord on this dehumidifier has been
equipped with a grounding plug that must be plugged into a
properly grounded receptacle. If the receptacle that you
intend to use does not accept the grounding connector, or if
you are unsure if your receptacle is properly grounded, you
should have a properly grounded outlet installed.
DO NOT UNDER ANY CIRCUMSTANCES MODIFY THE
GROUNDING PLUG IN ORDER TO MAKE IT FIT A
RECEPTACLE.
Where To Position Your Dehumidifier
For best results, the dehumidifier should be operated in an
enclosed area. Close all doors and windows and other
outside openings to the room, as performance is greatly
influenced by the rate at which new moisture enters the room.
When positioning the dehumidifier in the room, be sure there
are no restrictions to the air flowing into or out of the
dehumidifier. For the best performance, allow at least 12
inches (30 cm) around the unit.
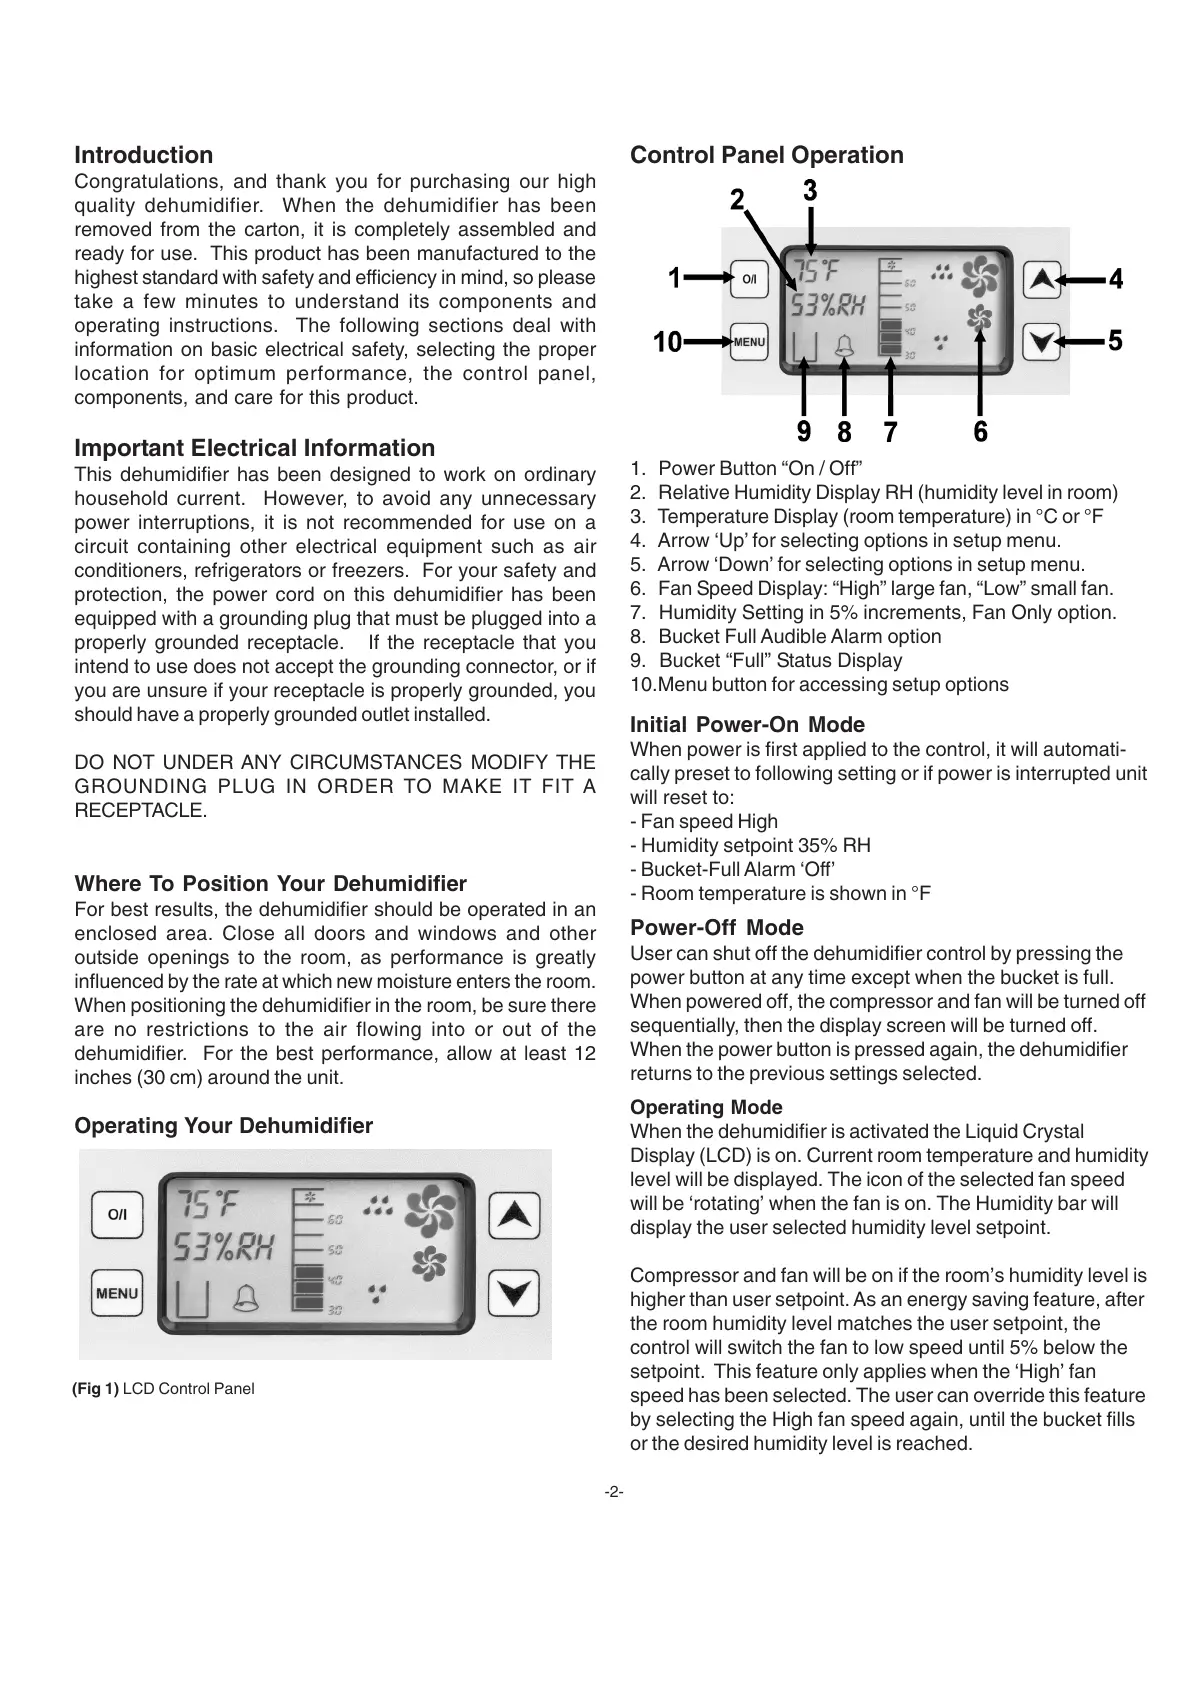
Operating Your Dehumidifier
1. Power Button “On / Off”
2. Relative Humidity Display RH (humidity level in room)
3. Temperature Display (room temperature) in °C or °F
4. Arrow ‘Up’ for selecting options in setup menu.
5. Arrow ‘Down’ for selecting options in setup menu.
6. Fan Speed Display: “High” large fan, “Low” small fan.
7. Humidity Setting in 5% increments, Fan Only option.
8. Bucket Full Audible Alarm option
9. Bucket “Full” Status Display
10.Menu button for accessing setup options
(Fig 1) LCD Control Panel
-2-
Control Panel Operation
Initial Power-On Mode
When power is first applied to the control, it will automati-
cally preset to following setting or if power is interrupted unit
will reset to:
- Fan speed High
- Humidity setpoint 35% RH
- Bucket-Full Alarm ‘Off’
- Room temperature is shown in °F
Power-Off Mode
User can shut off the dehumidifier control by pressing the
power button at any time except when the bucket is full.
When powered off, the compressor and fan will be turned off
sequentially, then the display screen will be turned off.
When the power button is pressed again, the dehumidifier
returns to the previous settings selected.
Operating Mode
When the dehumidifier is activated the Liquid Crystal
Display (LCD) is on. Current room temperature and humidity
level will be displayed. The icon of the selected fan speed
will be ‘rotating’ when the fan is on. The Humidity bar will
display the user selected humidity level setpoint.
Compressor and fan will be on if the room’s humidity level is
higher than user setpoint. As an energy saving feature, after
the room humidity level matches the user setpoint, the
control will switch the fan to low speed until 5% below the
setpoint. This feature only applies when the ‘High’ fan
speed has been selected. The user can override this feature
by selecting the High fan speed again, until the bucket fills
or the desired humidity level is reached.
 Loading...