3
Mulch Kit Installation Instructions
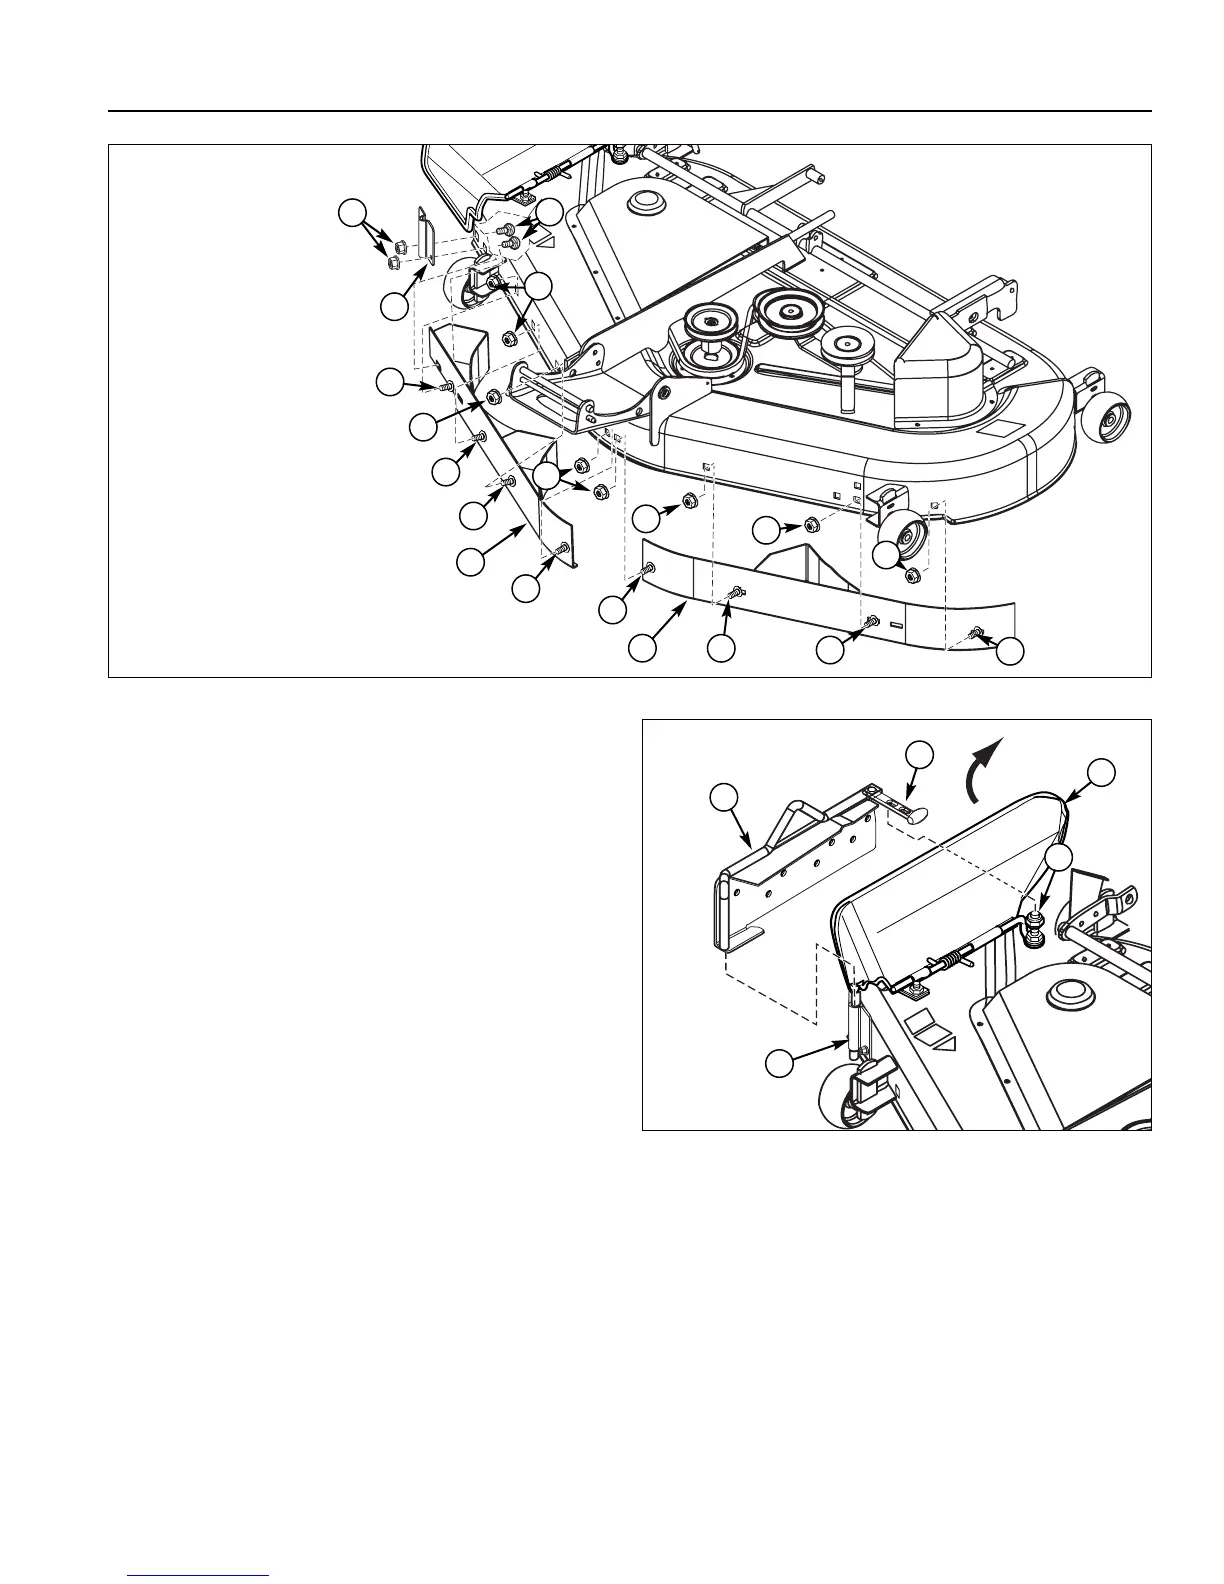
Figure 5. Baffle Installation
A
C
D
E
C
B
B
B
B
C
B
B
B
B
C
C
C
A
B
C
D
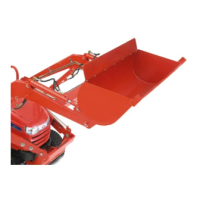
Figure 6. Mulch Cover Installation
A. Baffle Assembly
B. Mounting Plate
C. Locknut
D. Discharge Deflector
E. Rubber Strap
7. Install RH baffle (D) and secure with carriage bolts &
push nuts (B) and nuts (C).
Note: The carriage bolt & push nuts are combined to
hold carriage bolt in place and aid in ease of installation.
8. Install mounting plate (A, Figure 5) to mower deck
securing with 5/16-18 x 5/8 carriage bolts (F) nuts.
9. Install LH baffle (E) and secure with carriage bolts &
push nuts (B) and nuts (C).
10. Install the mower deck. Refer to the Operator’s
Manual (see Mower Deck Removal & Installation)
11. Lift discharge deflector up (D, Figure 6).
12. Insert mulch baffle assembly (A) into mounting plate
(B).
13. Pull rubber strap (E) and secure by placing strap
completely over locknut (C).
Note: The new mulching blades DO NOT need to be
removed or changed for side discharge. For use with a
bagger the mulching/side discharge blade will need to be
replaced with a bagging blade.
E
A. Mounting Plate
B. Carriage Bolts & Push Nuts
C. Nut, Flange Lock, 5/16-18
D. Baffle, RH
E. Baffle, LH
F. Carriage Bolts, 5/16-18 x 5/8
C
F