Hz Wireless Dry Contact
Interface Instruction
R
DESCRIPTION
INSTALLATION
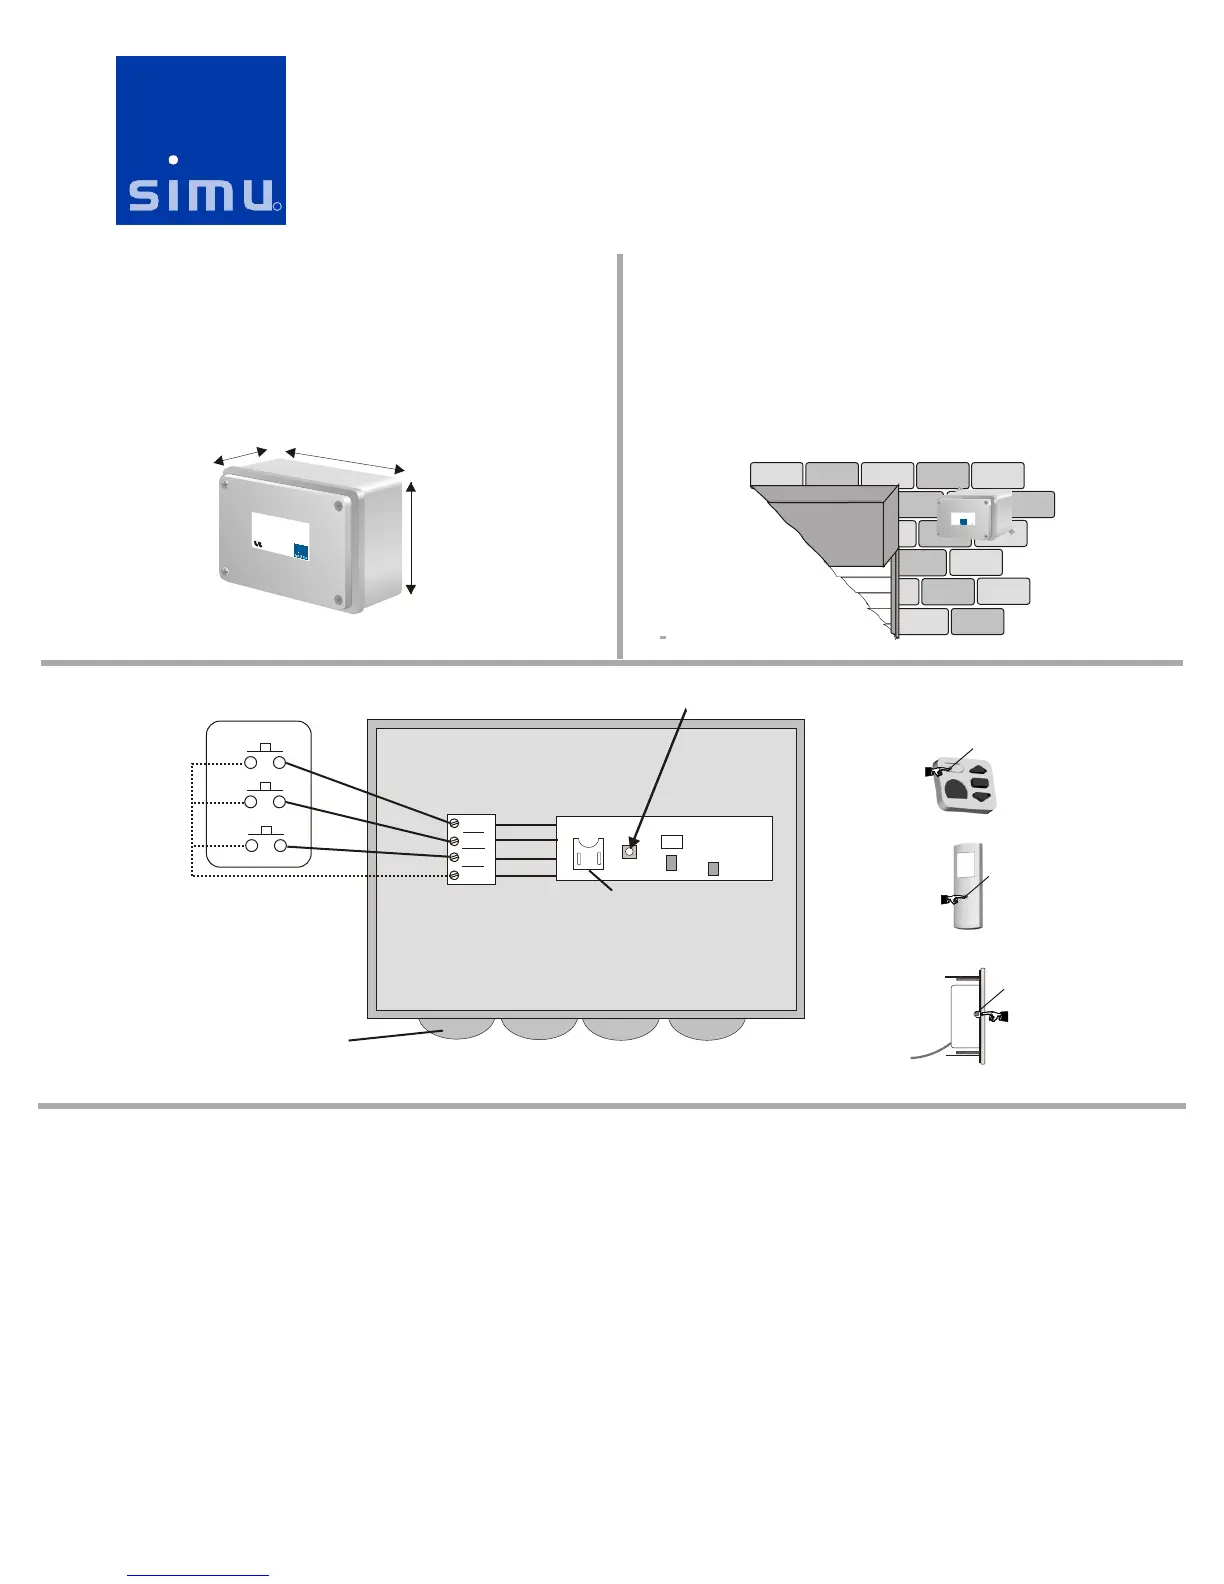
1) Mount the Dry Contact Interface as close to the motor(s) as possible
and no more than 70 feet. Avoid mounting the receiver on metallic
surfaces as this will reduce the range. If mounted outside, make sure to
use the watertight strain reliefs and mount the box so the strain relief
fittings face downward to avoid rain seepage. Install the unit in an
accessible location as every 2 to 5 years, depending on usage, the battery
will need to be replaced.
The Hz Dry Contact Interface can be used to communicate between
SIMU’s Hz motors and momentary dry contact devices such as: third party
home automation systems, alarm systems, momentary key switches, 2200
Sun Wind controls, etc. The unit requires 2 dry contacts to control up/down
and 3 dry contacts for full up/stop/down control. Inputs should be pulses
between 1 to 5 seconds..
Reference No: 6301072
Hz ECE
VER R I
120 VAC / 0 Hz 6
R :63010 5EF 7
WIRING
Programming Button & LED
NOTE:
Mount control
with strain reliefs
facing downward!
-All wiring for the Hz Dry Contact Interface is low voltage, low current. Wire using standard low voltage control wiring practices.
-Use only dry contacts as switch inputs to the Hz Dry Contact Interface.
-To activate an up, stop or down command a momentary contact closure is required between common and the desired input (up, stop or down)
Program Button
CF C
beLa l
BACK OF TRANSMITTER
SIDE OF TRANSMITTER
Program Button
Program Button
cHz Dry Conta t Interface
EF:6301072R
PROGRAMMING
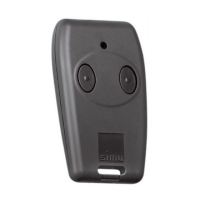
Use a standard Hz transmitter to wake up the motor(s), check/set the direction of rotation, and program the motor.
Using a standard Hz transmitter, press the up and down buttons at the same time. The motor will give a small up/down bounce. This means the motor is
now awake. Press the up button. If the motor goes down instead of up, press and hold the stop button until the motor gives a short up/dn bounce. Confirm
the up button now makes the motor run up.
Only power the motor you are programming. Cut power to all other motors until programming is complete.
STEP 1- Setting Direction of Rotation
STEP 2 - Program the standard Hz transmitter
Note, you will not be able to program the motor until you “wake” it up. You must set the direction of rotation (step 1) before you program the motor. Press
and hold the Program Button (about 1 second) until the motor give a short up/dn bounce.
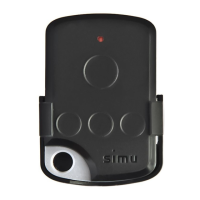
STEP 3 - Add the Hz Dry Contact Interface
To add the Dry Contact Interface transmitter press the Program Button on the transmitter that has already been memorized until the motor gives an up/dn
bounce. Press the Program Button of the Hz Dry Contact Interface transmitter until the motor gives an up/dn bounce.
Standard Hz
Transmitters
2.38”
6.0”
4.25”
DOWN
STOP
COM
UP
N.O.N.O.
N.O.N.O.
N.O.N.O.
STOP
DOWN
UP
External Dry Contact
Device
Hz Dry Contact Interface
Battery
White
Black
Red
Green
16
 Loading...