12
14
Drive Belt Replacement (continued):
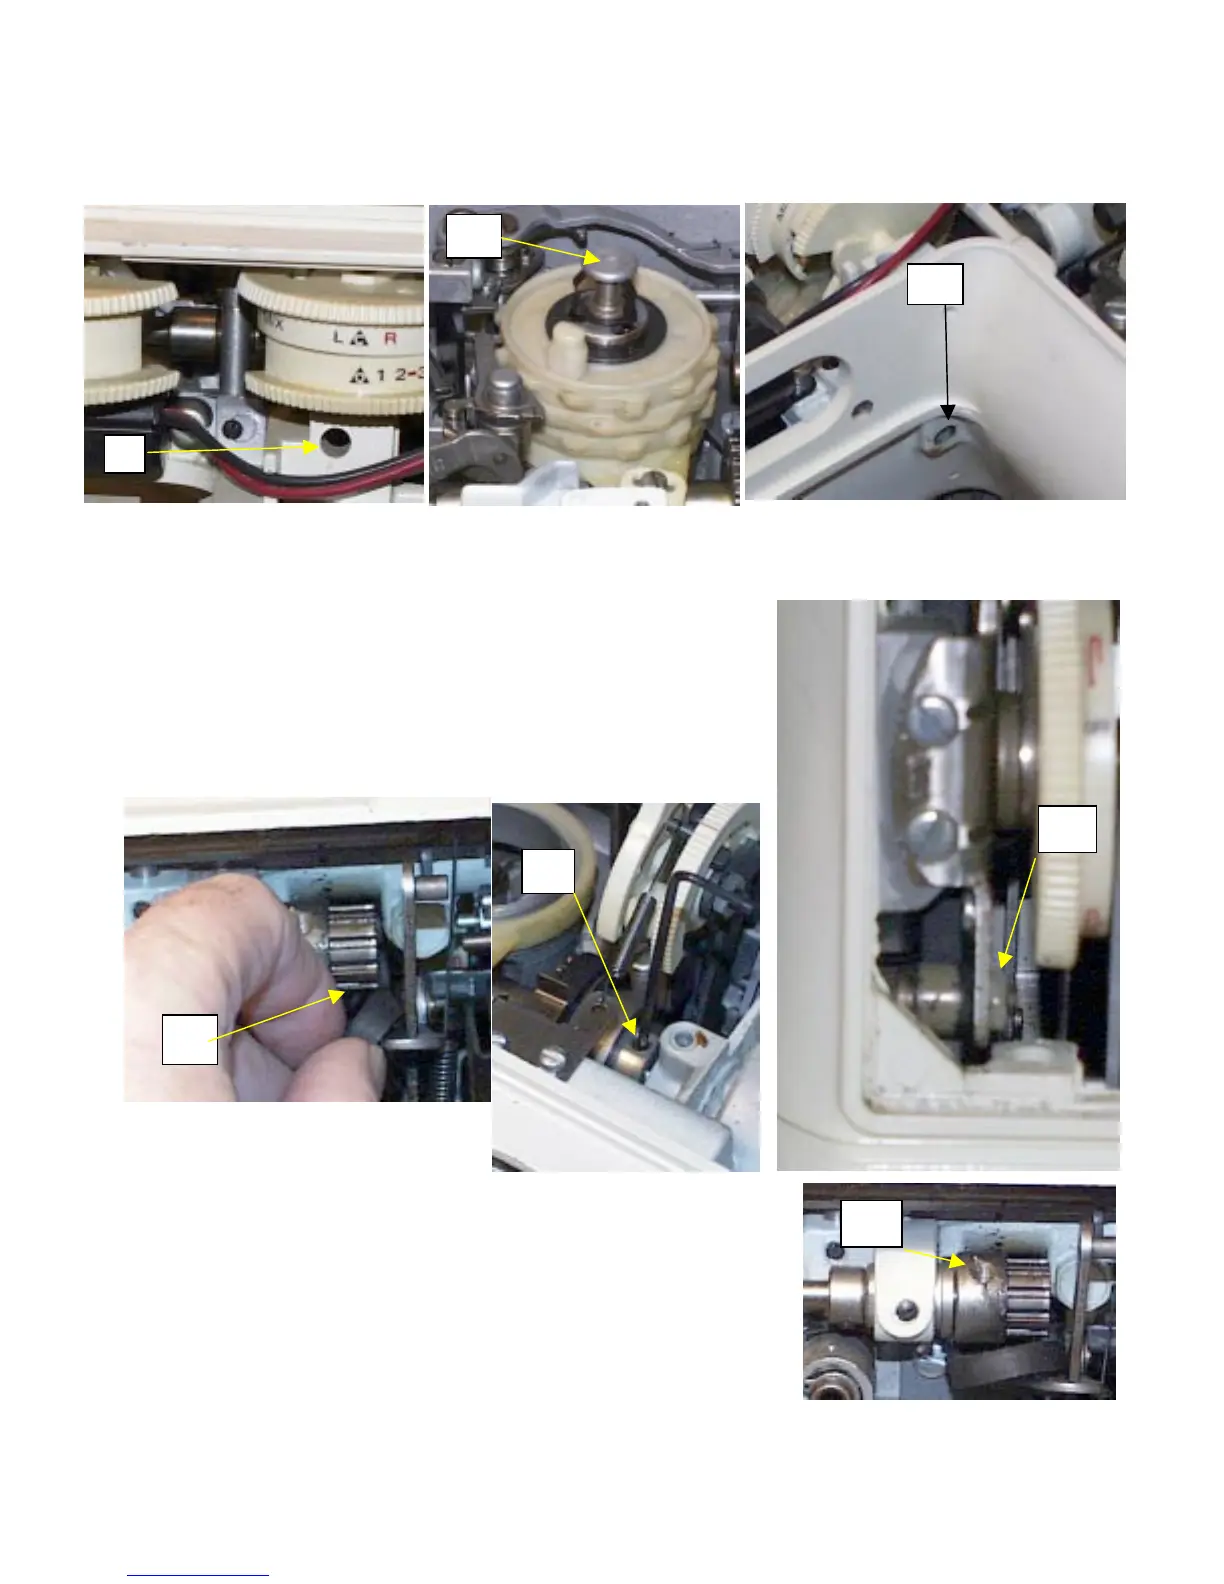
11. Now the have the needle bar end pretty well cleaned out, we need to remove the cam stack.
12. Locate the pinch screw through hole (a) in figure 9, and loosen about 3 turns worth.
13. Once the setscrew is loose enough, but not all the way out now, it’ll be difficult to put back in if you
removed it all the way. You’ll need a small magnetic screwdriver or launcher to reinstall it. Start working
the cam stack eccentric pin loose and pulling it upward (fig 10). To help, you’ll find a hole underneath the
frame where the eccentric pin comes through (fig 11).
14. Loosen the drive belt tension stud nut (fig 12).
15. Using either 3/32nds, or 5/64ths Allen wrench, remove the screw that holds the belt cog to the main shaft
(fig 13).
16. Remove the belt from the lower drive-timing cog. This will
relieve any tension that is still being applied to the top main
shaft, and make it’s removal easier (fig 14).
17. Once the belt is off the lower cog, and you have the top shaft
removed from the machine, you can remove the drive belt and
insert the new one. Reassemble in reverse order.
9
10
11
13
15
 Loading...


