Basic Tension Parts:
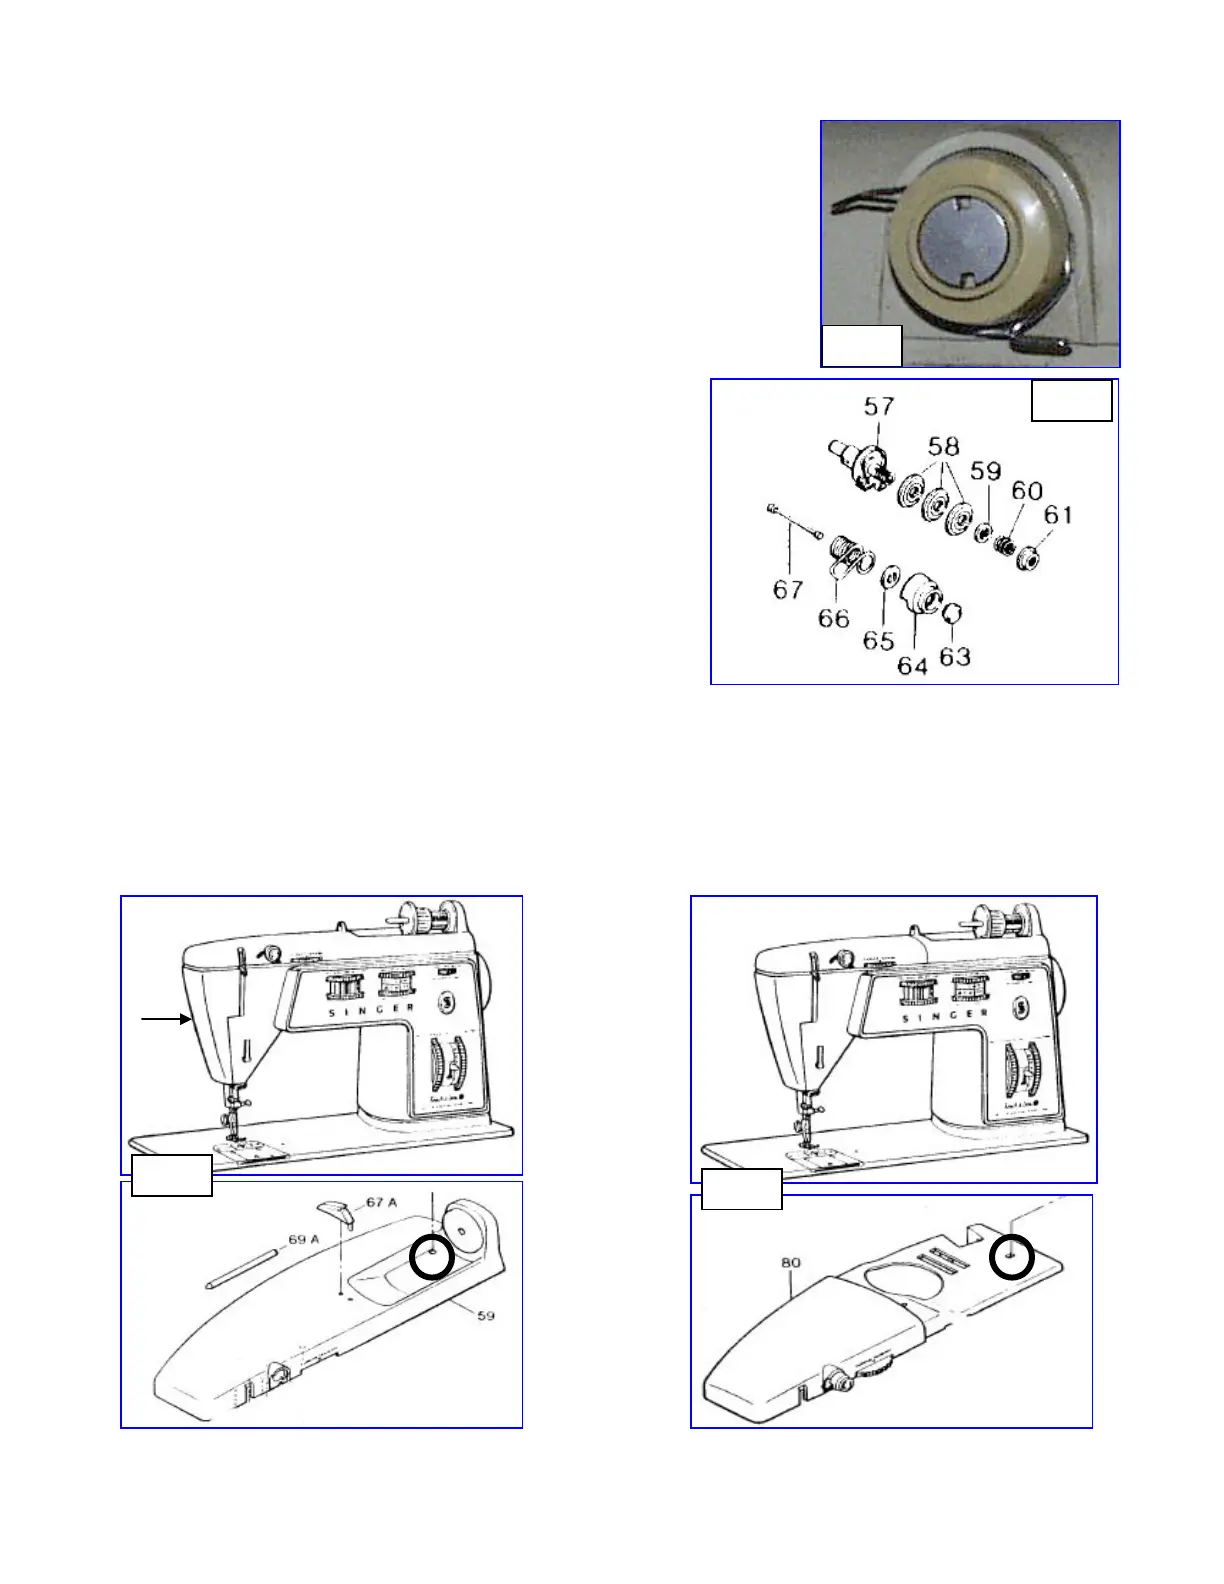
Shown to the right, fig 1, is the basic T&S top tension unit
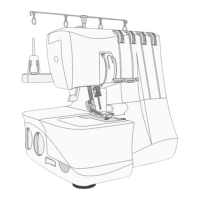
Lets break it down and become familiar with the parts, fig 2
1. 63 – tension cap / regulator nut
2. 64 – tension cap – plastic
3. 65 – tension cap friction washer
4. 66 – check spring
5. 67 – tension releasing pin
6. 57 – tension stud unit
7. 58 – tension discs (3 total)
8. 59 – tension releasing pin washer
9. 60 – pre-tension spring
10. 61 – pre-tension adjusting nut
Panel Removal:
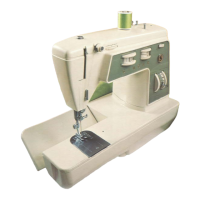
1. Open the side cover (face plate), fig 3, arrow
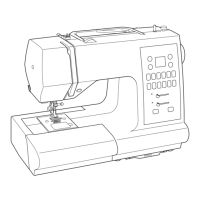
2. Depending on model, removing the arm top cover differs. Fig 3 depicts a machine with a solid arm top cover, while fig 4
depicts a machine with an arm top cover that may be opened to insert additional patterns. Depending on your model type,
remove the arm top cover screw, shown in fig 3 & 4 bottom pictures, circled area
3. With the side cover open, lift the top from the right side, and slide off to the left. The arm top cover is spring loaded, so give
it a little assistance in sliding off
2