Do you have a question about the Singer MX231 and is the answer not in the manual?
Safety warning for reducing the risk of electric shock.
Safety warning to reduce risks of burns, fire, electric shock, or injury.
Guidelines for children's use and noise levels specific to CENELEC countries.
Guidelines for use by individuals with reduced capabilities and noise levels for non-CENELEC countries.
Explains double insulation and the need for qualified service personnel for repairs.
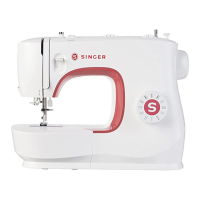
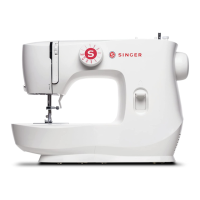
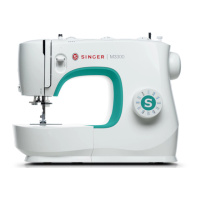
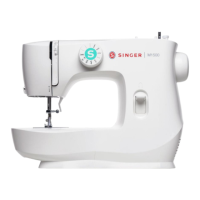
Illustrates the sewing machine and labels its key parts.
Identifies specific components like spool pins, thread guides, foot control, and power cord.
Instructions on how to connect the machine to power and operate the light switch.
Important notice regarding the polarized plug for electrical safety.
Explains how to raise the presser foot for easier fabric positioning.
Notes on how temperature extremes can affect sewing results.
Lists and illustrates standard accessories like feet, screwdrivers, and needles.
Directs users to the website for additional optional accessories.
Detailed instructions and illustrations for winding a bobbin correctly.
Explains the function of the bobbin winder spindle and its effect on sewing.
Guides on how to insert the bobbin case and bobbin into the shuttle correctly.
Emphasizes turning off the power switch before handling the bobbin.
Explains how to adjust upper thread tension for different stitch types and fabrics.
States that bobbin tension is factory-set and usually does not require adjustment.
Provides tips on achieving balanced tension and common setting ranges.
Detailed instructions with diagrams for threading the upper part of the sewing machine.
Recommends turning off the power before threading for safety.
Step-by-step guide on how to use the automatic needle threader.
Emphasizes turning off the power switch before using the needle threader.
Instructions on how to bring the bobbin thread up through the needle plate hole.
Note on checking for trapped threads when raising the bobbin thread.
Explains how to select stitch patterns using the pattern selector and stitch length dials.
Provides visual examples of stitch patterns for different sewing machine models.
Details the function of the stitch width dial for zigzag stitching and needle position.
Explains how stitch length dials affect stitch density for zigzag and straight stitches.
Guides on setting the machine for straight stitch and positioning fabric.
Instructions on using the reverse sewing lever to secure seams.
Procedures for removing finished work and cutting the thread.
How to select stretch stitches using pattern and stitch length dials.
Examples and usage of straight stretch and ric rac stitches.
Step-by-step guide for sewing blind hems on various fabrics.
Suggests using a blind hem foot for easier sewing.
Detailed instructions for creating a 4-step buttonhole on specific models.
Provides tips for improving buttonhole quality, including using stabilizers.
Instructions for sewing a one-step buttonhole on specific models.
Guidance on sewing buttonholes on stretch fabrics using heavy thread or cord.
Step-by-step guide for sewing buttons onto fabric using the appropriate foot.
Method for creating a shank for buttons requiring one.
Instructions on how to attach and use the zipper foot for sewing zippers.
Techniques for sewing welts or piping using cord and bias strips.
Instructions on how to install and remove the extension table.
Describes how the inside of the extension table can be used for storage.
Step-by-step guide for removing and attaching presser feet and their shanks.
Instructions for attaching and adjusting the edge or quilting guide.
Reminder to turn off the power switch before changing presser feet.
Chart for selecting appropriate needles, fabrics, and threads for best results.
Details different needle types and the fabrics they are suitable for.
Recommendations for needle replacement frequency and using genuine SINGER needles.
Instructions on installing the darning plate for darning or free-hand embroidery.
Guidance on removing the darning plate for regular sewing operations.
Step-by-step instructions for inserting a new needle correctly.
Explains the importance of needle condition and common issues like bent or blunt needles.
Reminder to turn off the power switch before inserting or removing the needle.
Instructions for removing the needle plate and cleaning the feed teeth.
Detailed steps for cleaning, lubricating, and reassembling the hook mechanism.
Emphasizes regular lint removal and professional servicing.
Lists causes and solutions for upper and lower thread breaking.
Addresses problems like skipped stitches and needle breakage with solutions.
Solutions for loose stitches, seam gathering, puckering, and machine noise.
Guidelines for recycling electrical products and avoiding landfill disposal.
Information on Singer trademarks and copyright for the manual.
| Free Arm | Yes |
|---|---|
| Needle Threader | Yes |
| Type | Mechanical |
| Stitch Width | 5mm |
| Maximum Stitch Length | 4mm |
| Speed | 750 stitches per minute |
| Buttonhole Styles | 1 |
| Presser Feet Included | Buttonhole Foot, Button Sewing Foot |
| Warranty | 25-Year Limited |