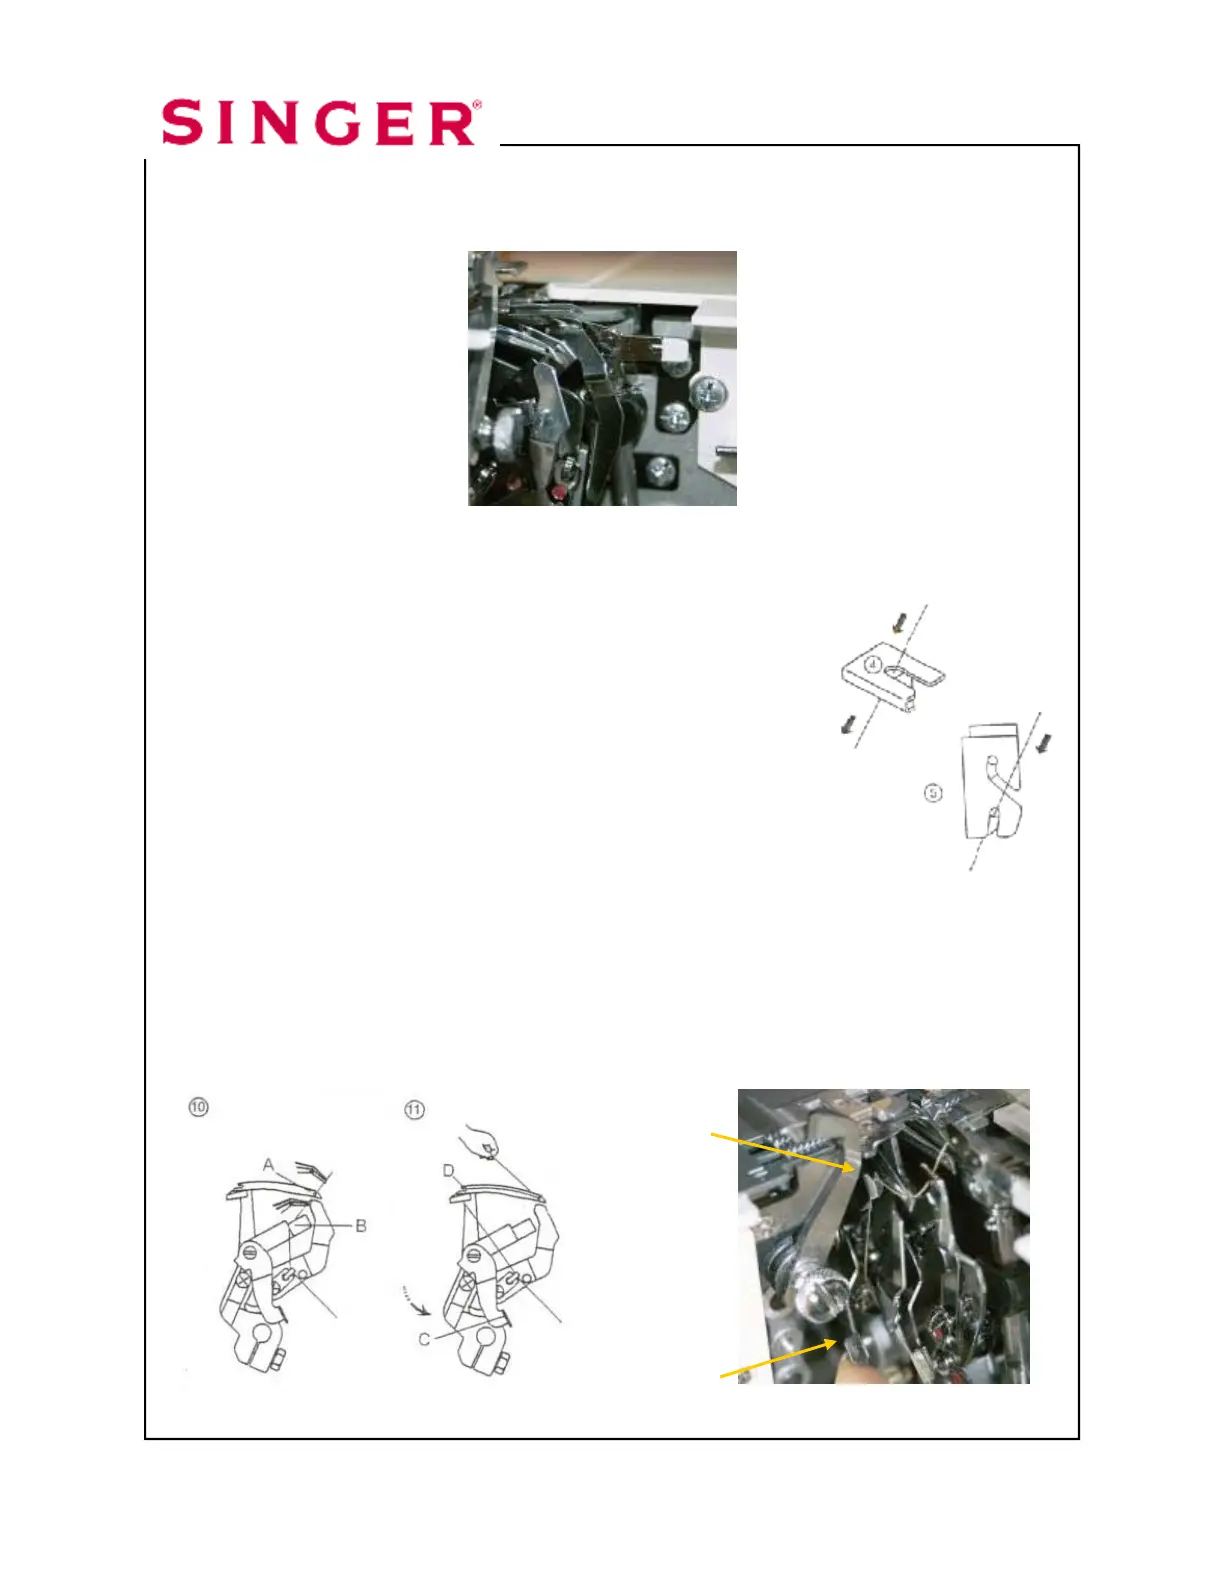
4. Turn the hand wheel toward you until the Chainstitch Looper extends out
10mm (approximately ½ inch) from the needle plate edge.
5. Thread the looper area of the machine following the brown color-coded
thread guides 4-11. Use the tweezers provided in the accessory case to
aid in threading the looper.
6. Place the thread through threading guides and .
7. Continue threading
guides , , and .
8. Thread the looper eye (A) from front to back. Pull about 4 inches of thread
through the looper. Position the thread into the V cutout (B) on the threader.
Firmly hold the thread tail with your left hand and pull threader lever (C) up
into place (D). Gently pull 5-6” of thread to the back of the machine.
Triple Cover Hem page 7
“V” cutout
Threader Lever