Section 04 ENGINE
Sub-Section 02 (454, 583 AND 670 ENGINE TYPES)
04-02-4
NOTE : The following procedures can be
done without removing the engine from
chassis.
CLEANING
Discard all gaskets and O-rings.
Clean all metal components in a non-ferrous met-
al cleaner.
Scrape off carbon formation from cylinder ex-
haust port, cylinder head and piston dome using a
wooden spatula.
NOTE : The letters “AUS” (over an arrow
on the piston dome) must be visible after
cleaning.
Clean the piston ring groove with a groove cleaner
tool, or with a piece of broken ring.
DISASSEMBLY
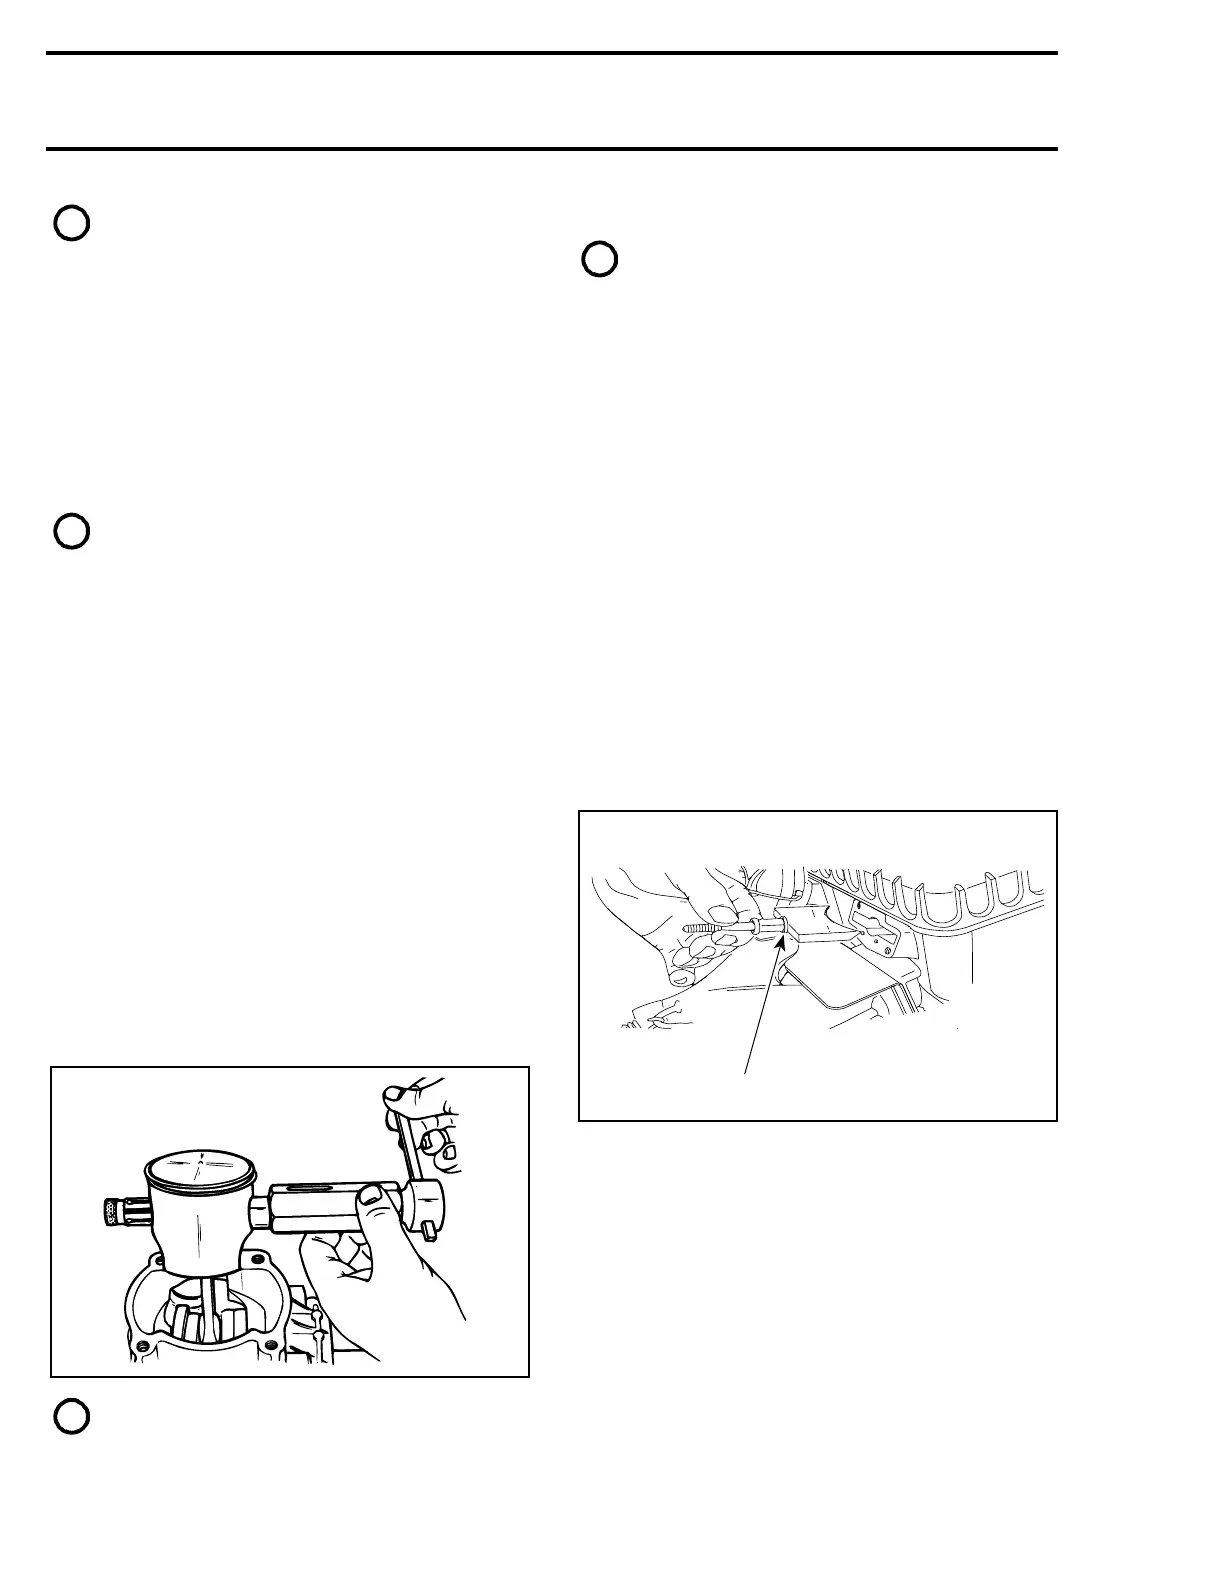
22,23,24, Piston Pin, Circlip and Piston
Place a clean cloth over crankcase then with a
pointed tool inserted in piston notch, remove cir-
clip from piston.
To remove piston pin, use piston pin puller (P / N
529 0290 00) as follows :
– Fully screw puller handle.
– Insert puller end into piston pin.
– Install adaptor (P / N 529 0236 00) then screw
extracting nut (LH threads).
– Hold puller firmly and rotate puller handle coun-
terclockwise to pull piston pin.
NOTE : 0.25 mm oversize piston and rings
are available if necessary.
RAVE System
NOTE : RAVE stands for Rotax Adjustable
Variable Exhaust.
3,5,6, Spring Clip, Cover and Spring
Remove spring clip, cover and spring.
7,8, Valve Piston and Clamp 50 mm
Cut clamp and unscrew valve piston.
9,10, Bellows and Clamp 21 mm
Spread clamp and remove bellows.
11,12,13, Cylindrical Screw, Lock
Washer and Valve Rod Housing
Remove cylindrical screws and their washers
then valve rod housing.
15,17,18,19,20, Valve Rod, O-ring,
Washer, Distance Nut and Exhaust
Valve
Pull out exhaust valve assembly.
1. Exhaust valve ass’y
583 Engine Only
Do not disassemble exhaust valve ass’y need-
lessly. Secure valve in a soft jaw vice. Remove O-
ring and washer, unscrew distance nut and re-
move washer. Unscrew valve rod from distance
nut.
INSPECTION
All Models
See ENGINE DIMENSIONS MEASUREMENT 04-
04.
A24C04A
1
 Loading...