Operating Instructions
-7-
Assembly
SELECTING BITS
A wide assortment of router bits with different
profiles are available as accessories.
To prevent personal injury.
Always remove the plug from
power source before removing or installing
bits or accessories.
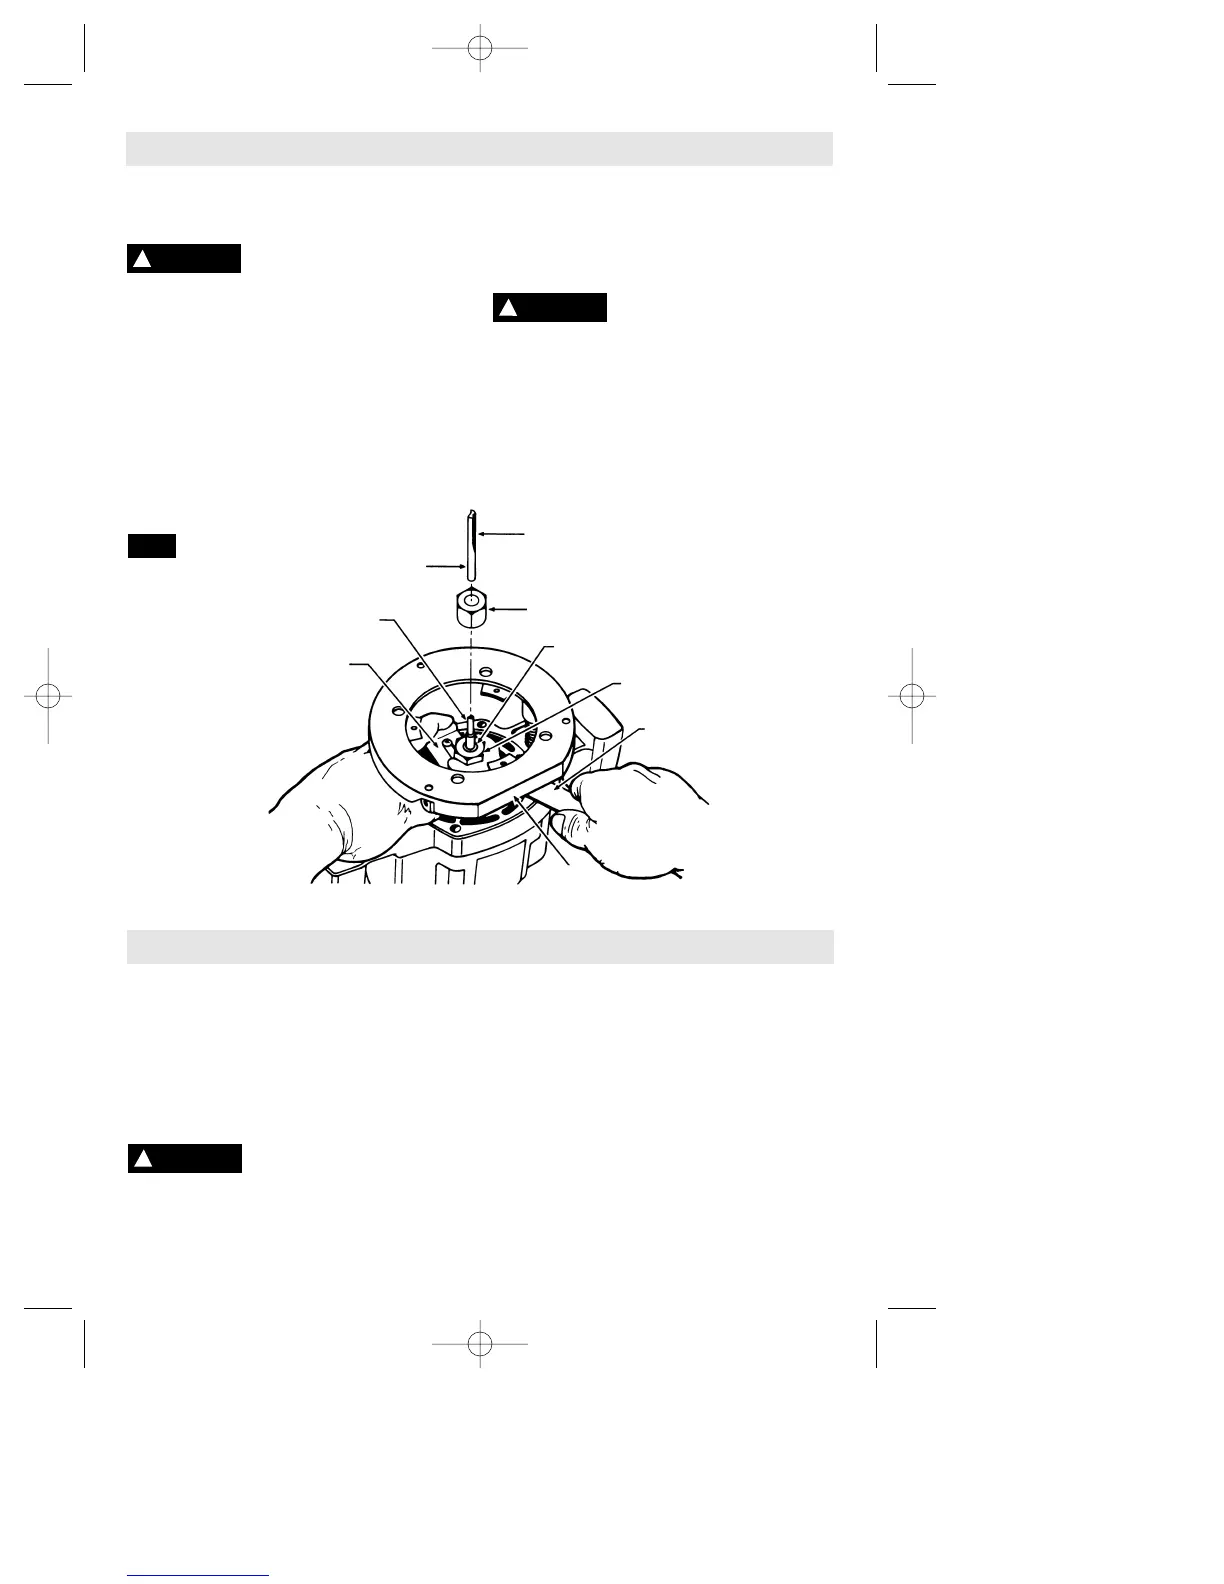
INSTALLING AND REMOVING BITS
1. Place router upside down as shown in (Fig.
2), or lay router on its side with the flat side of
base resting on the bench.
2. Press collet lock to stop rotation of collet
nut. NOTE: it may be necessary to rotate
collet nut to engage collet lock.
3. With the wrench provided, turn collet nut
counterclockwise to loosen.
4. Insert bit three fourths into the collet, and
securely tighten collet nut clockwise with the
wrench provided.
To prevent damage to tool,
do not tighten collet nut
without a bit.
REMOVING BITS
Repeat steps 1, 2 and 3 of above and remove
bit.
ATTENTION: Be sure that the diameter of the
bit shank is the same size as the inside
diameter of the collet — your router is
equipped with a 1/4" collet.
!
WARNING
CHIP DEFLECTOR
The chip deflector helps keep dust and chips
out of your face. To remove, press inward on
center of deflector until it releases from tab in
base and lift out. To attach, place deflector
into position as shown in (Fig. 1). Then flex
sides of deflector while pushing down until
tab on base snaps into slot on deflector.
Safety glasses must always
be worn.
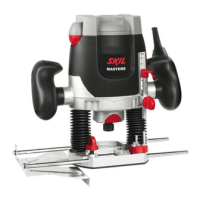
Skil plunge routers are designed for speed,
accuracy and convenience in performing
cabinet work, routing, fluting, beading, cove-
cutting, dove tails, etc. It will enable you to
accomplish inlay work, decorative edges and
many types of special carving.
PLUNGING ACTION
The plunge feature simplifies depth
adjustments and will allow the cutting bit to
easily and accurately enter the workpiece. To
lower, loosen lock lever (Fig. 1), and apply
downward pressure until depth gauge makes
contact with the fine depth adjustment screw,
and tighten lock lever. Loosen lever and
WRENCH
COLLET
COLLET NUT
BIT
SHANK
BIT
COLLET
LOCK
BASE
FIG. 2
!
CAUTION
!
WARNING
COLLET NUT