8
• The charger is not intended for use by persons
(including children) with reduced physical, sensory or
mental capabilities, or lack of experience and
knowledge, unless they have been given supervision or
instruction concerning use of the charger by a person
responsible for their safety
• Ensure that children do not play with the charger
• Do not use charger when damaged; take it to one of the
offi cially registered SKIL Service Stations for a safety
check
• Do not use charger when cord or plug is damaged; cord
or plug should be replaced immediately at one of the
offi cially registered SKIL Service Stations
• Do not disassemble charger or tool
• Explanation of symbols on charger/battery
3 Read the instruction manual before use
4 Only use the charger indoors
5 Double insulation (no earth wire required)
6 Do not dispose of the charger together with
household waste material
7 Do not dispose of the battery together with
household waste material
WHEN CONNECTING NEW 3-PIN PLUG (U.K. ONLY):
• Do not connect the blue (= neutral) or brown (= live) wire
in the cord of the charger to the earth terminal of the
plug
• If for any reason the old plug is cut off the cord of the
charger, it must be disposed of safely and not left
unattended
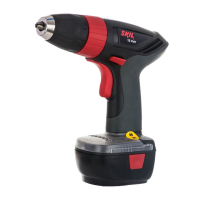
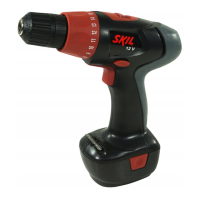
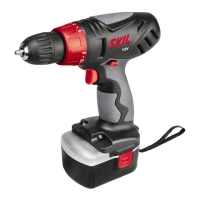
USE
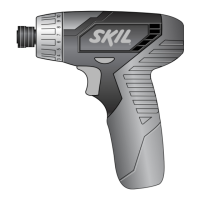
• On/off 8
• Speed control for smooth starting 9
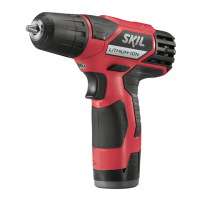
• Charging battery 2
! a lithium-ion battery that is new or has not been
used for a longer period does not develop its full
capacity until after approximately 3 charging/
discharging cycles
- plug charger into power source
- light C will turn on GREEN indicating that the charger
is ready for operation
- insert tool into charger
- light C will turn RED indicating that the battery is
being charged
- after 3-5 hours the battery is fully charged and
charging automatically stops (light C will turn GREEN
again)
- the tool may be used, even though light C may still
be RED (the light may require more than 3 hours to
turn GREEN depending on temperature)
- if the tool is used only briefl y, the charging time can
be very short
- unplug the charger when the battery is fully charged
IMPORTANT:
- if light C does not turn RED after inserting tool into
charger, this may mean that the battery is too cold or
too hot; when the battery temperature returns to
between 0°C and 45°C, the charger will automatically
begin charging
- the lithium-ion battery can be charged at any time
(interrupting the charging procedure does not
damage the battery)
- while charging, the charger and the battery may
become warm to touch; this is normal and does not
indicate a problem
- do not charge at temperatures below 0°C and over
45°C; this will seriously damage the battery as well
as the charger
- when the lithium-ion battery is empty, the tool is
switched off automatically
! do not continue to press the on/off switch after
the tool is switched off automatically; battery may
be damaged
- the battery must be kept separate from the natural
environment and should not be disposed of as
normal domestic waste (symbol 7 will remind you of
this when the need for disposing occurs)
• Changing direction of rotation 0
- indicator E shows the selected direction of rotation
- when not properly set in left/right position, switch
A 2 cannot be activated
! change direction of rotation only when tool is at a
complete standstill
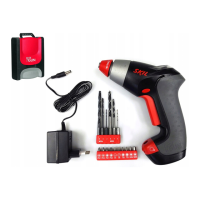
• Changing bits !
- only use 1/4” hexagonal shank accessories with
locking groove
! always use screw bits in combination with a bit
holder
- pull accessory to check that it is locked correctly
! do not use bits with a damaged shank
! only use sharp bits
• Torque control (VariTorque) @
- output torque will increase as clutch ring G is rotated
from 1 to 10; position H will lock up the clutch to
permit drilling or driving heavy duty work
- when turning in a screw, fi rst try VariTorque position 1
and increase until the desired depth has been
reached
• Low battery level indicator #
When battery level is low, indicator J lights on
• Mounting charger on the wall $
• Holding and guiding the tool
! while working, always hold the tool at the grey-
coloured grip area(s) %
- keep ventilation slots K 2 uncovered
- do not apply too much pressure on the tool; let the
tool do the work for you
APPLICATION ADVICE
• When drilling ferrous metals
- pre-drill a smaller hole, when a large hole is required
- lubricate drill bit occasionally with oil
• When turning in a screw at/near the cross cut end or an
edge of wood, pre-drill a hole in order to avoid cracking
of the wood
• For an optimal use of the tool a steady pressure on the
screw is required, especially while removing