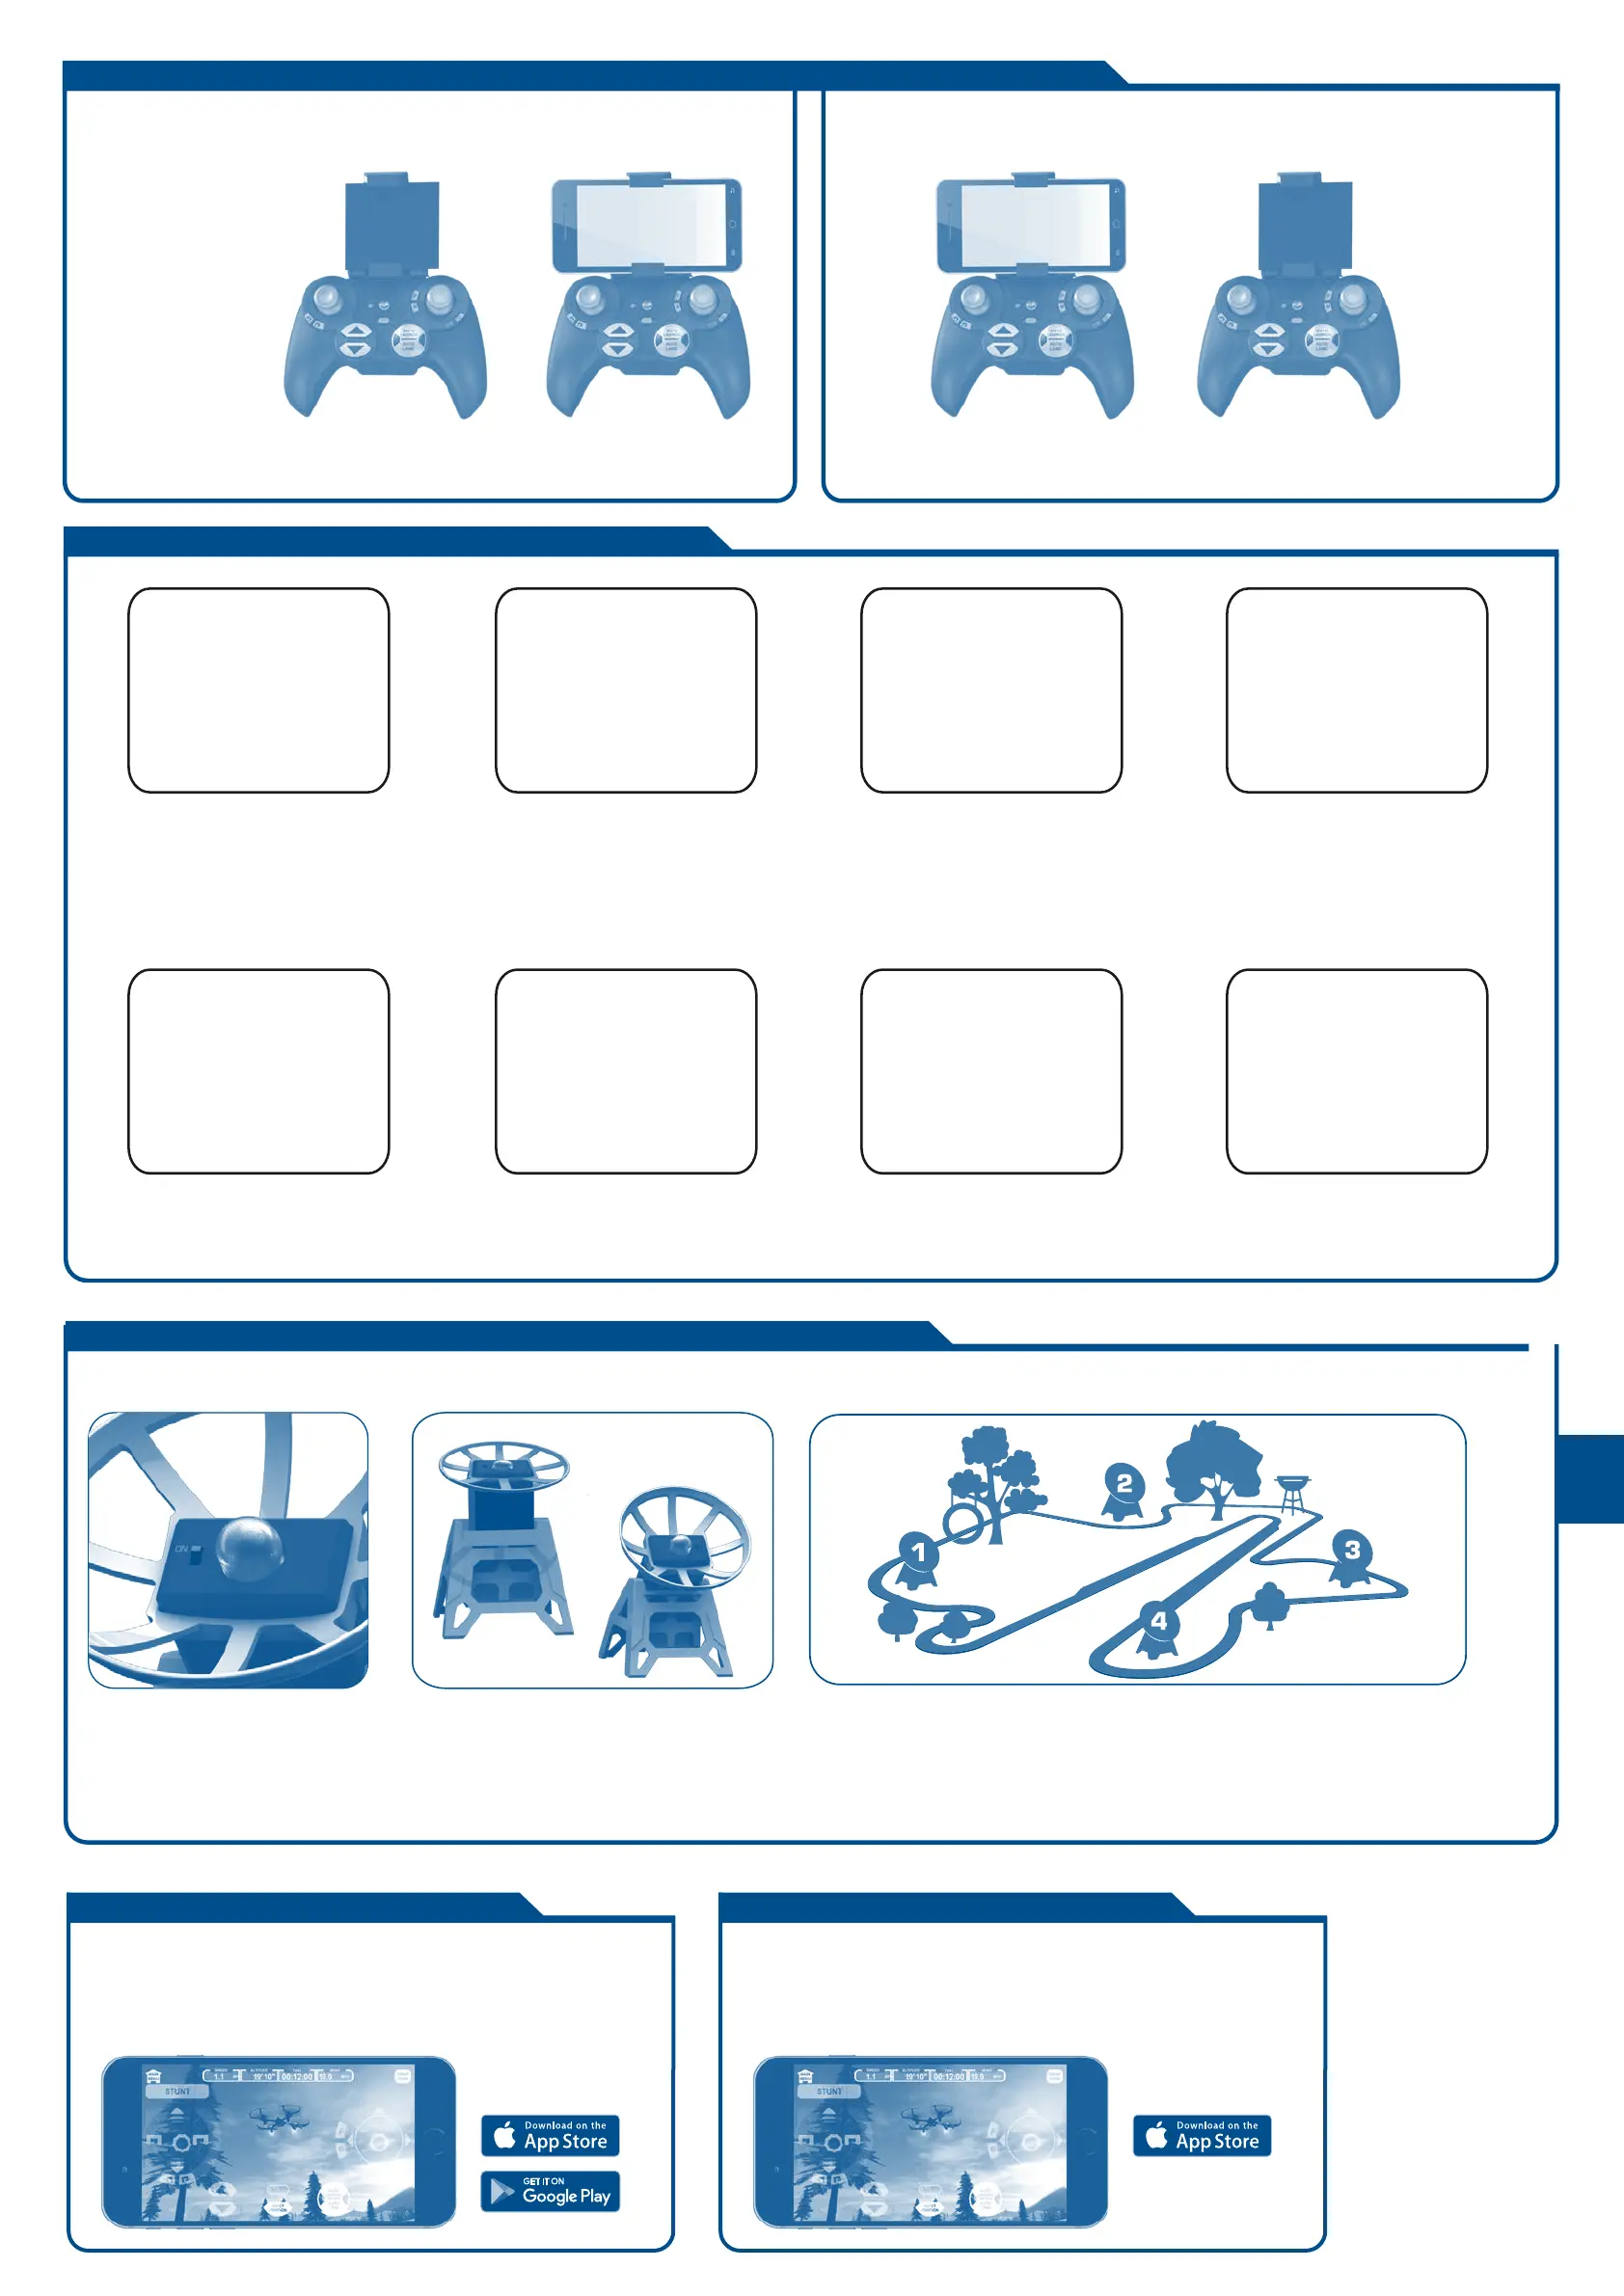
SKY VIPER FLIGHT SIMULATOR
Learn and practice maneuvers on your phone,
then apply your new skills in real life. Download the app for free!
- Auto & Manual Flight Modes
- Practice & Challenge Simulations
- 1st and 3rd Person Views
- Choose from the entire Sky Viper fleet
SKY VIPER FLIGHT SIMULATOR
Learn and practice maneuvers on your phone,
then apply your new skills in real life. Download the app for free!
- Auto & Manual Flight Modes
- Practice & Challenge Simulations
- 1st and 3rd Person Views
- Choose from the entire Sky Viper fleet
1 Hold Controller in one
hand. With other hand,
pull clamp out
2 Hold clamp and
Controller with one hand
3. Place smart device in
holder bed and release
clamp.
4 Check to be certaning
smart device is properly
and securely held..
1 Hold Controller in one hand
2 With other hand, squeeze clips on
bottom and push.
3 Once both clips are released, pull
smard device holder from guide.
Place the Beacons in the desired order on the floor or in your back yard, creating a
Hover Racer racetrack. It is advised to keep the beacons at distance of approxi-
mately 30 feet from each other. If they are placed closer, they may cause interfer-
ence with each other. It is suggested to create a square, triangle or rectangle
until you become proficient and maneuvering your Hover Racer.
HOVER RACER FLYING WITH AUTO LAUNCH
1 Move the switch on the top of the
BEACON to the on position.
2 Place the Beacon in its holder in either a
vertical or slanted position
{ add explanation of why one or the other.}
PREPARING AND SETTING UP BEACONS FOR HOVER RACING
ATTACHING AND REMOVING YOUR SMART DEVICE TO THE CONTROLLER
1 Plug in the battery cable of
the Drone.
5 To increase altitude, press the
ALTITUDE up button. To
decrease the ALTITUDE, press
the altitude button.
6 To land the Drone, press the
AUTO land button over a clear
spot on the ground.
7 Practice launching, hovering and
landing before attempting to learn
other maneuvers or perform stunts.
8 Flying 3 or 4 ft. above the ground
will reduce ground turbulence
and make flying easier.
2 Place the drone on the floor in front
of you with the green blades and
green LEDs facing away from you in
the direction you want to fly
3 Press the power button on the Controller.
The red LED on the Controller will blink and
the Contoller will beep until it connects to
the Drone. Once connected, the LEDs on the
Drone will stop blinkingand the beeping will
cease. The LEDs on the drone will now be
continuously lit and the Drone is now
ARMED and ready to fly.
4 To launch the Hover Racer, press
the AUTO LAUNCH button. The
Drone should take off and hover at
an altitude of approx. 3-4 feet.