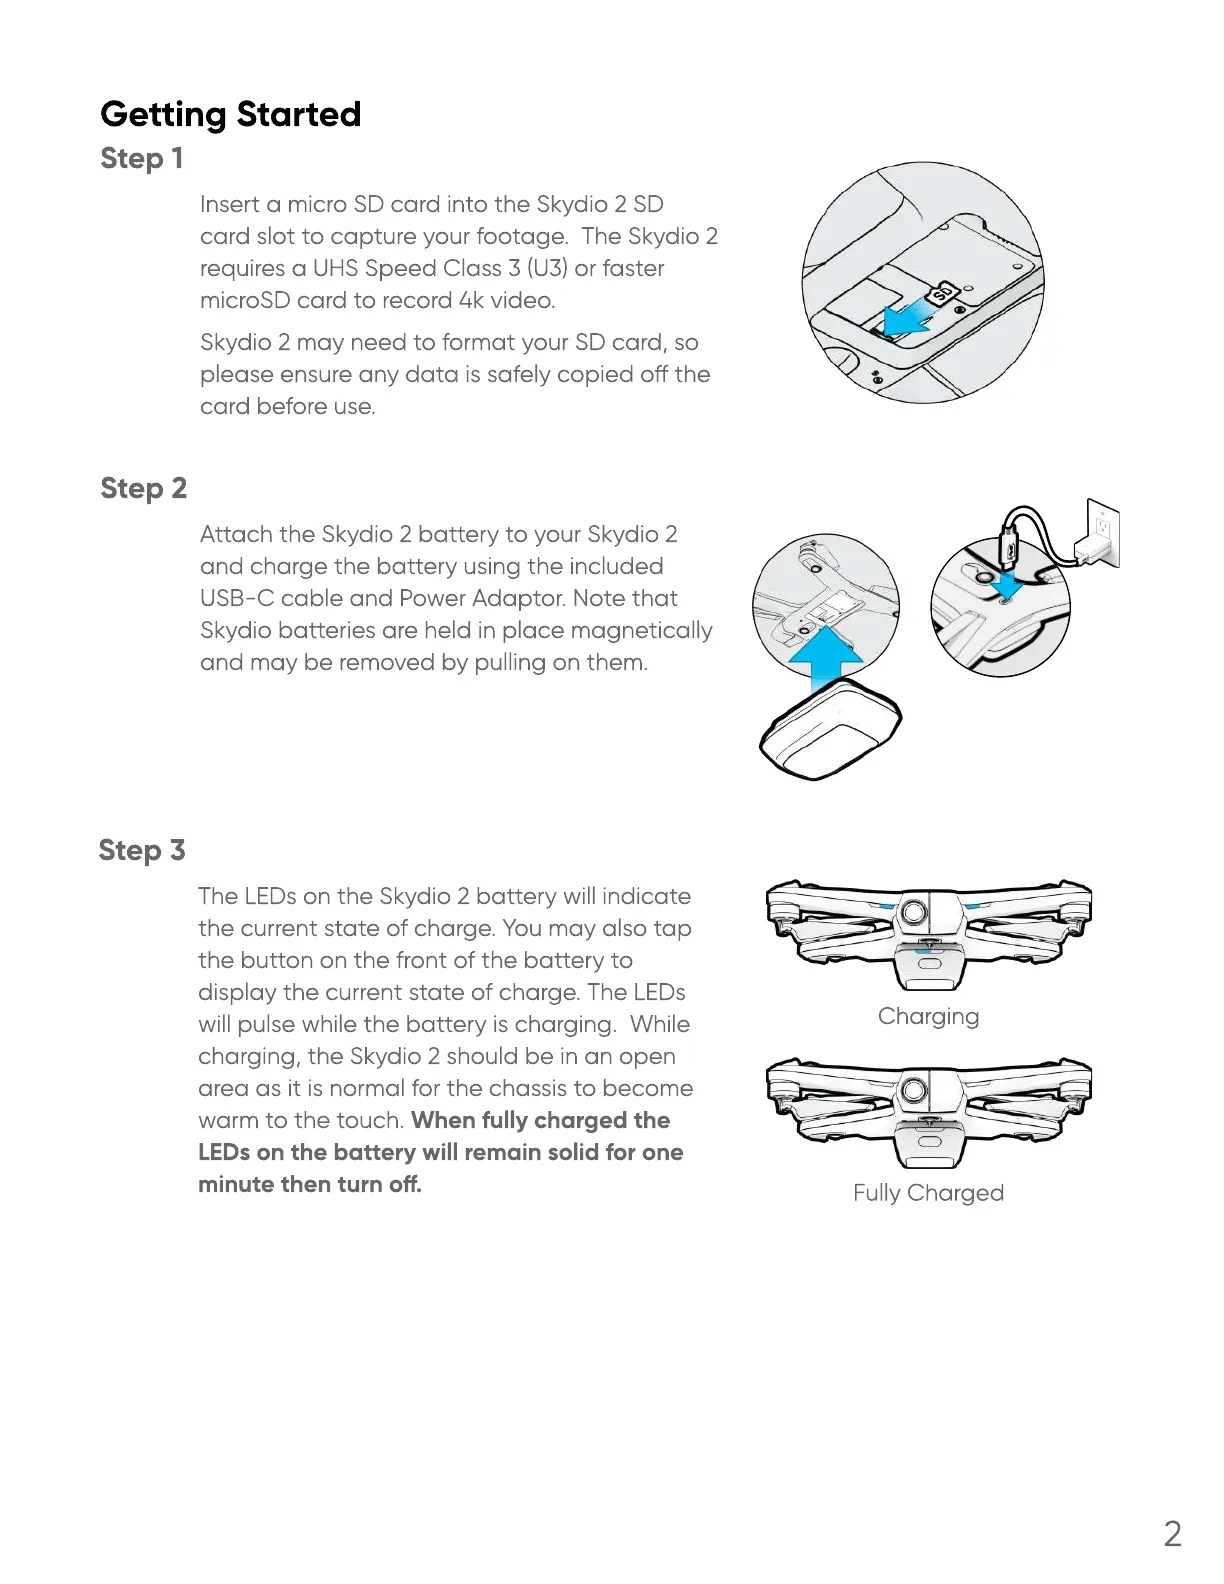
The LEDs on the Skydio 2 battery will indicate
the current state of charge. You may also tap
the button on the front of the battery to
display the current state of charge. The LEDs
will pulse while the battery is charging. While
charging, the Skydio 2 should be in an open
area as it is normal for the chassis to become
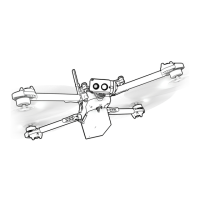
warm to the touch. When fully charged the
LEDs on the battery will remain solid for one
minute then turn o.
Charging
Fully Charged
Step 3
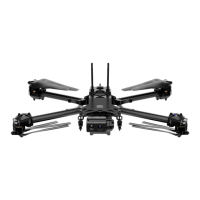
Attach the Skydio 2 battery to your Skydio 2
and charge the battery using the included
USB-C cable and Power Adaptor. Note that
Skydio batteries are held in place magnetically
and may be removed by pulling on them
Step 2
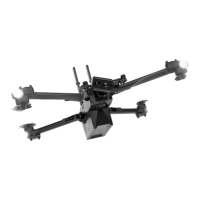
Insert a micro SD card into the Skydio 2 SD
card slot to capture your footage. The Skydio 2
requires a UHS Speed Class 3 (U3) or faster
microSD card to record 4k video
Skydio 2 may need to format your SD card, so
please ensure any data is safely copied o the
card before use
Step 1
Getting Started
2