Do you have a question about the SkyLink WC-520 and is the answer not in the manual?
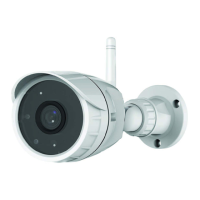
Screw the antenna onto the back of the camera for proper connection.
Plug the power adapter into the camera and then into a wall outlet.
Connect the Ethernet cable to the camera and your router for initial setup.
Open the SkylinkNet App and tap 'More' then 'System Settings'.
Tap on the 'Setup Wizard' option within System Settings.
Select 'Add Camera' to begin the process of adding a new device.
Tap 'Continue' to advance through the IP camera setup steps.
Enter a name and identify the camera using UID, QR code scan, or network search.
Input the camera's password, typically found on the bottom of the device.
Tap 'Preview' to view the camera's live feed and confirm setup progress.
Tap 'Save' if the camera status shows 'Online' to confirm settings.
Tap 'Set up Wi-Fi' to begin configuring the wireless network connection.
Choose your desired Wi-Fi network from the available list.
Enter the password for the selected Wi-Fi network and tap 'OK'.
Tap 'OK' after the camera has successfully connected to the network.
Tap 'Go to Camera page' after the Wi-Fi setup is completed successfully.
Shows the real-time video stream from the camera.
Indicates the current connectivity status of the camera.
Includes options for Full Screen, Refresh, Record Video, Snapshot, and Folder access.
Allows users to select between different connected cameras.
Details the one-year warranty against defects in materials and workmanship.
Provides customer service phone number and email for inquiries and issues.
| Brand | SkyLink |
|---|---|
| Model | WC-520 |
| Category | Outdoor Camera |
| Language | English |