4
15. DIRECT ACCESS BUTTONS
Press 0-9 buttons, allow you to select the one track from the CD.
16. DISPLAY
LCD Display lndicate the Track/Numbers/Time/Remain/Pitch/Continue/Single.
17. PITCH CONTROL
Use this fader to increase or decrease the speed of the track.
18. RELOOP BUTTON
This button is used to start the last saved loop. To finish the loop, press the re-loop button again.
19. LOOP IN BUTTON
You may set the beginning point of the loop system and indicate on the display.
20. LOOP OUT BUTTON
When you press this button, you set the end point of the seamless loop and you start the loop.
To finish the loop, press again this button.
21. PITCH BUTTON
If you push this button, the adjustement of the pitch potentiometer is available.
22. PITCH BEND – BUTTON
The pitch will drop while the - button is pressed and return to the original pitch when it is released.
23. PITCH BEND + BUTTON
The pitch will automatically rise when the + button is pressed and return to the original pitch
when it is released.
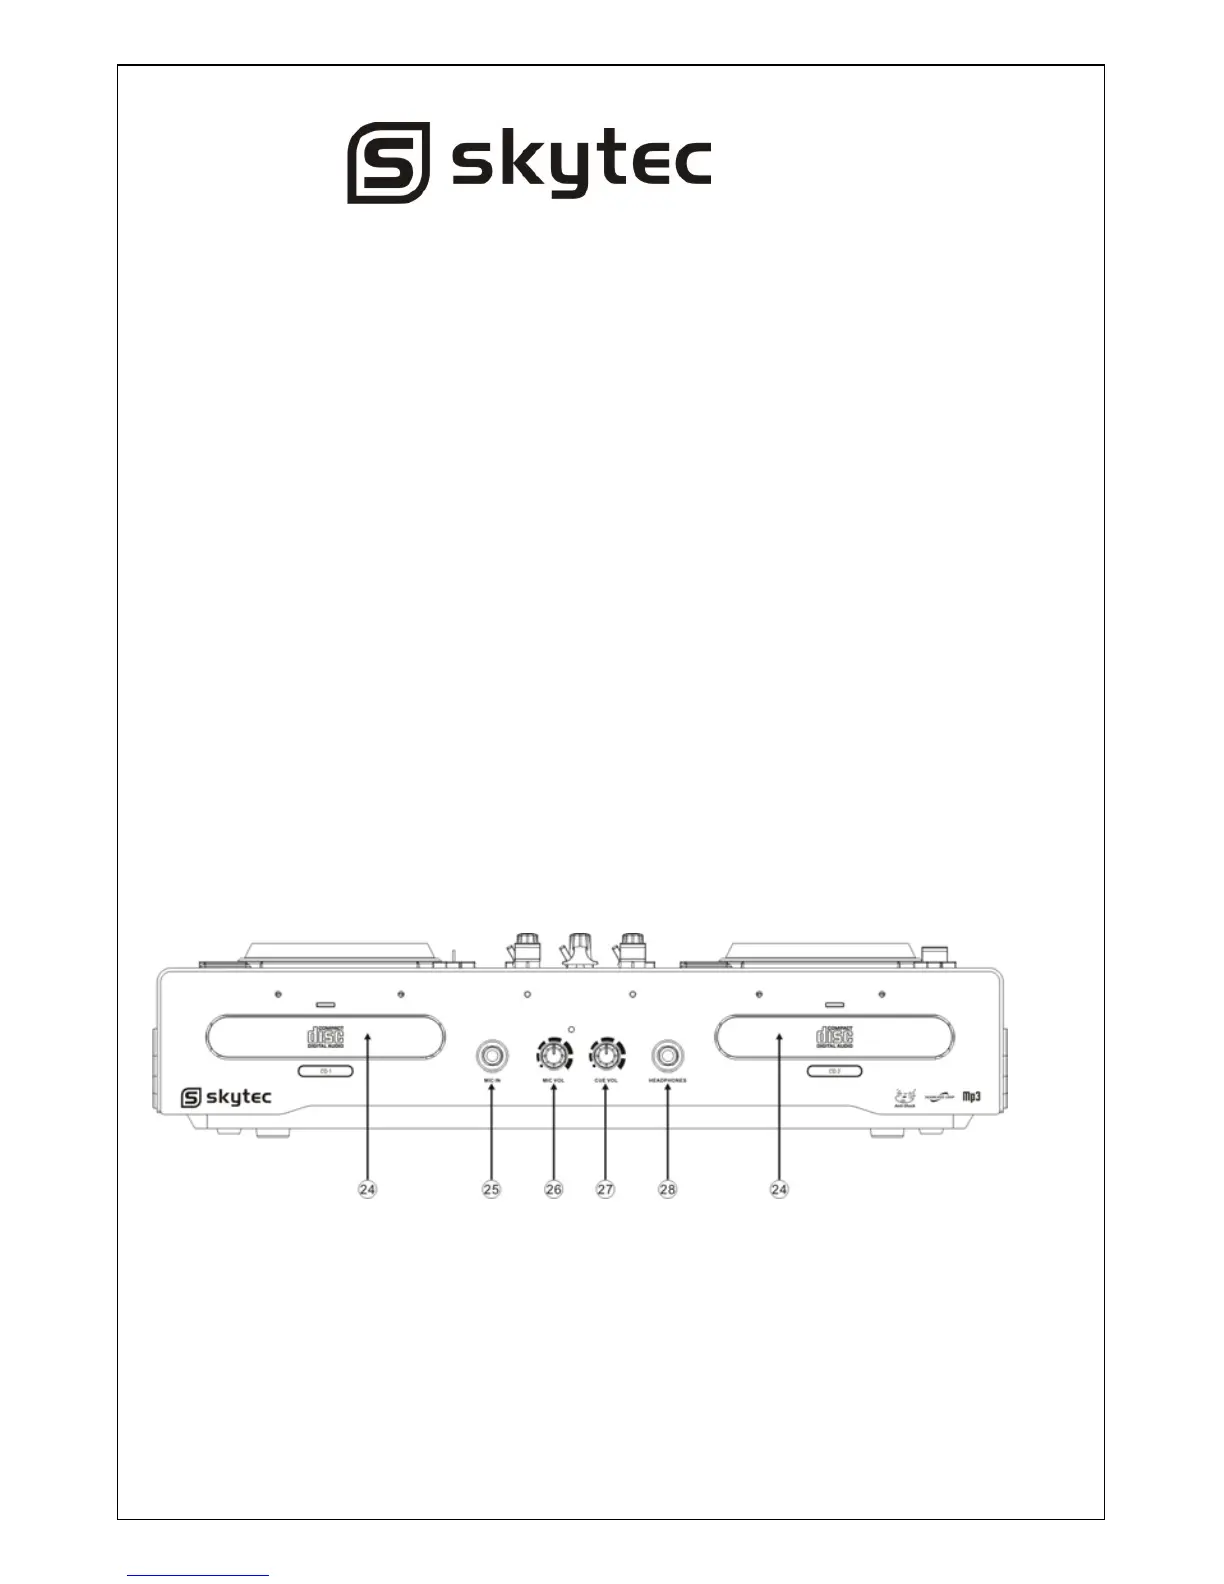
FRONT VIEW
24. DISC TRAY
To enter the disc, please refer to the explanations under 6.2 CD-tray.
25. MIC INPUT
Plug 1/4” microphone plug in here
26. MID Knobs
Adjust volume of the microphone corresponding to MIC number.