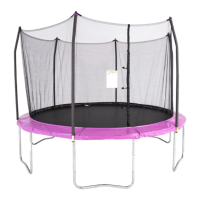
If the Enclosure net(7) and Jumping mat(5) are not
pre-installed, follow below steps to install.
Place the Jumping mat(5) on clear ground.
Identify the warning label on mat top and the ID
label on mat back as shown.
the first V-ring
clip
zipper loop
the first hole
Enclosure net
Enclosure door
Warning label (on mat top)
ID label (on mat back)
the first V-ring
the first hole
4.1
4.
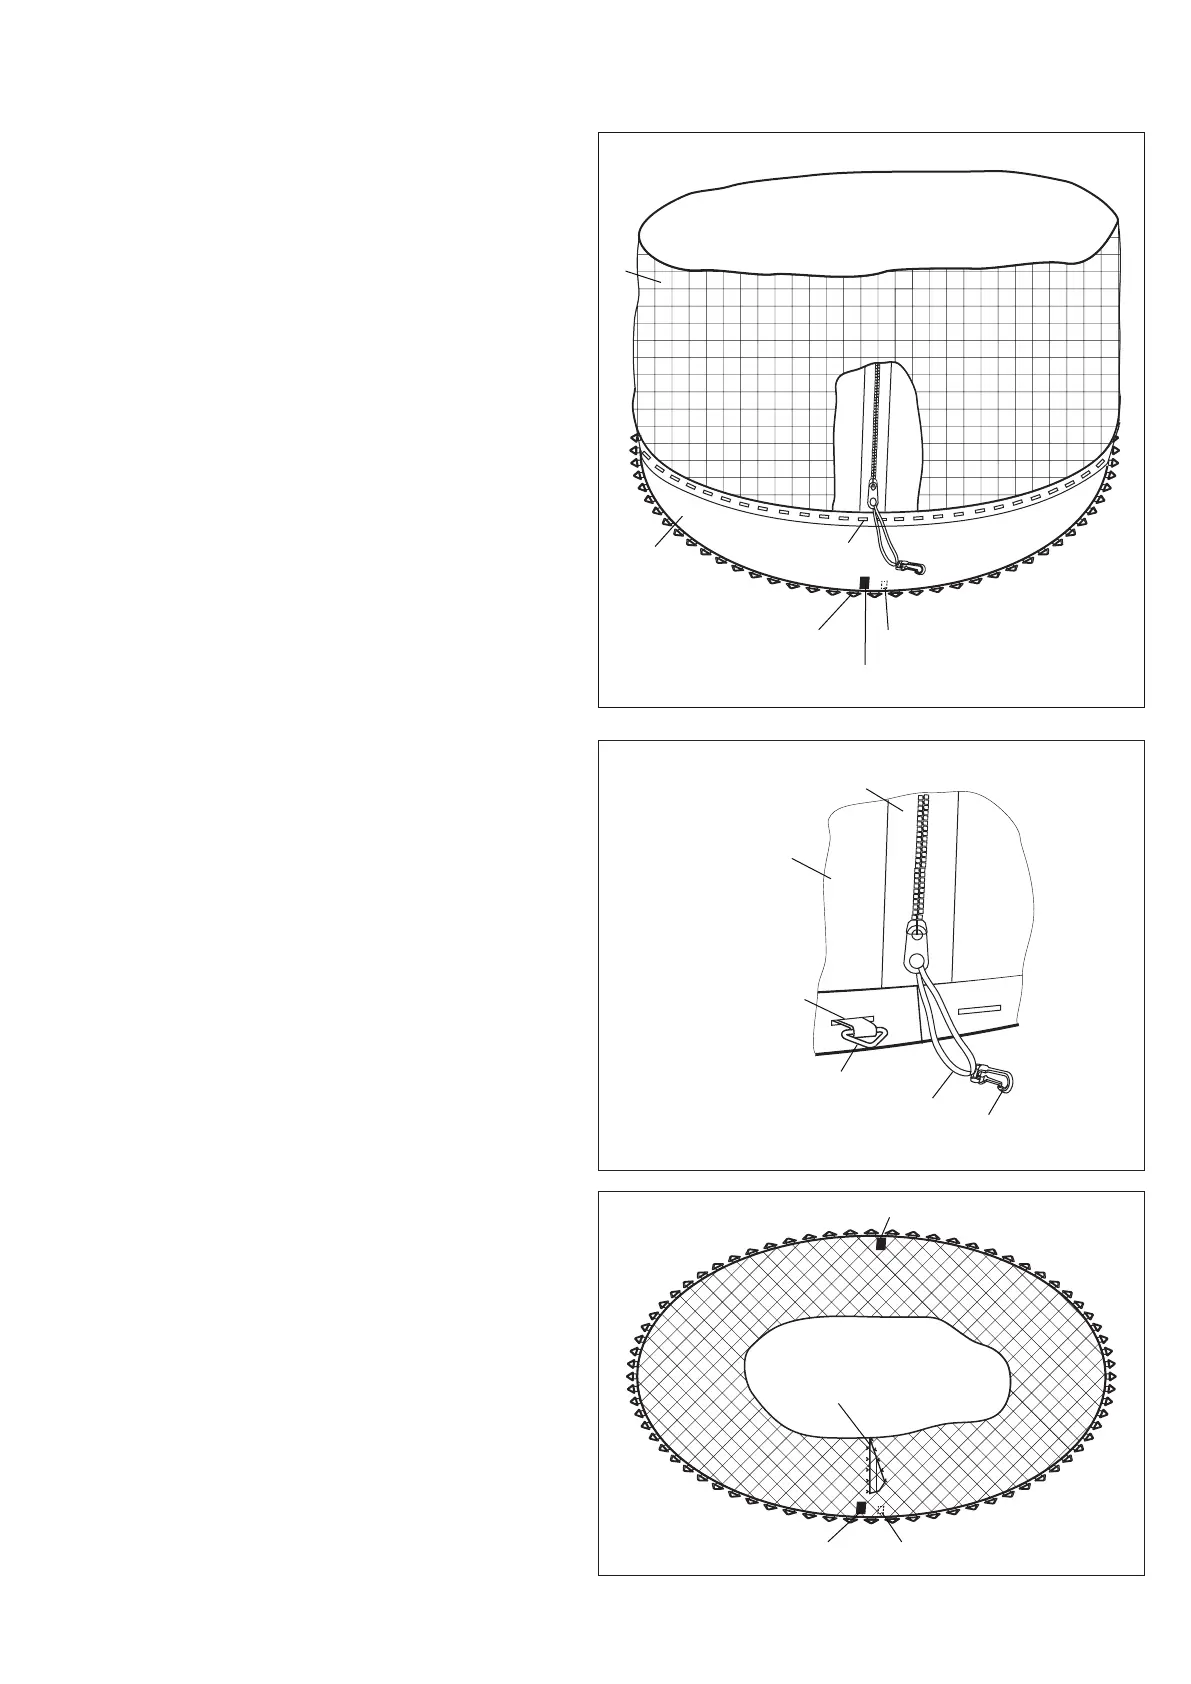
Place the Enclosure net(7) on the Jumping mat(5),
make sure the first hole and the first V-ring are
aligned as shown.
4.2
Insert the first V-ring into the first hole, and then
insert the remaining V-rings into corresponding
holes in the same way one by one, until the Enclosure
Net(7) and the Jumping mat(5) are fully attached .
4.3
Enclosure door
Warning label (on mat top)
ID label (on mat back)
Warning label (on mat top)
5
7
NOTE:
The first hole refers to the first one that is located just left
of the Enclosure door.
The first V-ring refers to the one that is located just
left of the warning label near the ID label on Jumping
mat.
4
17