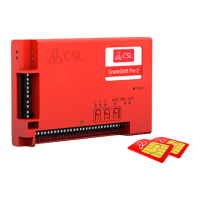
DualCom Pro 2 Range
Step 1 - Site Survey
VARIANTS WITH RADIO
Use a CSL Signal Analyser to determine if enough base stations (2 or more) are
available at the site and that they can supply sufficient signal strength (30% and
above). This will determine the optimum location for the DualCom’s aerial to be
mounted.
If you do not have a Signal Analyser we recommend powering up the DualCom Pro 2,
connecting the aerial/s, going through the commissioning process and checking the
signal strength before permanently fitting the aerial. Whilst in the connectivity
menu, LED 1 (for single radio systems) or 1 & 2 (for dual radio systems) should be
green to show an acceptable level of Radio signal/quality. See Connectivity LED
section for more information see Section 4 - Testing (Figure 11).
VARIANTS WITH LAN
DualCom Pro 2 uses DHCP as default, fixed IP settings can be added/amended in the
My Base App. Fit the Ethernet Cable to the device and connect to the customer’s
router. Ensure the customer’s LAN socket is live and has the correct network setting,
as per below:
• Port 50561 open for outbound traffic
• NAT enabled
• UDP data
• IP ranges 185.201.164.0/22 & 139.28.100.0/22
The ETH LED will flash green to indicate connection.
 Loading...