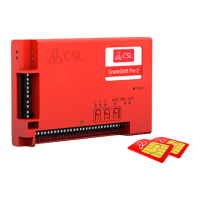
DualCom Pro 2 Range
Step 3 - Commissioning
On power-up, the DualCom Pro 2 will automatically contact the Gemini Global
Platform to perform its commissioning process, which will take up to 5-8 minutes.
Once commissioning is complete, LED 3 will go green to indicate that the device is
fully commissioned - see Below Figure 2.
Figure 2 - Commissioning
LED 1 - Power LED 2 - Comms Path LED 3 - Commissioned
MENUS & BUTTON CONFIGURATION
All device programming can be performed using the My Base App. We strongly
recommend you use this App instead of the buttons and LED menu as it provides
access to various hardware and site information. You can also use the one-time
access page to install a device using your mobile phone or web browser even
without login details. If you cannot get online during the install you can use the LED
menu system and buttons.
LED MENU SYSTEM
Once commissioned, DualCom Pro 2’s menu system is divided in to 2 sections:
Quiescent/Normal State and Connectivity.
BASIC BUTTON CONFIGURATION
To move between sections during installation press the A button. Whilst in
quiescent/normal state, tap the C button to send a Test Call or Press and hold for 5
seconds to allow the device to perform a self-learn of the current input state.
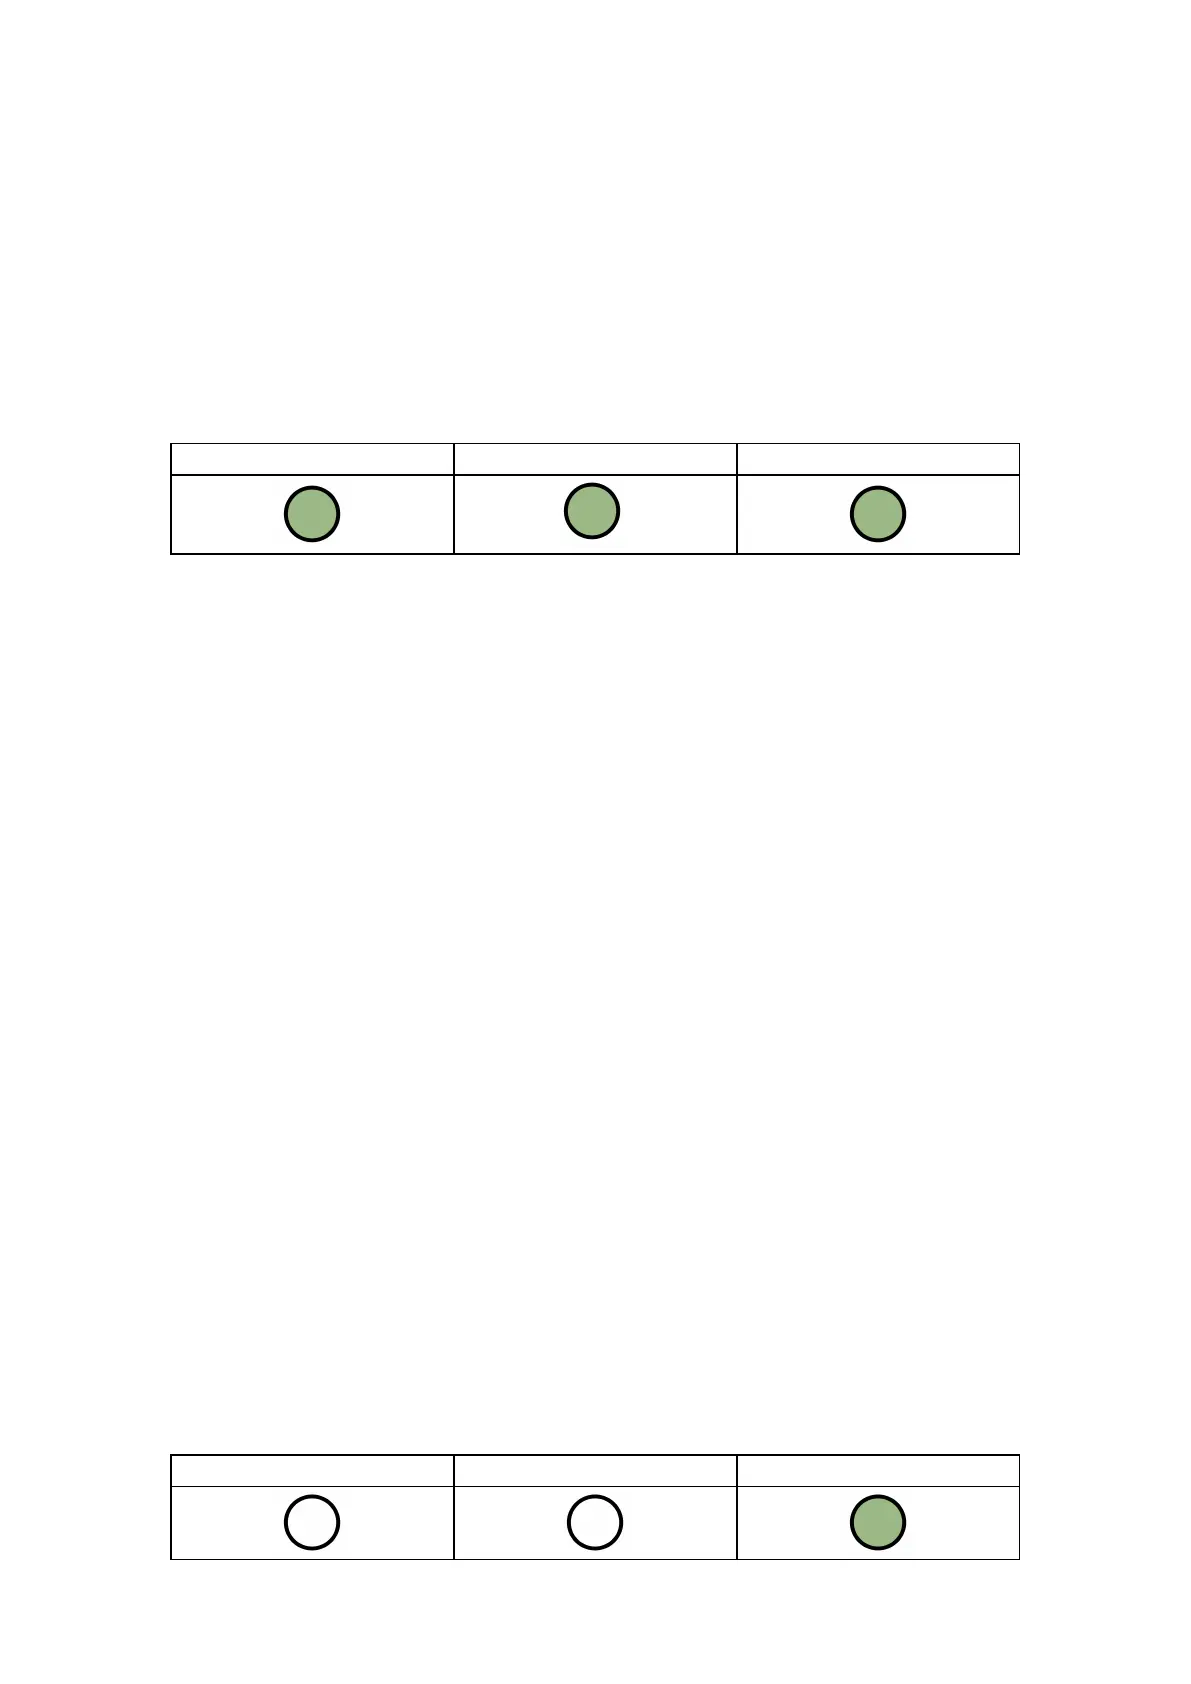
Figure 3 - Quiescent/Normal state
LED 3 will show the device status.
• Green = paths and system are OK
• Amber = 1 path is not working
• Red = error
LED 1 - N/A LED 2 - N/A LED 3 - Device Status


 To Next Page
 Loading...