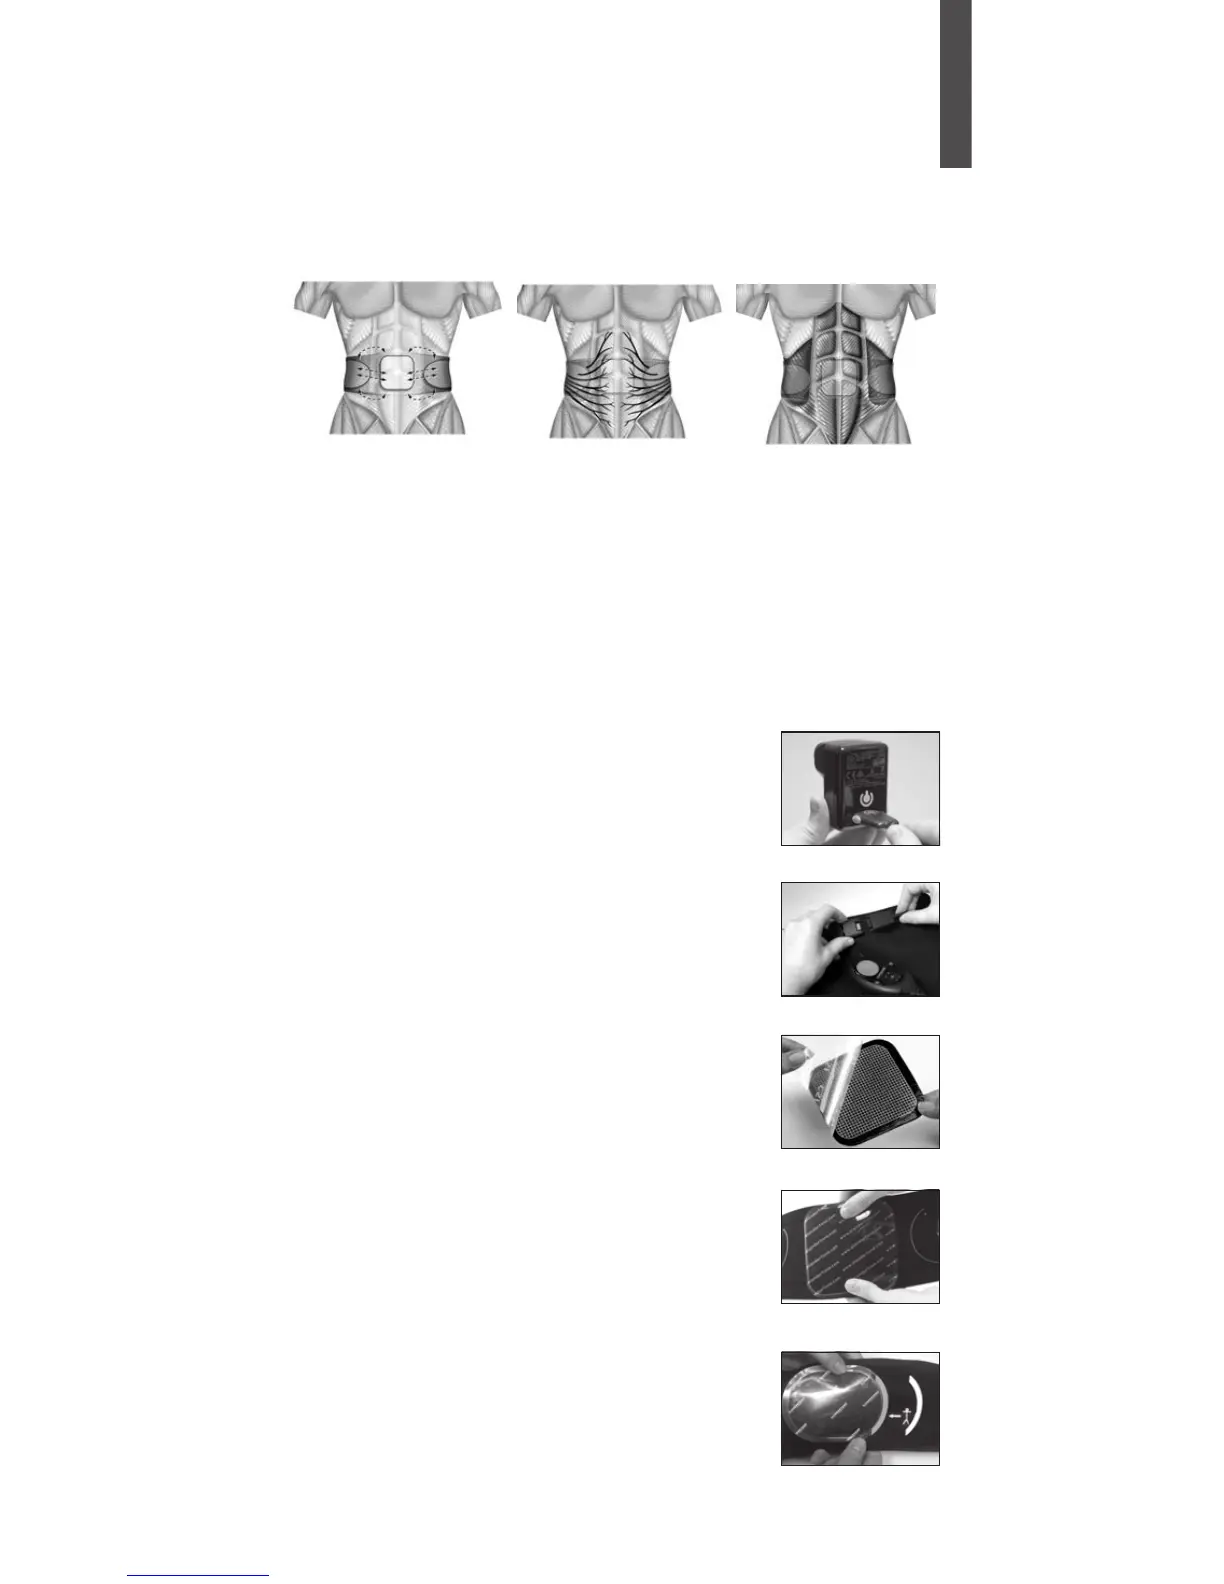
SLENDERTONE uses an exclusive, patented form of electrical muscle stimulation
(EMS) technology. This clinically proven technology ensures that all of the
abdominal muscles contract and not only those directly under the gel pads: the
rectus abdominis (abs), obliques (which shape the waist) and the transversus
abdominis (deepest abs). A signal is sent to the abdominal muscles and as the
signal strength increases, the muscles contract. See below how it works.
EXCLUSIVE AND PATENTED TECHNOLOGY
Step 1
Signals are sent
between the gel pads
Step 2
The signals switch on the
nerves which control the
abdominal muscles.
Step 3
The nerves, in turn, cause
your muscles to contract
and relax rhythmically.
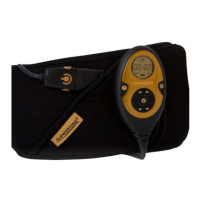
SETTING UP YOUR SLENDERTONE ABS7
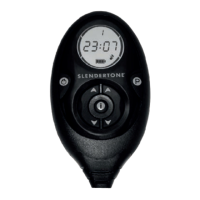
Step 1 - Plug the charger into a socket and then connect
your controller to the charger to charge your unit’s battery.
It’ll take approximately 3 hours to fully charge the battery.
Your controller is fully charged when all three sections of
the battery icon are full. The battery icon will flash when
the battery is low and needs to be recharged.
NOTE: Please ensure you only use the SLENDERTONE ABS7
charger when charging your controller. Do not leave your
controller connected to the charger when the battery is
fully charged.
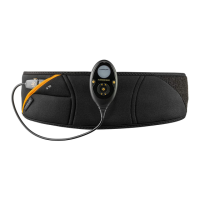
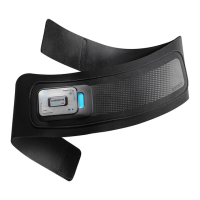
Step 2 - Connect the controller to the belt. The controller
and belt must be connected for your
SLENDERTONE ABS7 to
work. ‘Click’ the controller connector into the belt connector
as shown in Fig. b.
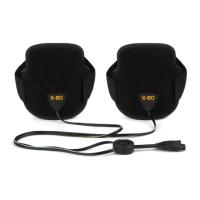
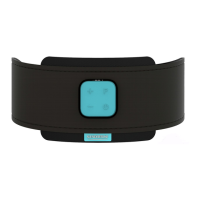
Step 3 - Place the gel pads on the belt.
(i) Turn the belt over so that the 3 silver studs are facing
upwards.
(ii) Remove the three adhesive gel pads from their pack.
There is 1 large square gel pad and 2 smaller oval gel pads.
One side of each gel pad has a grid pattern on it while the
other side is plain black.
(iii) Remove the plastic covers from the patterned side
of the large gel pad (Fig. c) and place the patterned side
of this gel pad inside the white square over the middle
silver stud (Fig. d).
(iv) Now remove the plastic covers from the patterned
side of the two smaller gel pads and place them either
side of the large gel pad (Fig. e) in the positions best
suited to your waist size (see page 6).
5
English
Fig. a
Fig. b
Fig. c
Fig. d
Fig. e