A
A
DDITIONAL
DDITIONAL
FUNCTIONS
FUNCTIONS
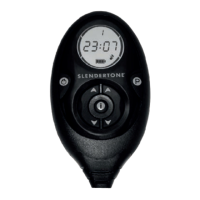
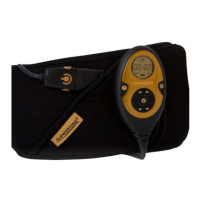
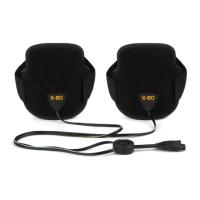
Information Button ( i )
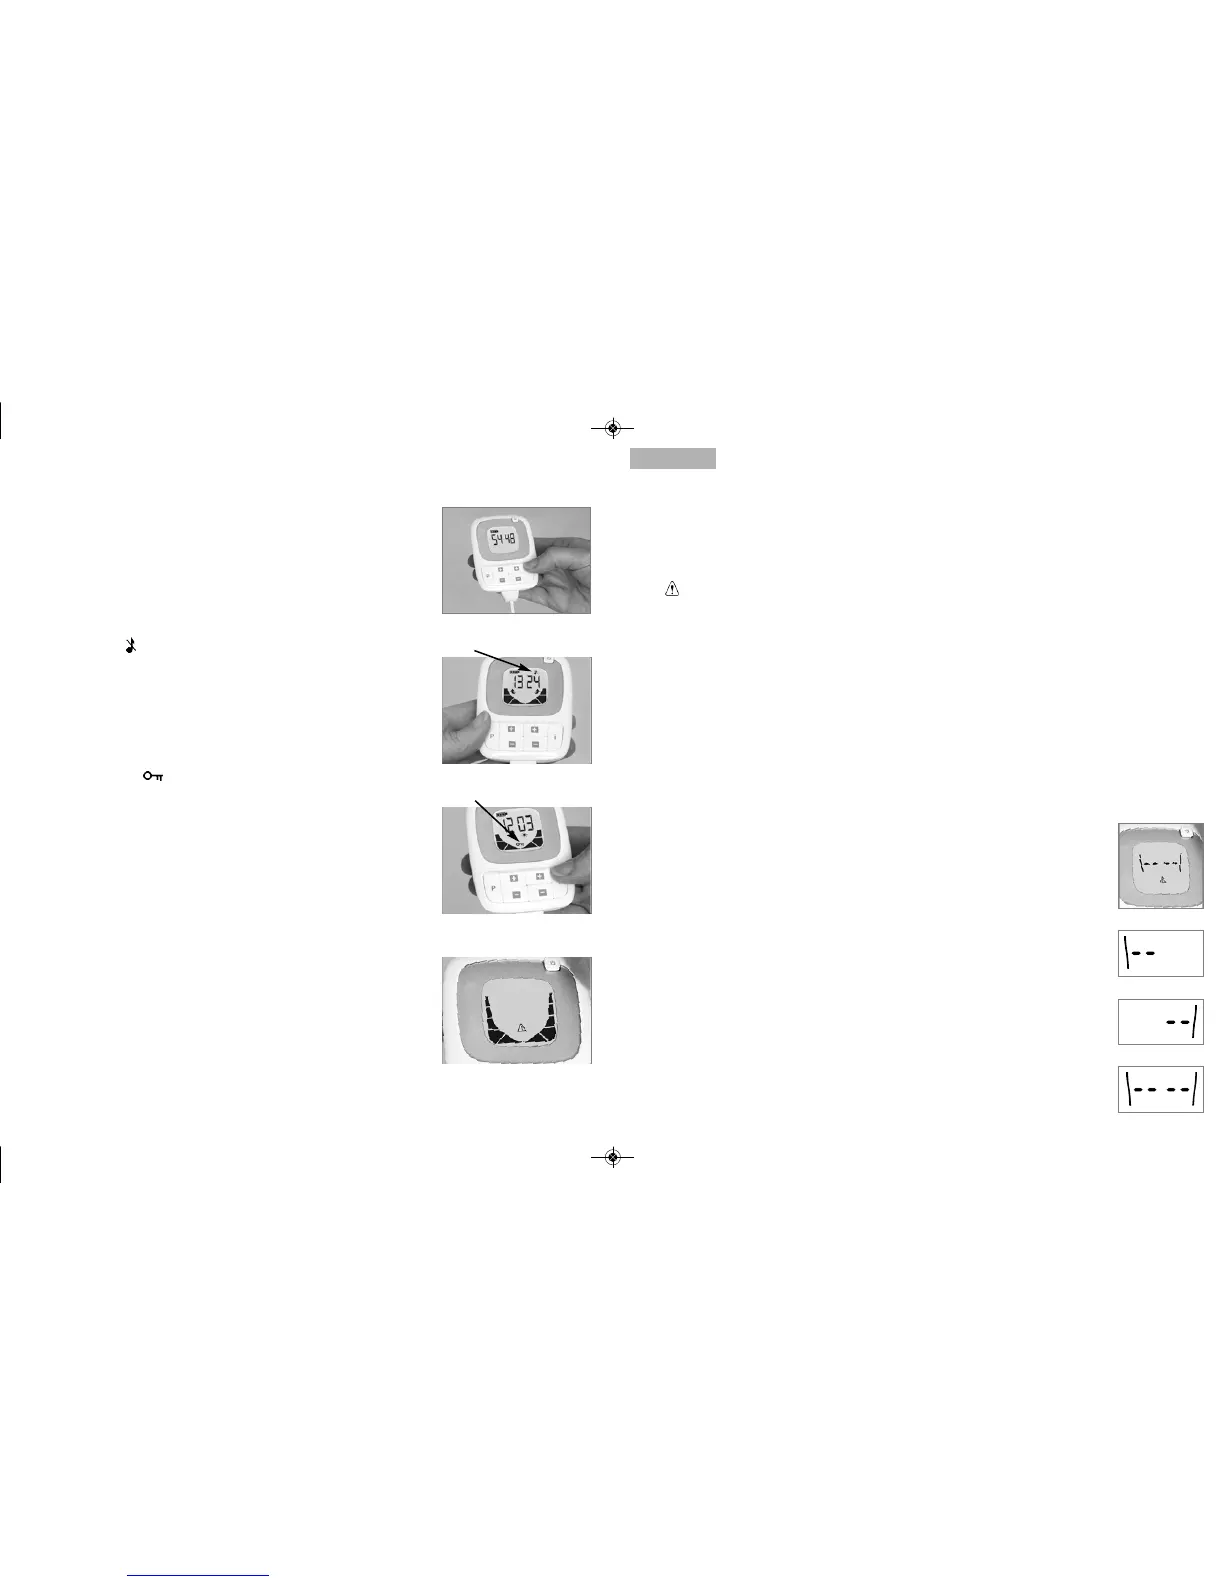
Press the information button any time during a session to see the current
intensity from either side of the headset (Fig. a). Pressing the informa-
tion button twice shows you the highest intensity level you have
reached to date. Pressing a third time shows you the total number of
sessions you have completed to date and pressing a fourth time re-
turns you to the timer screen.
Mute Function ( )
If you want to switch off your controller’s sound effects, press and
hold the programme button for two seconds (Fig. b). The mute
function remains active indefinitely unless manually changed.
Deactivate the mute function by pressing the programme button
for two seconds again.
Key lock Function ( )
When you find a comfortable intensity level, press and hold the
information button for two seconds to lock that intensity (Fig. c). This
function only remains active during the session in which it is activated.
If you wish to increase the intensity further during a session, deactivate
the key lock function by again pressing the information button for two
seconds.
Error Messages
In the unlikely event of your controller developing a problem, the display
shown in Fig. d will flash. If this occurs, you should switch the controller
off and then switch it back on again. It should now operate properly.
If the problem persists, please refer to the Troubleshooting Checklist on
page 13. If this doesn't solve the problem, visit www.slendertone.com
to chat to a member of our Customer Care Team or contact us by
phone or email:
UK: 0845 070 7777
IRL: 1890 92 33 88
International: +353 94 902 9936.
Email: info@slendertone.com
English
English
Fig. a
Fig. b
Fig. c
Fig. d
12 13
T
T
ROUBLESHOOTING
ROUBLESHOOTING
CHECKLIST
CHECKLIST
If you have problems getting your product to work, you should go through the following checklist:
The display doesn’t come on / the battery symbol is flashing.
Ensure the batteries are inserted as shown by the diagram in the battery compartment.
The symbol has appeared on the display* and the controller is beeping
- Is your headset fully connected to the controller? Push the connector on your headset fully
into the socket on the controller.
- Are the gel pads completely covering the black areas of the paddles? Double-check the
gel pads on your headset to ensure that they are fully covering the black areas of the paddles.
Before starting a session, check that all plastic covers have been removed from both sides of the
gel pads. Remember to keep the clear plastic covers to protect the gel pads between sessions.
- Clean the paddles. Sometimes, you can get a build-up of gel on the black areas of the paddles.
If this happens, remove the gel pads, clean the black, conductive surface of the paddles with a
clean , dry cloth and then place a new pair of gel pads on the paddles.
- When did you last change your gel pads? The gel pads need to be changed periodically
(approx. 6 - 10 sessions). Call the Slendertone Careline to order new gel pads or just ask at the
retail outlet in which the product was purchased.
If the display in Fig. a begins flashing on your screen, it indicates a contact
problem with one of the following:
- The controller and headset are not properly connected.
- The gel pads have not been placed onto the paddles before starting a session.
- The gel pads are not fully covering the black areas of the paddles. *
- The clear plastic covers have not been removed from the gel pads.
- The gel pads are worn. *
- There may be a build-up of gel on the paddles.
* This display always appears with the left/ right paddle indicators. If the left
indicator appears (Fig. b), there is a problem with the left paddle or gel pad. The
right indicator (Fig. c) indicates a problem with the right paddle or gel pad and if
both indicators appear (Fig. d), there is a problem on both sides.
Still having trouble? Call the Careline or visit www.slendertone.com for
further assistance.
Fig. a
Fig. b
Fig. c
Fig. d
 Loading...